This post has been sponsored by Decas Farms™️ but all opinions expressed are my own.
No knead, little wait lots of flavor and amazing texture, the new Instant Pot Artisan Bread is here to revolutionize the way artisan breads are made!
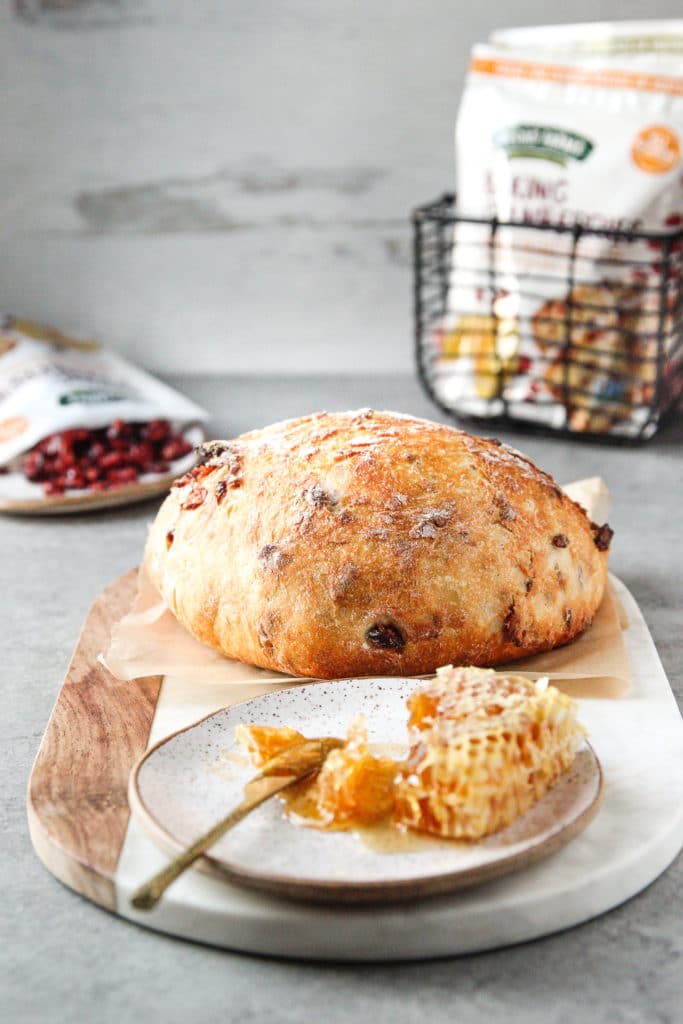
Table of Contents
As far as my knowledge goes there are two types of people out there; the one who love artisan bread and take pride in walking out of a trendy café with a $9 loaf of rustic, small-batch hand crafted artisan bread, and the ones who love artisan bread and wish they had the patience to wait 18-24 hours to sink their teeth into a freshly baked loaf of artisan bread because $9 is simply too much to pay!
Everybody else I assume has never tried artisan bread.
Check out this Quick Sandwich Bread recipe!
what is artisan bread?
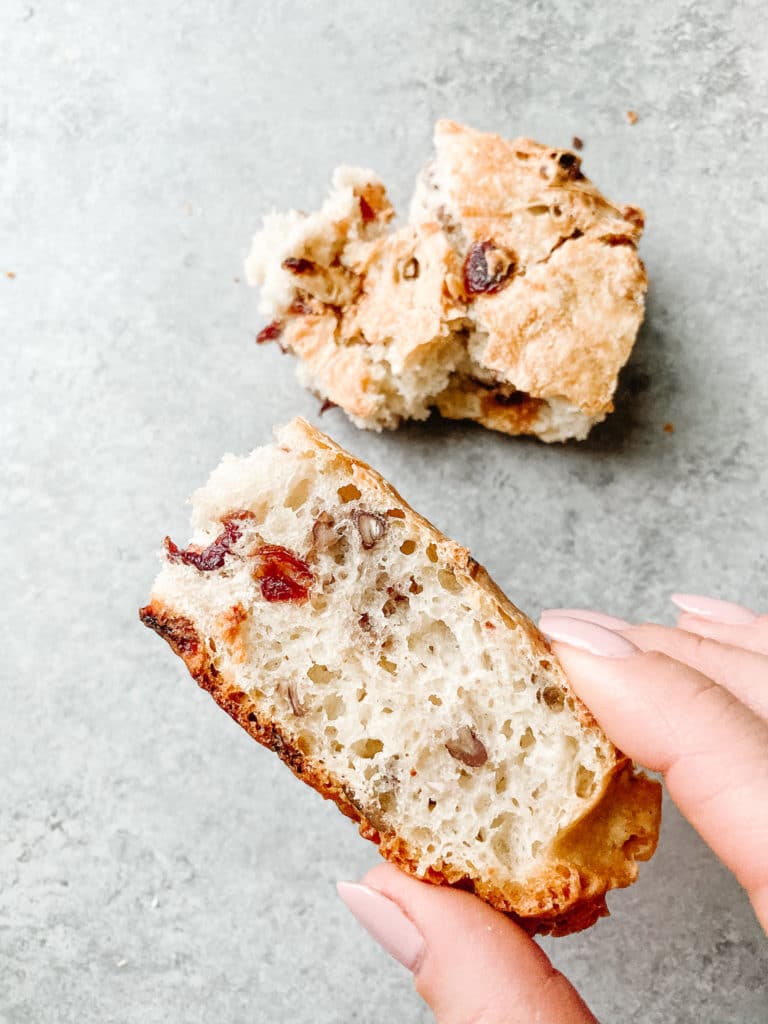
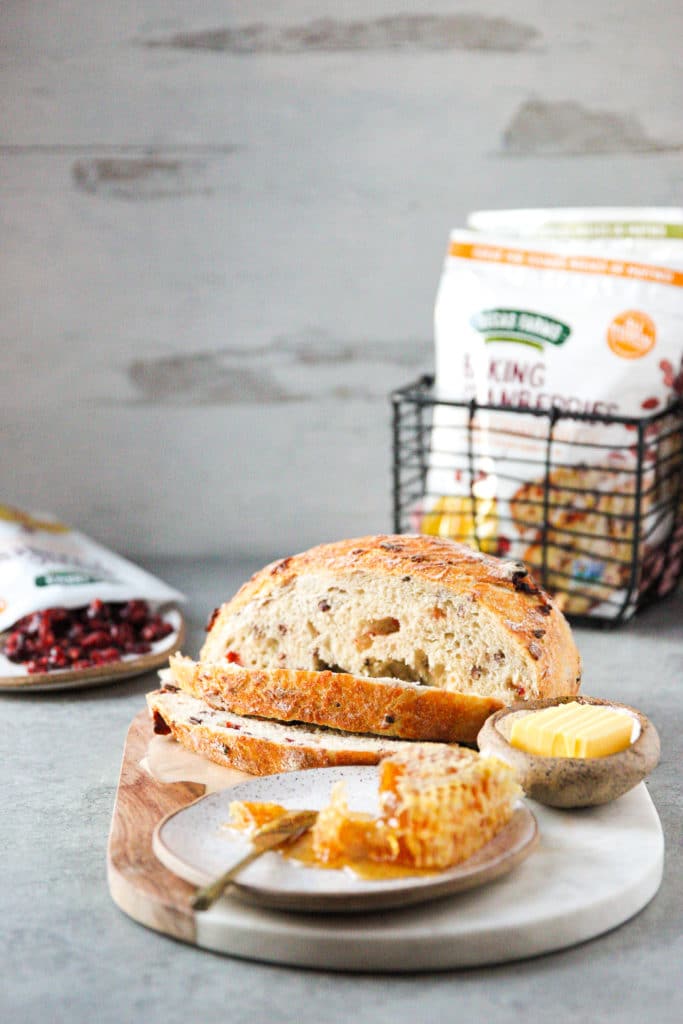
An artisan bread basically refers to a crusty rustic-style loaf with soft center characterized by a large presence of air-pockets. An artisan loaf is small-batch hand-crafted in a long fermentation process which allows the natural enzymes to react with the flour in their own time for a much more robust flavor, texture and better to digest.
Another characteristic is that artisan breads are short-lived and are often displayed unpackaged in baskets.
My first time trying an artisan bread was at a restaurant where they served with some kind of dipping oil, much like this one. The texture was immediately noticeable and the flavor did not disappoint. I immediately decided that I would make my very own batch the next day.
Well, making artisan bread the next day meant that I wasn’t going to be able to enjoy it until… yet another day, and the idea of waiting was hard to digest but I tried.
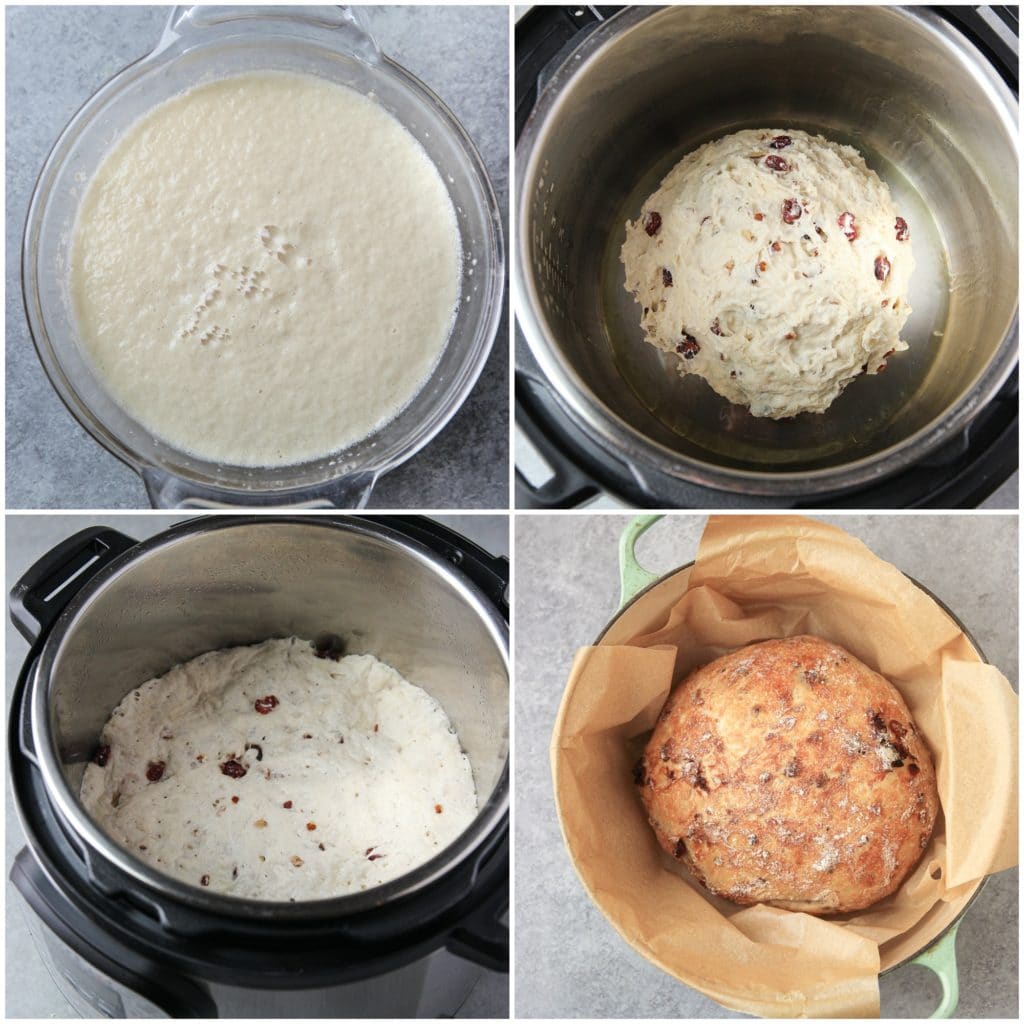
top right: bread dough going in to the IP
bottom left: bread dough after 4h on IP
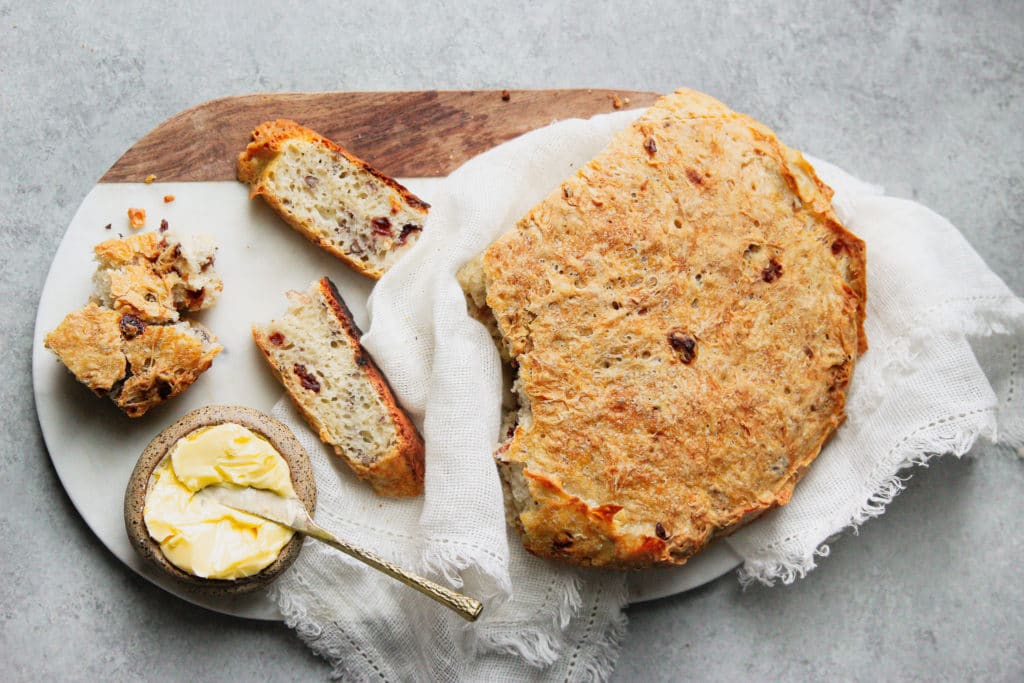
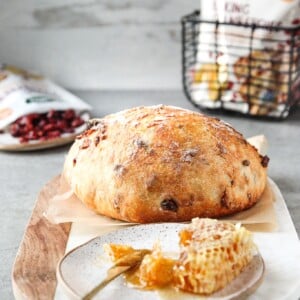
bottom right: artisan bread after baking
why do artisan breads take so long to proof?
So they say it takes time for the dough to work itself in a slow and special way, to acquire flavor, texture and that beautiful finish but it turns out the INSTANT POT can deliver all of that in 4 hours as opposed to 18-24 hours, so this means bread is ready the same day!
This changes a lot!
I noticed no difference at all between the times I used the traditional slow process method of baking artisan bread and the much faster Instant Pot method!
This is honestly a breakthrough in the bread making business as I do not know too many of us who would volunteer to wait an entire day to finally eat that bread you craved for when you started making it.
taking your artisan bread to the next level
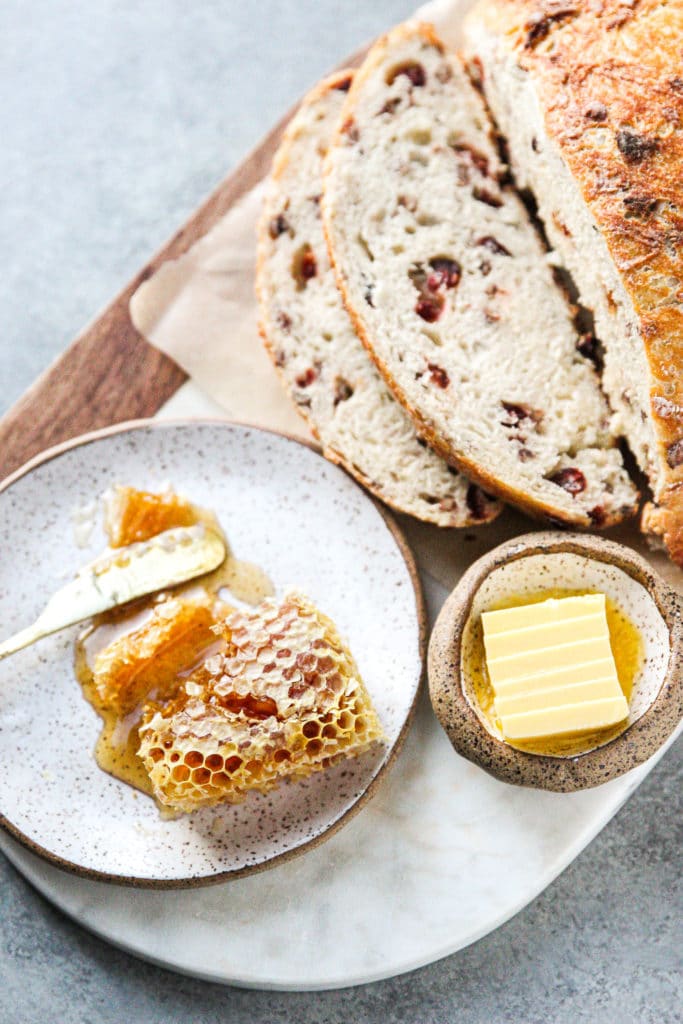
Now that you are excited to make your very own loaf of no knead instant pot artisan bread and impress everyone with your new baking skills (turns out, this recipe requires no prior skills!), you can actually take this artisan recipe up a notch and add in some dried cranberries and nuts!
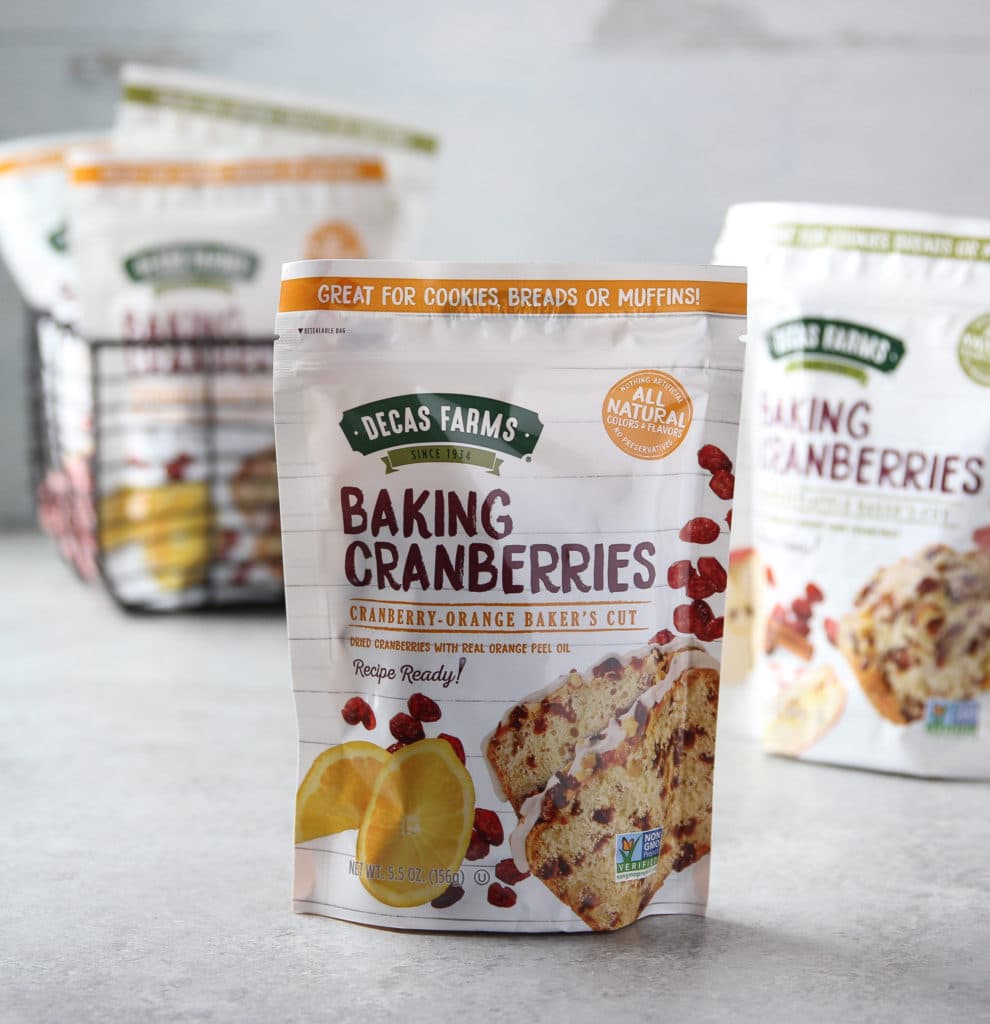
I love using Decas Farms™️ Baking Cranberries because they are specially crafted for cooking, these wholesome berries are made to withstand the rigors of heat and mixing. They’re recipe ready for all my baking needs!
For this recipe I am using Decas Farms Cranberry Orange Baker’s Cut Baking Cranberry, but I also love the cranberry apple baking cranberries and original flavor and use in many of my recipes, as in you can see in this Cranberry Orange Cookies recipe.
To see a list of products, please visit Decas Farms™️ products page here.
to assure that you have success making this artisan bread please read these notes:
- Waiting 10 minutes for the yeast to activate is very important step! If the yeast doesn’t form a foam on top it could be too old and the bread will not rise properly.
- There is no need to line your instant pot with parchment paper. I tried both ways and found that the parchment paper actually gets on the way of removing the dough from the instant pot. However you will need to grease your instant pot
- If you must stop the instant pot before the 4 hours is up, it will work fine after proofing for 3:30 hours, however I have not tried stopping the proofing time any earlier than that.
- This recipe did not work well with gluten-free flour
- While the cranberry pecan is a delicious combination, you can substitute for other combinations of your choice, or keep it plain
- If you do not have honey in hand you can substitute for 1tbsp regular sugar
- Even if you plan on serving the bread warm, wait 15-20 for it to cool down before cutting.
If you make this Instant Pot No Knead Artisan Bread recipe be sure to leave a comment and/or give this recipe a rating! I love to hear from you guys and always do my best to respond to each and every comment. And of course, if you do make this recipe, don’t forget to tag me on Instagram! Thanks a bunch!
Instant Pot No Knead Artisan Bread
Equipment
- Dutch Oven
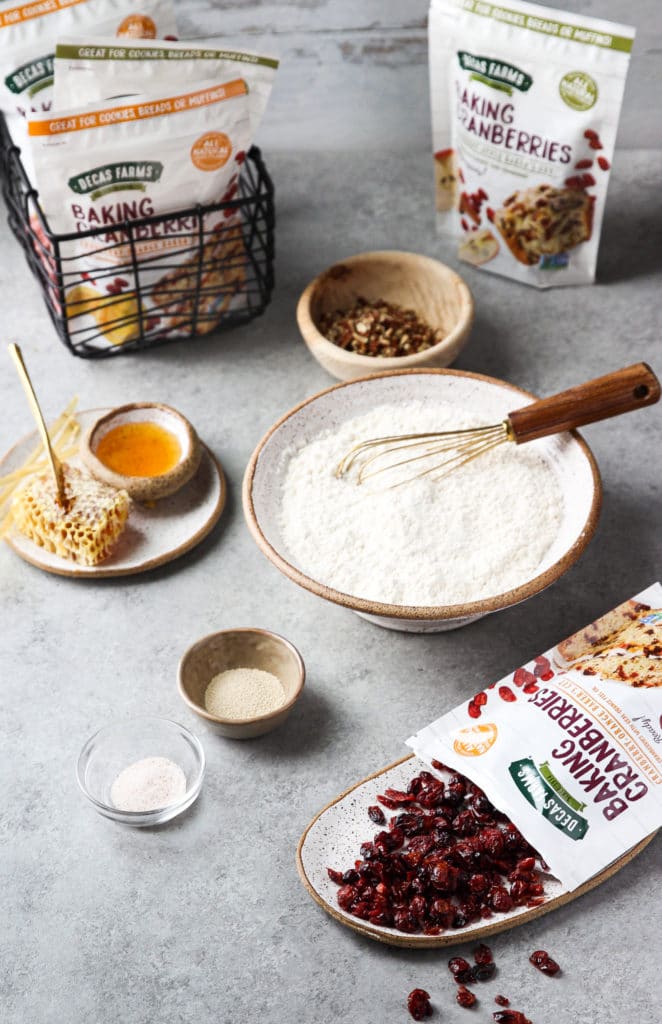
Ingredients
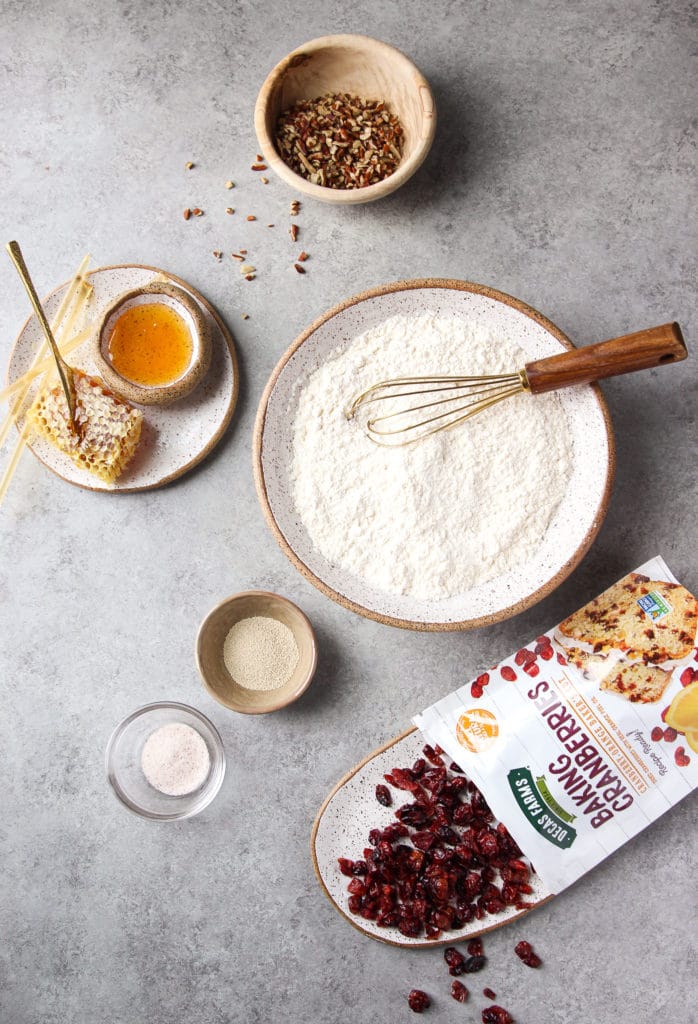
- 3 cups bread flour
- 1 tsp kosher salt
- 1/3 cup Decas Farms Baking Cranberries
- 1/4 cup pecan, finely diced
- 1 1/2 cups lukewarm water
- 1 1/2 tsp active dry yeast
- 1 tbsp honey
Instructions
- Mix lukewarm water with honey, stir to combine. Add in yeast, cover and wait about 10 minutes. Mixture will look foamy.
- In a large bowl combine flour, salt, cranberries and pecan. Set aside
- Pour yeast water into the flour bowl. Using a wooden spatula fold until all the flour are incorporated. You can finish this step using your hands, to fold into a ball/ loaf. Dough will be sticky and surface uneven.
- Place the bread dough in a greased instant pot, cover and turn pot on yogurt mode for 4 hours*. At the end the dough will be twice the size and have lost the round shape.
- When the time is up, add a little bit of flour to your counter/ working surface and transfer the bread dough from the instant pot to the prepared surface. Roll dough into a ball without overworking it, tucking any extra dough on to the bottom side. Let the bread sit on the counter while you pre-heat the oven.
- Place a dutch oven, cast iron or any oven-safe deep pan with cover, lined with parchmet paper in the oven and pre-heat to 450F. When oven is heated to 450F carefully remove dutch oven and sit it on a towel.
- Carefully place bread dough in the dutch over, cover and return to oven. Bake for 30 minutes covered. Remove lid and bake for an additional 15 minutes un-covered or until bread crust is nice and brown.
- Transfer to a cooling rack for at least 20 minutes. It can be served warm after that or wait until bread is completely cooled before you store it away.
Notes
Nutrition information is automatically calculated, so should only be used as an approximation.
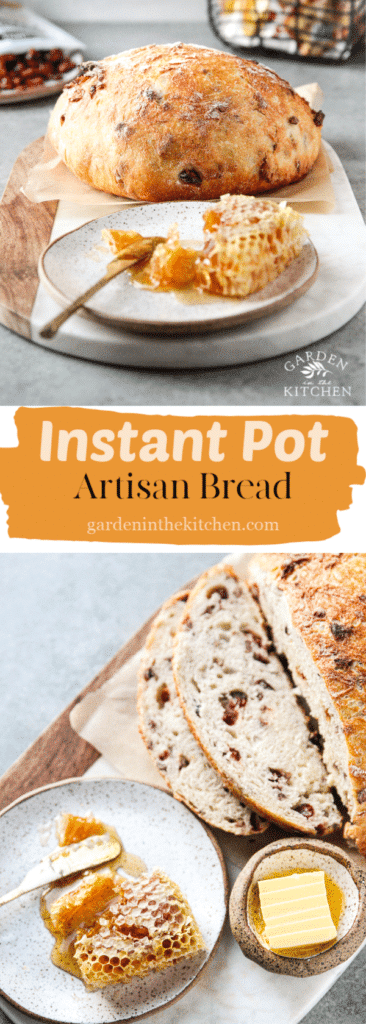
Save this recipe to Pinterest for later!
Just hover over the image and click the “Save” button.


Excellent bread my family loved it. I’ve made it five times. I’m going to bake this for Christmas presents this year.
Hi Debbie, that’s so great to hear. Love the idea of homemade gifts for the holidays, especially if it involves food! xoxo
Easy and delicious!
Hi! I want to try this recipe but don’t have an Instapot. How long can I let bread rise?
Until it doubles the side. If you kitchen is warm enough this should take 2-3 hours. Hope this helps!
Can I cut this recipe in half to use my 3 qt. IP Mini? Would any of the timing change, as well?
Yes you can, proofing time will be the same but keep an eye on the baking times as you might need to pull it out of the oven sooner.