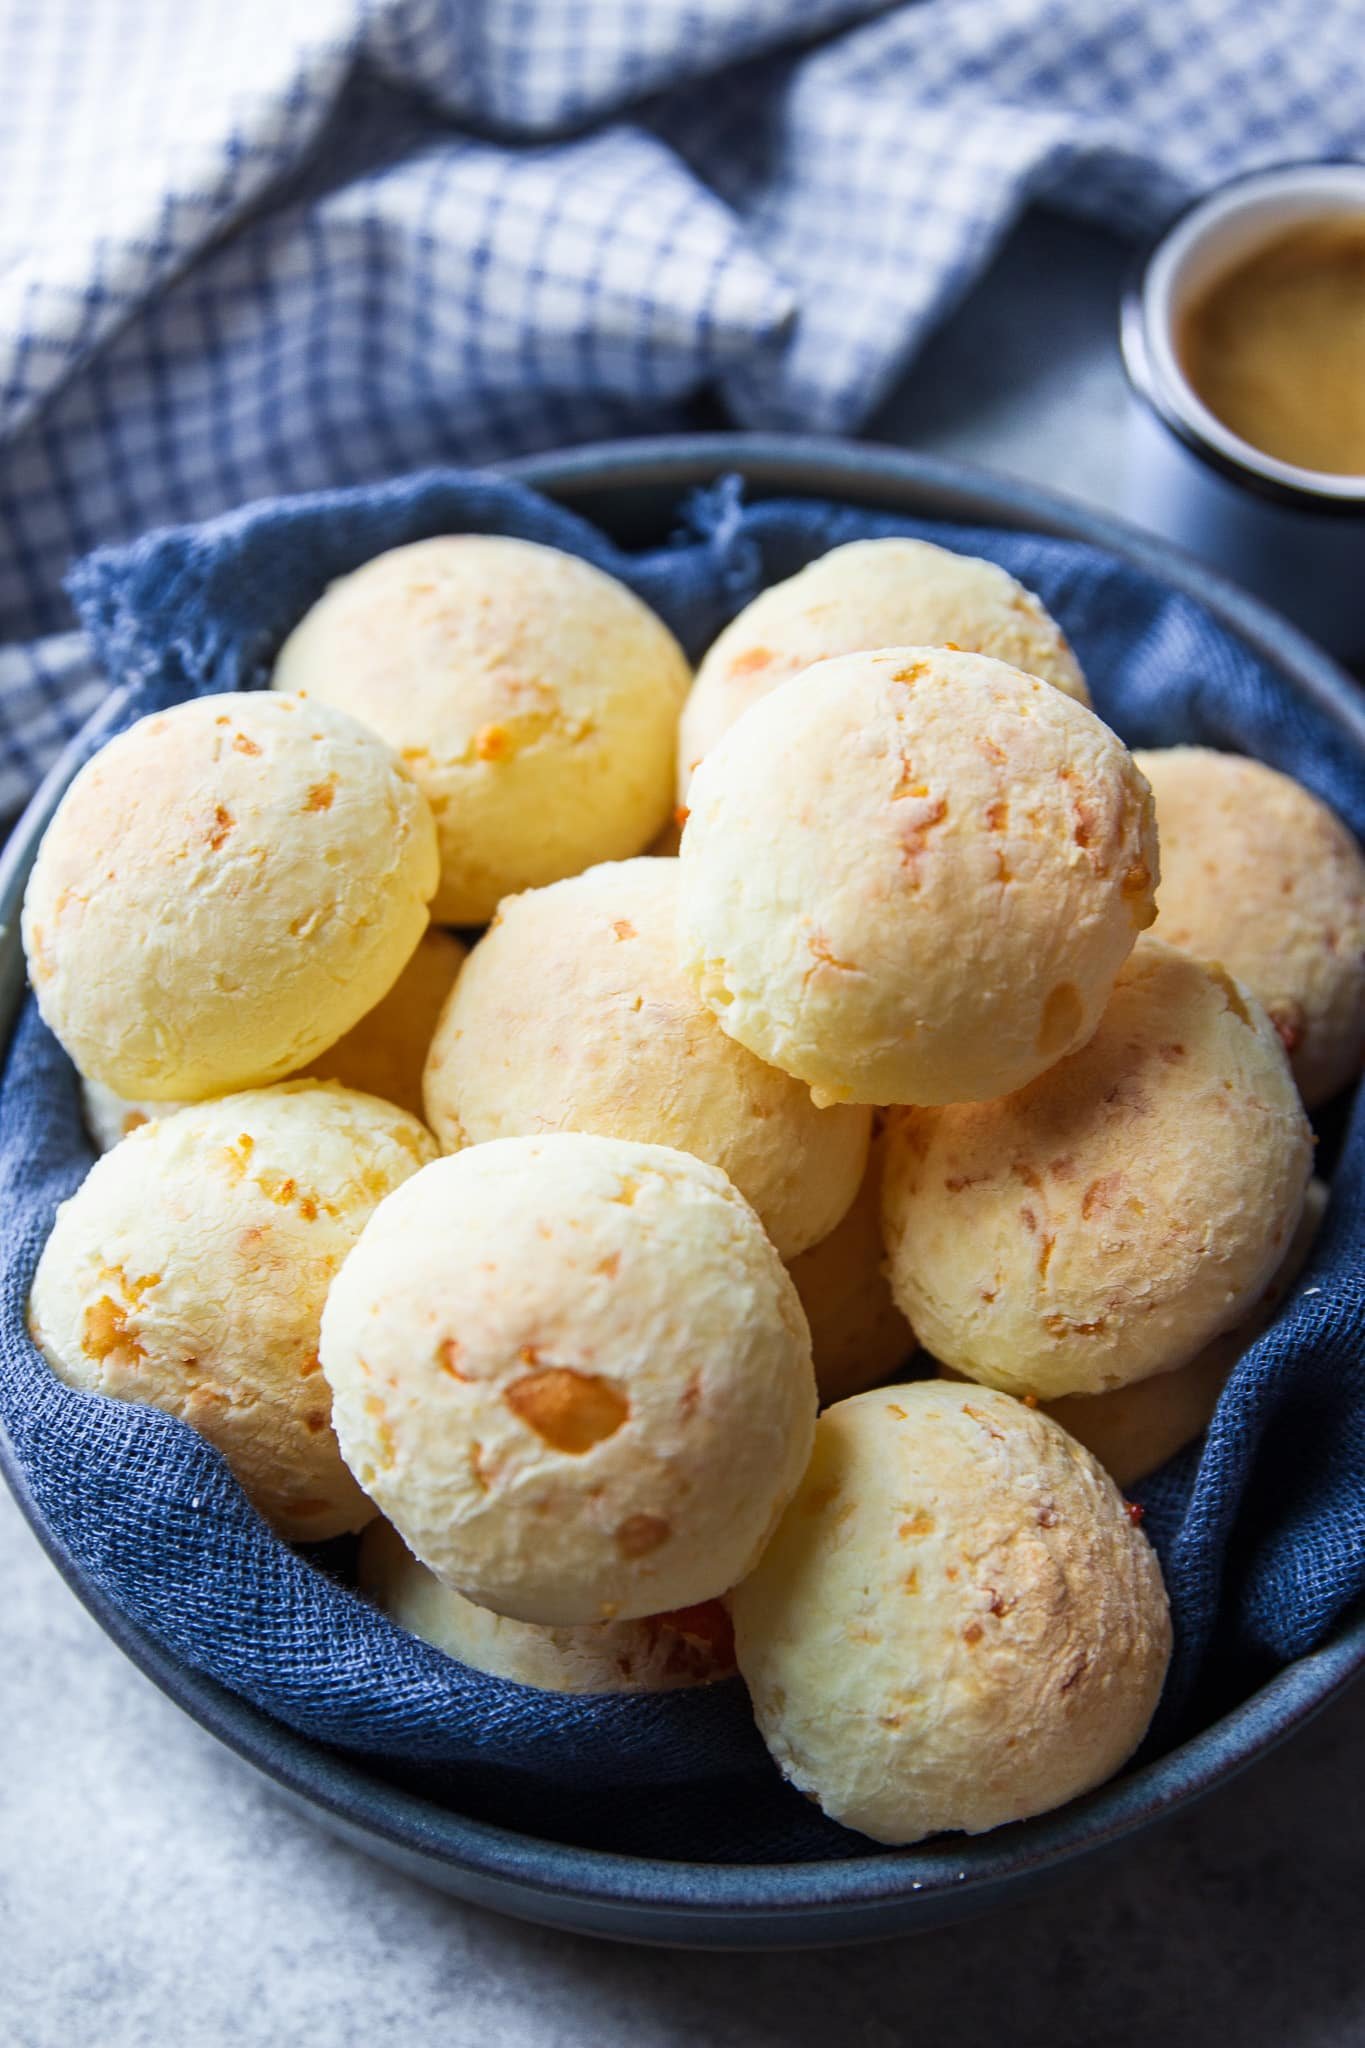
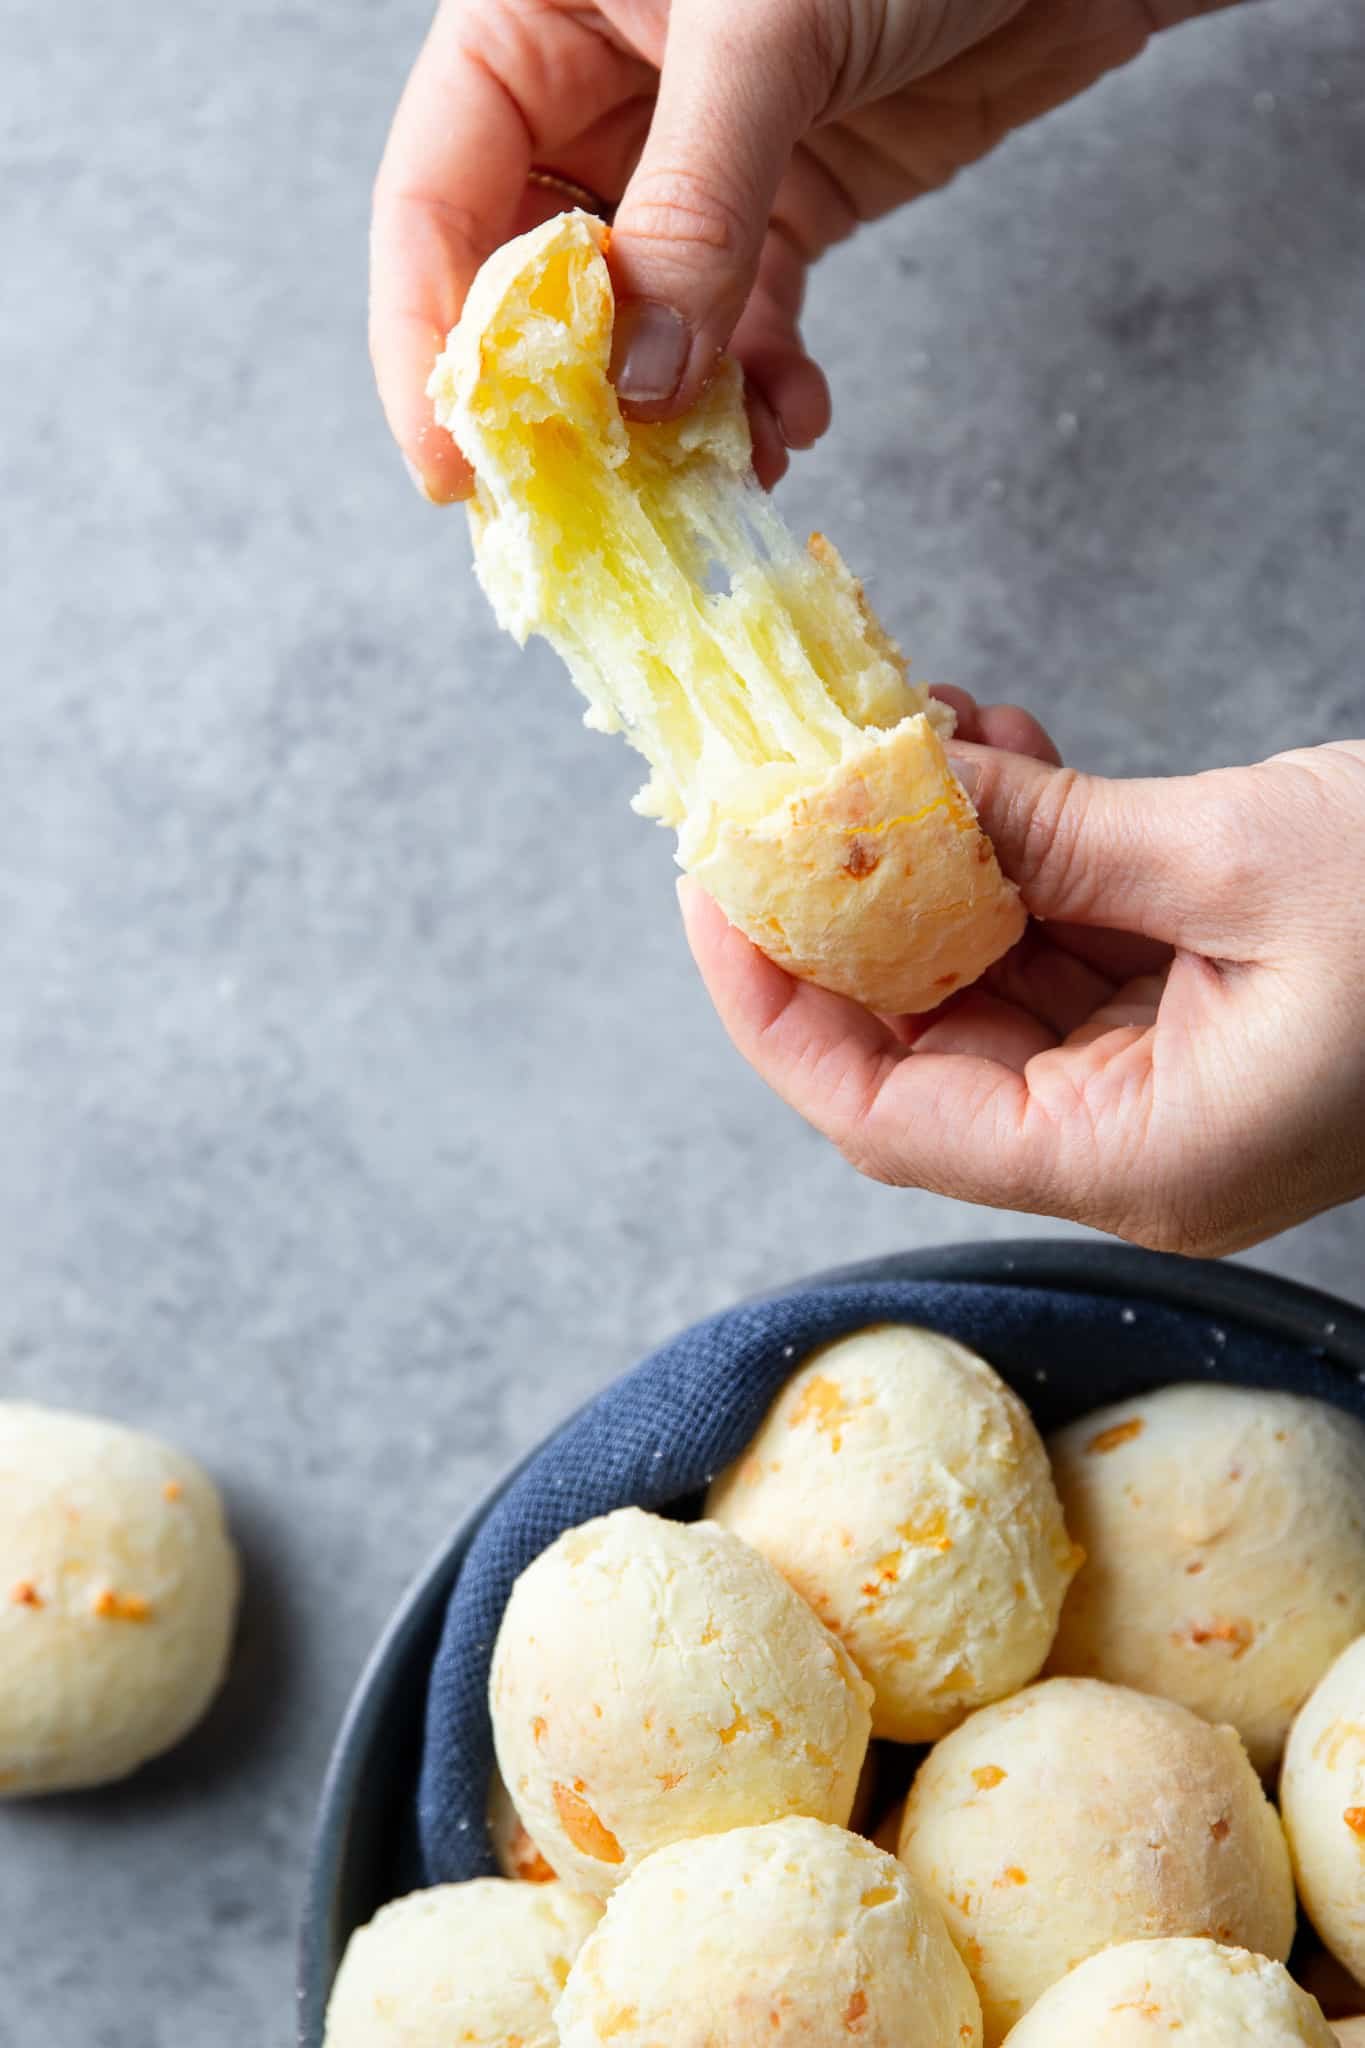
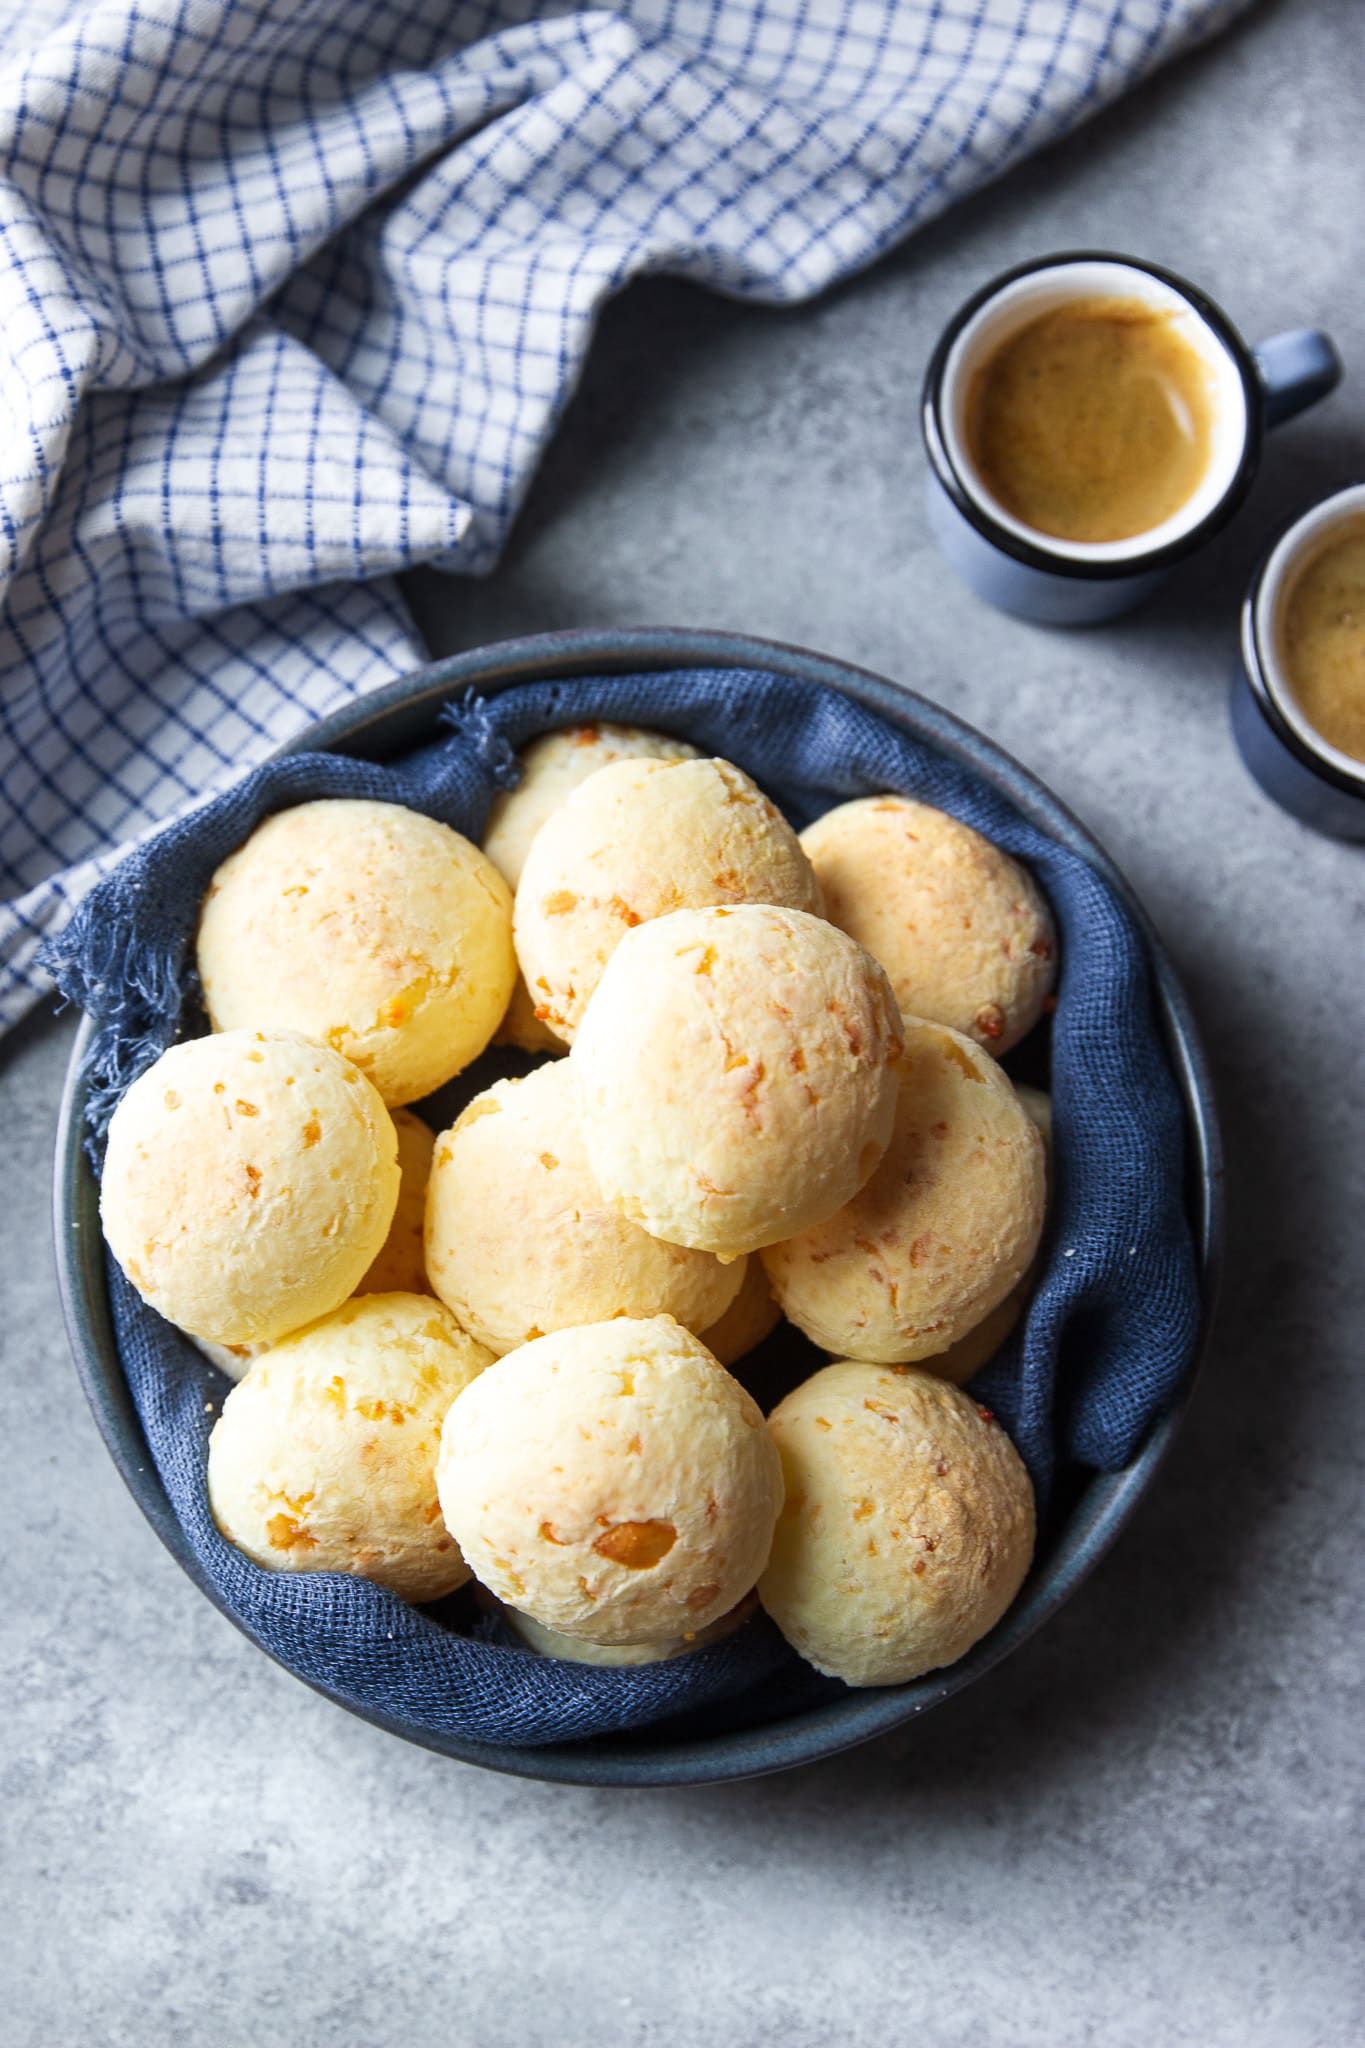
Brazilian Cheese Bread (Pão de queijo) is an everyday food in Brazil culture. The kind you grab warm from a corner bakery, eat standing at the counter, or on your way to work. Unlike Brazilian Brigadeiro that’s associated with celebratory occasions, cheese bread is made to enjoy simply, unfussy and preferably with a cup of cafézinho.
This recipe reflects the way Brazilian Cheese Bread is meant to be enjoyed: crisp on the outside, chewy in the center, and best eaten warm. Made from cassava flour and cheese, it’s naturally gluten-free and deeply comforting and addictive.

Silvia’s Note
Growing up in Brazil, cheese bread or pão de queijo was never treated like a “special” recipe. It was just there — part of everyday life. You’d buy a few from the bakery on the corner, eat them on the walk home, or suddenly smell them baking next door and know exactly what was coming out of the oven.
Because cassava is abundantly grown in Brazil, pão de queijo has always been a practical food. It’s locally sourced, inexpensive, and accessible. It’s something people bake often, not just for celebrations, but because it makes sense. It feeds people well, stretches ingredients, and brings comfort without effort.
Over the years, no matter where I’ve lived, this recipe has stayed with me. Every batch takes me back to those small, ordinary moments, the kind that quietly shape how we eat and live. This is the version I make now, rooted in those memories and meant to be enjoyed the same way: warm, shared, and without ceremony.
Is cassava and yuca the same thing?
Yes! Cassava and yuca are the same. An everyday root, and staple in Brazilian cooking, valued for its versatility and accessibility. In Brazil, cassava also goes by many names mandioca, aipim, or macaxeira depending on the region.
The photo I’m sharing here is of my dad harvesting cassava at our farm in Brazil. For many of us, this ingredient isn’t trendy or exotic. It’s familiar. It’s practical. It’s part of everyday life. Seeing cassava pulled straight from the earth still grounds me in where this food comes from and why it has endured for so long.


Is cassava flour the same as tapioca flour?
No! Tapioca flour and cassava flour come from the same root (cassava), but they are not the same product and behave very differently in recipes.
Cassava flour is made from the whole cassava root, which is peeled, dried, and ground into a fine flour. Because it uses the entire root, cassava flour has more fiber and a texture closer to wheat flour.
Tapioca flour (also called tapioca starch) is made by extracting only the starch from cassava, then drying it into a very fine, white powder. It’s lighter, stretchier, and more elastic than cassava flour.
In recipes like pão de queijo, tapioca flour is essential because it creates the signature chewy texture and light interior. Cassava flour, while also gluten-free, will not produce the same result and cannot be used as a direct substitute.
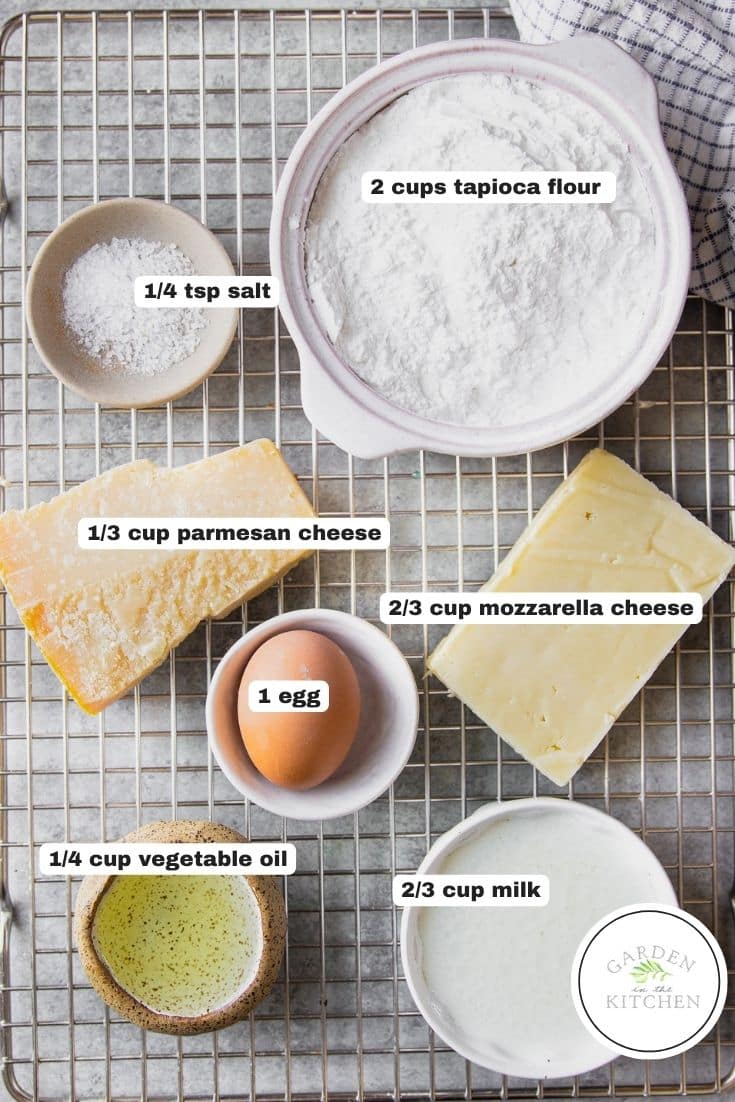
Ingredients needed
This Brazilian bread recipe is made with simple ingredients you can find in almost any grocery store! However, I don’t recommend making any substitutions because other kinds of flour and milk will not give you the same results. This is what you need:
- Tapioca flour – Pão de queijo isn’t made with wheat flour. It was originally made with cassava (yuca) starch because it was widely available at the time of its invention. Tapioca Flour is different from cassava starch but is easy to find in major grocery stores in North America nowadays. It’s a naturally gluten free ingredient that gives the bread a slightly chewy and airy texture you won’t be able to get enough of!
- Salt
- Milk – Whole milk gives the bread fat and flavor, making it the best choice for this recipe.
- Oil – Neutral oil, like vegetable or canola oil, is best.
- Egg – To help bind the bread dough together.
- Parmesan cheese – The first of two kinds of cheese in pão de queijo!
- Mozzarella cheese – Feel free to use white cheddar cheese or queso fresco instead.
How to make Brazilian cheese bread
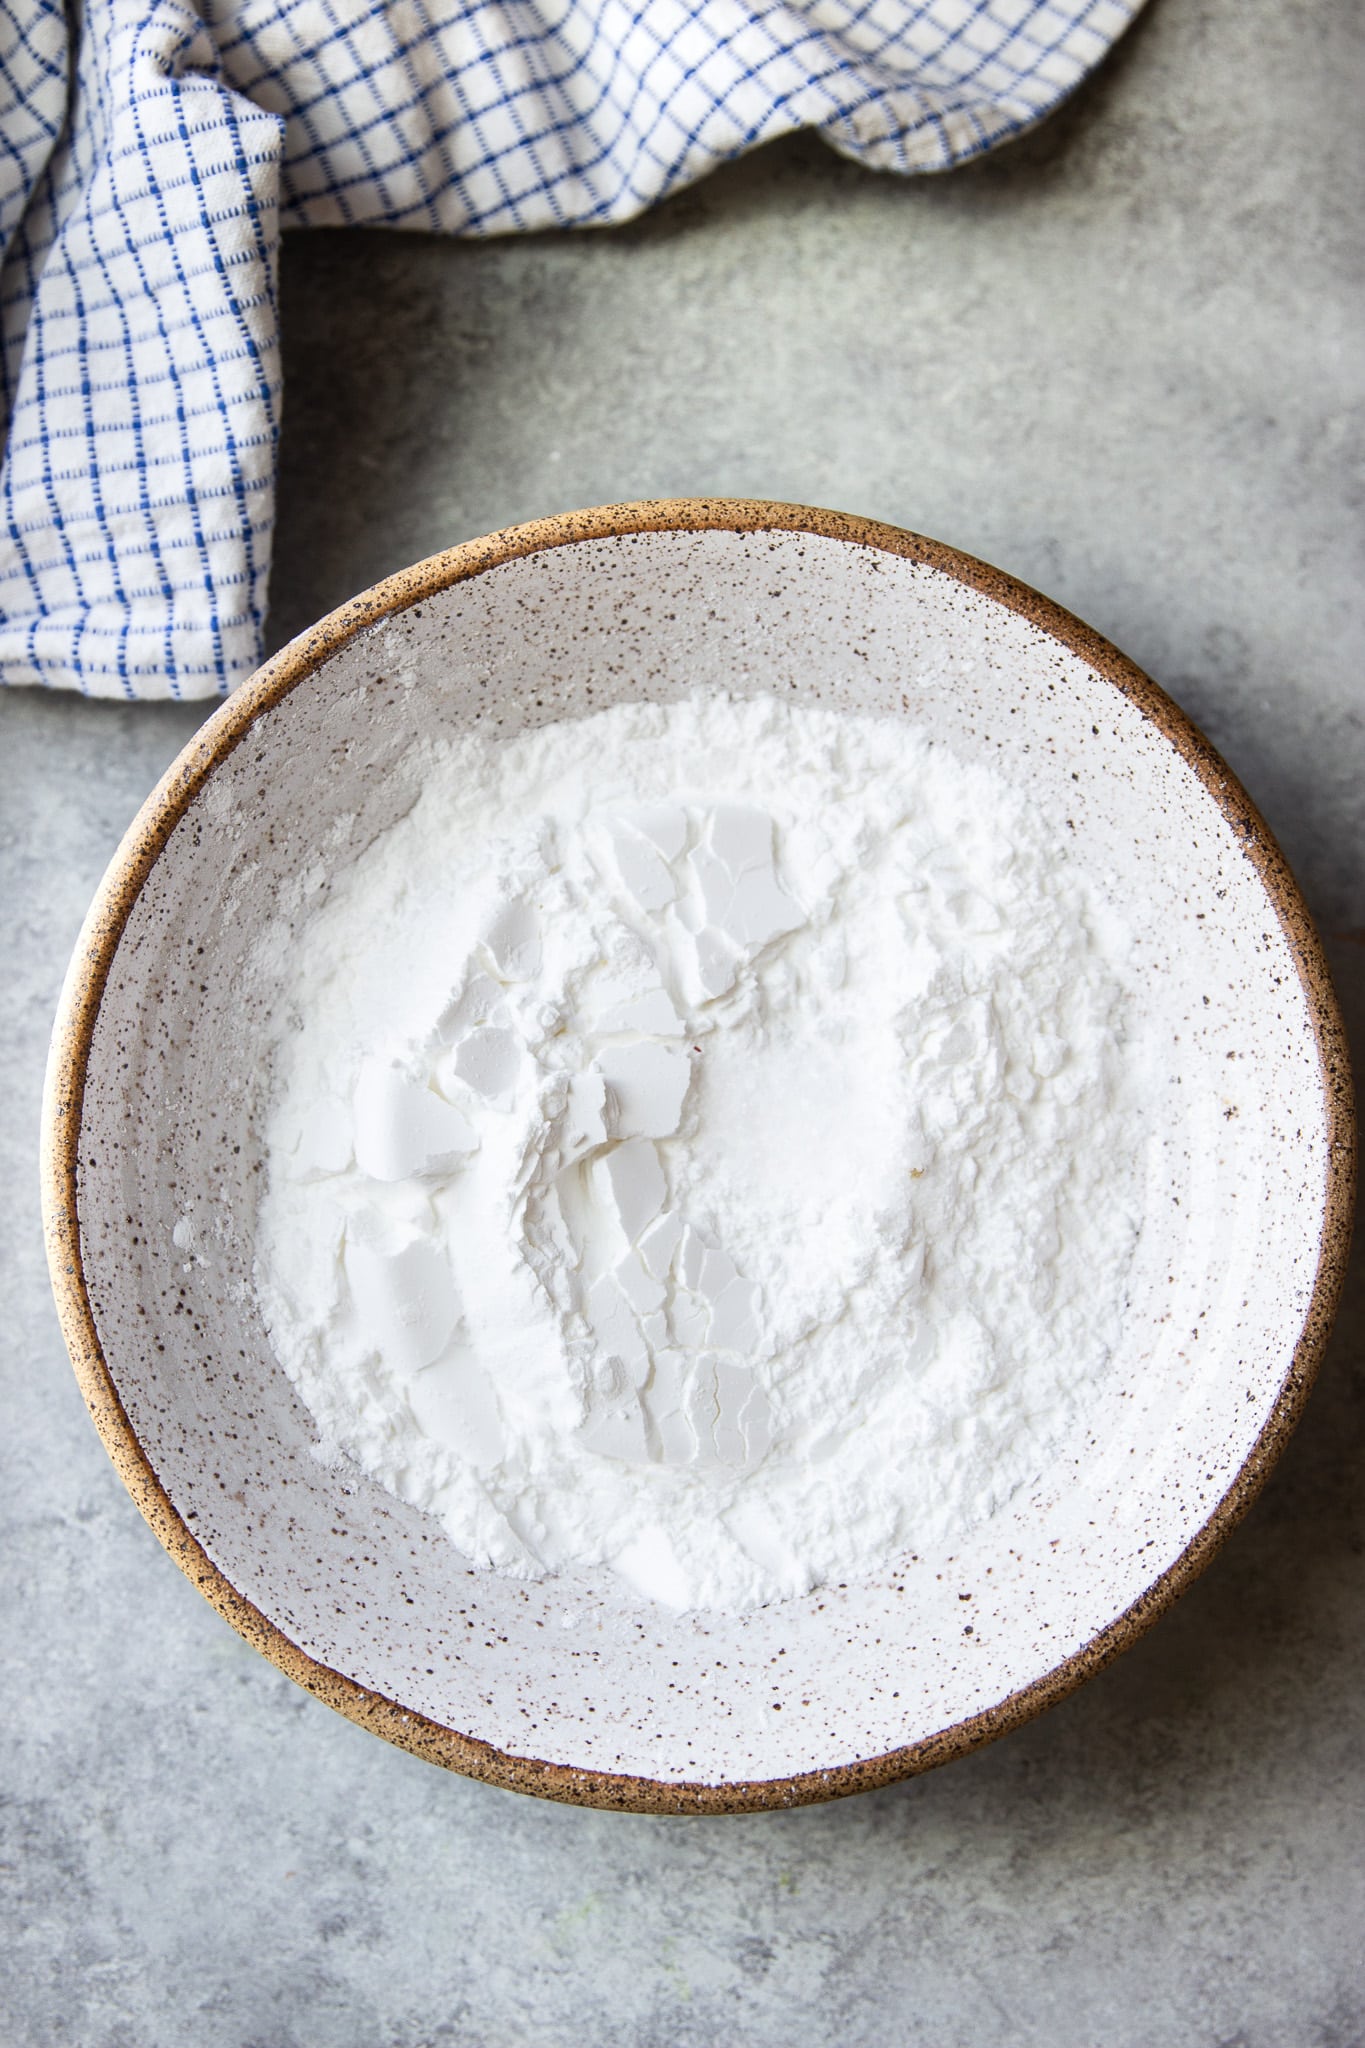
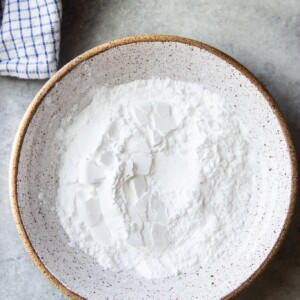
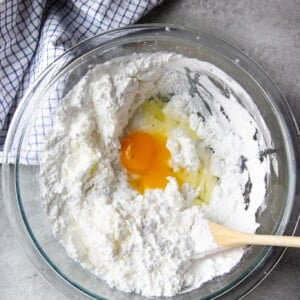
Step 1 – Stir the tapioca flour and salt together in a bowl.
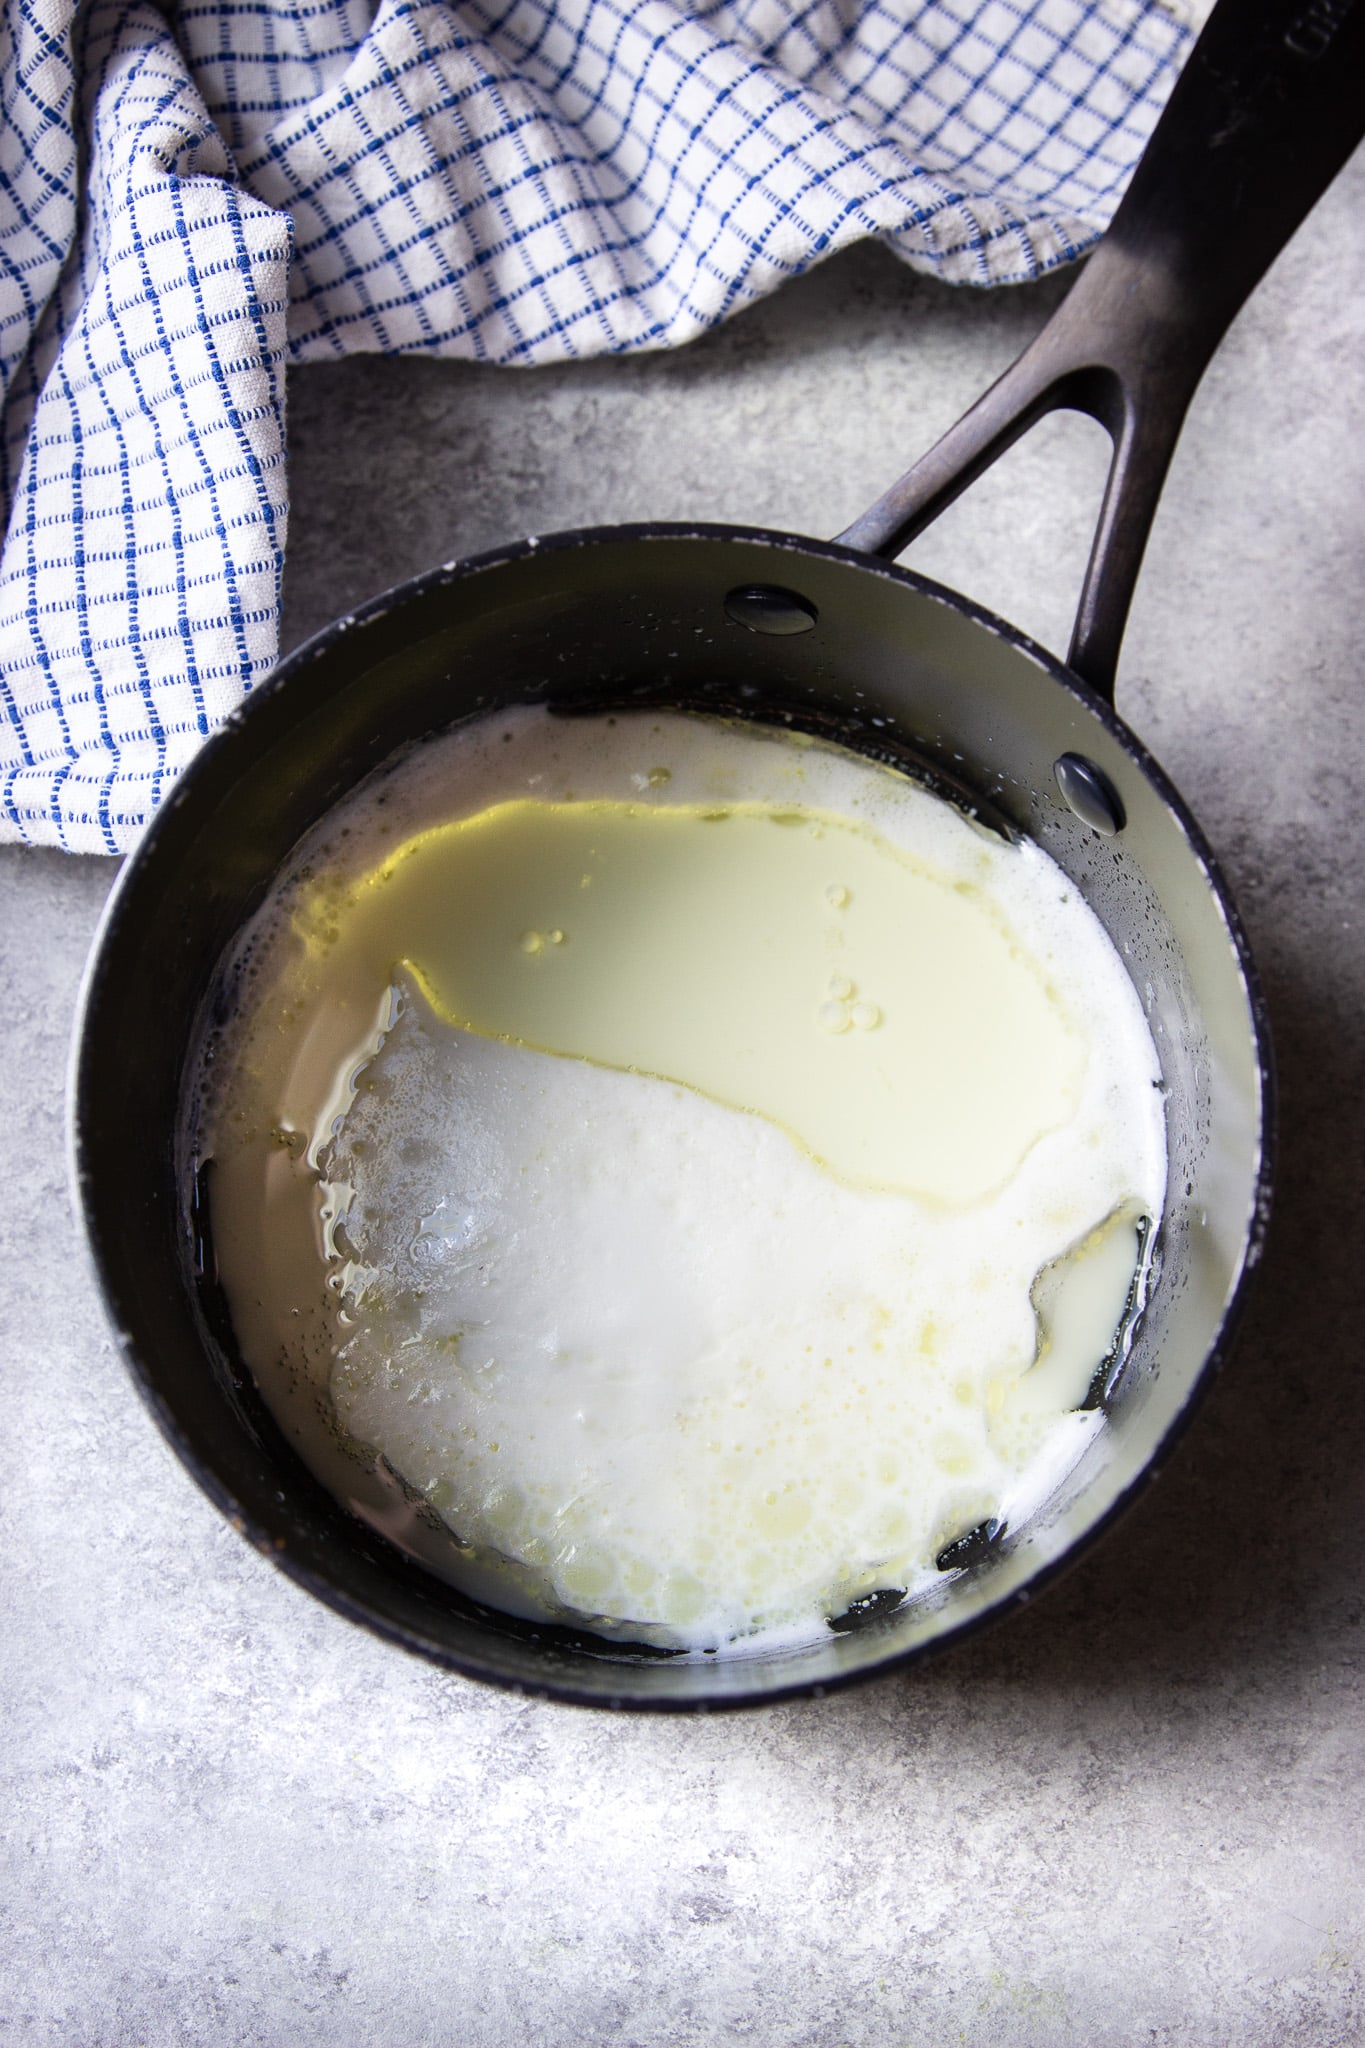
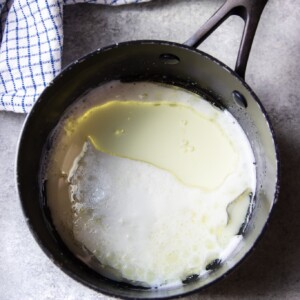
Step 2 – Heat the milk and oil together in a saucepan on the stove. Take it off of the heat as soon as the mixture starts to boil and rise.
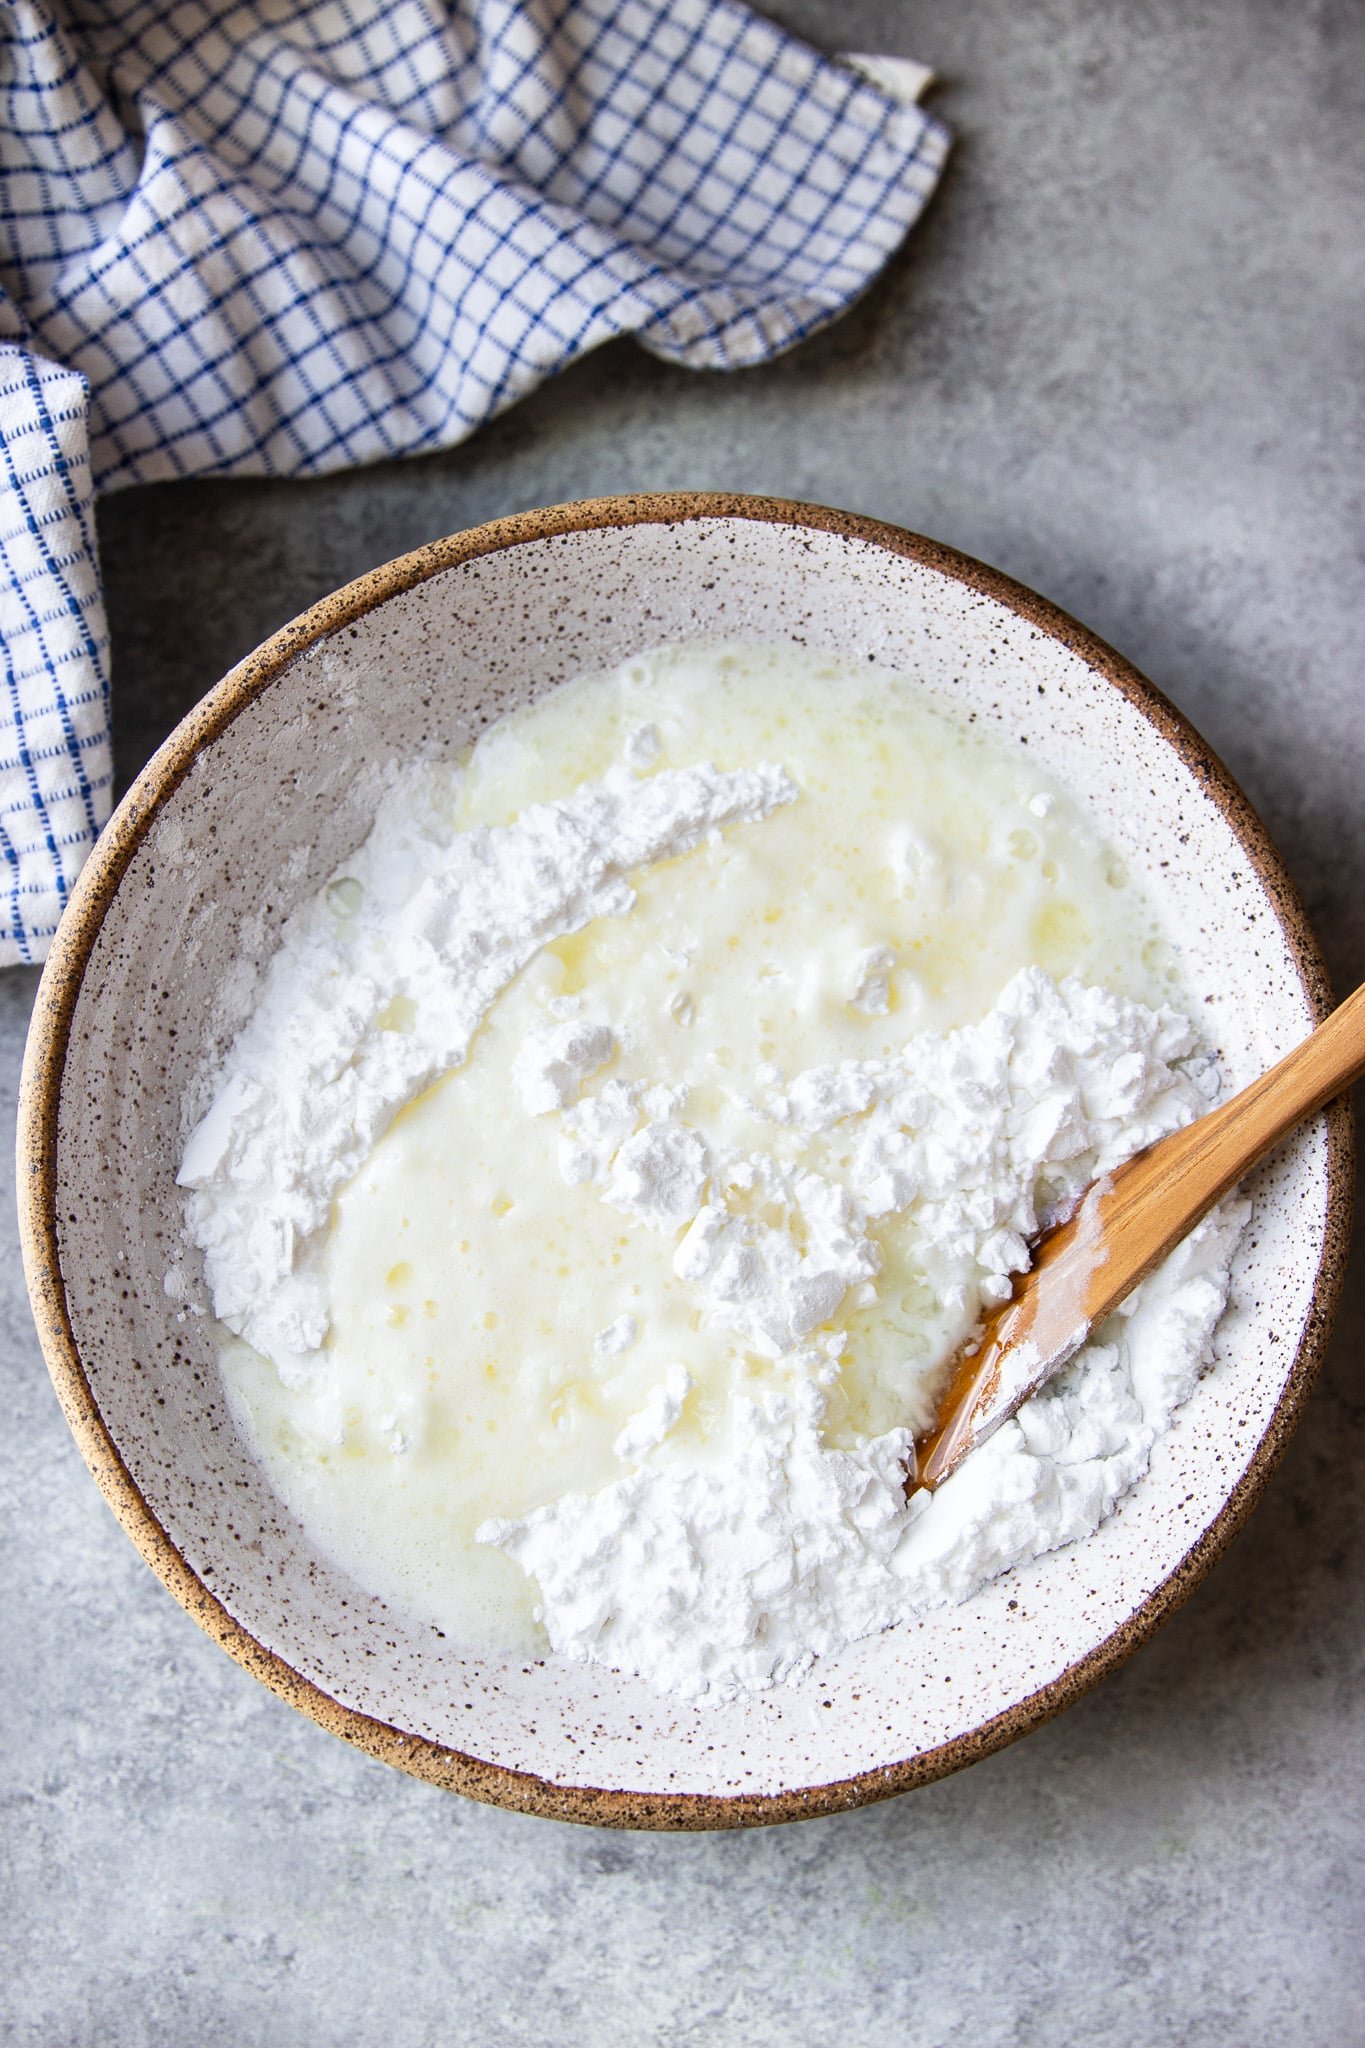
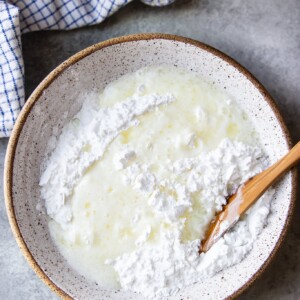
Step 3 – Pour the hot milk mixture over the flour and salt. Gently and slowly stir the wet and dry mixtures together.

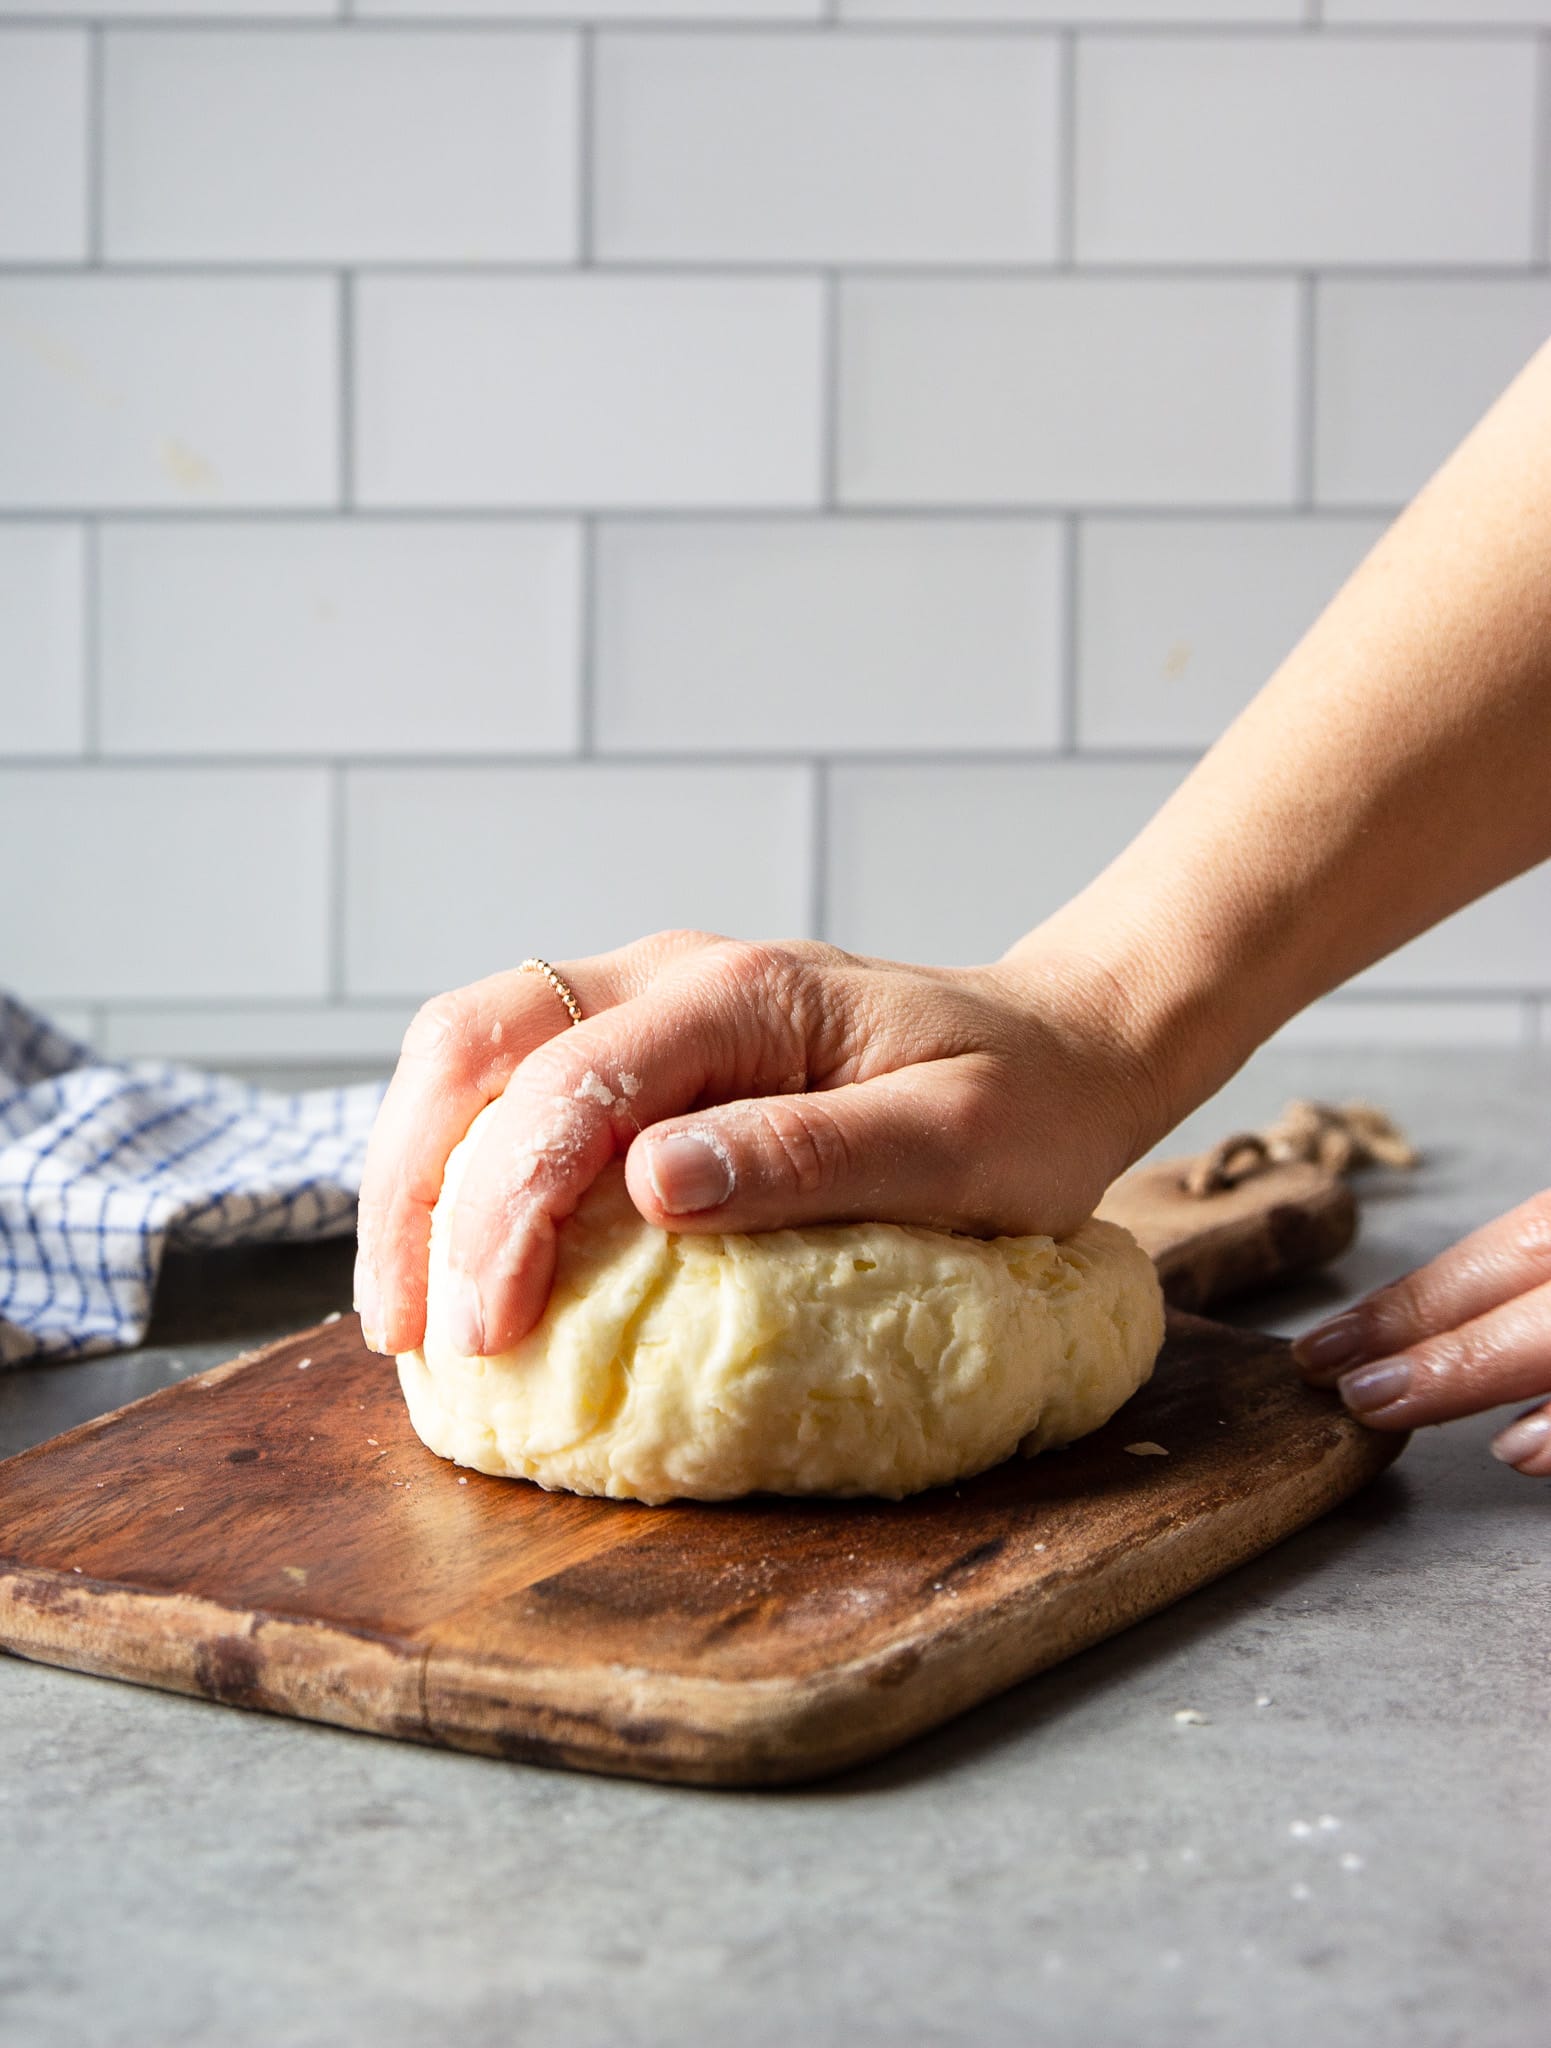
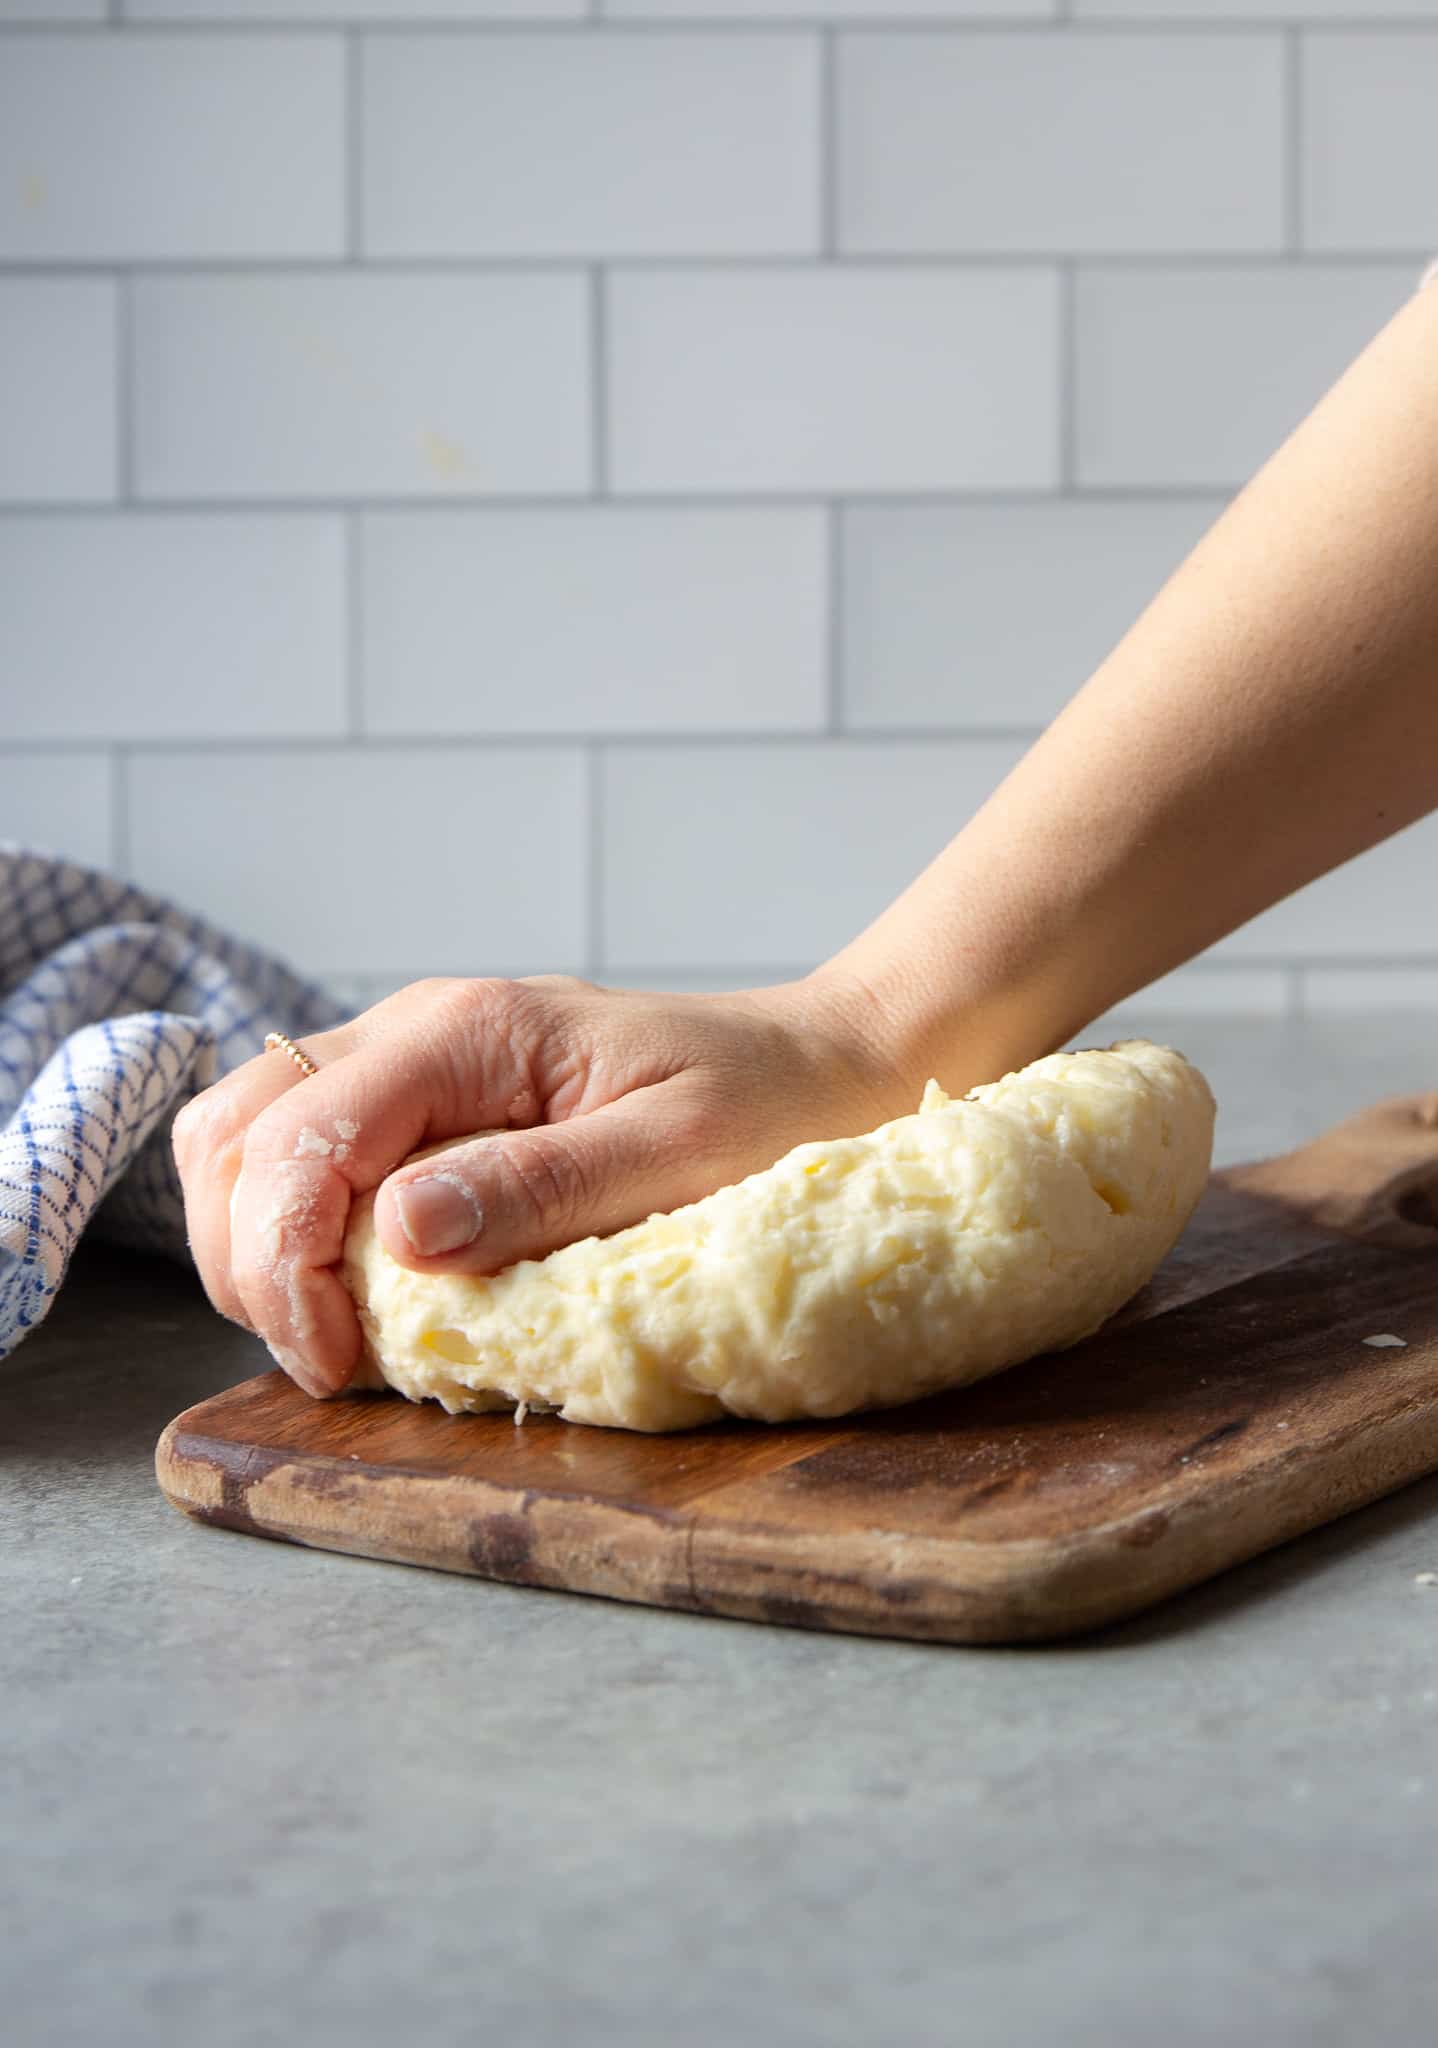
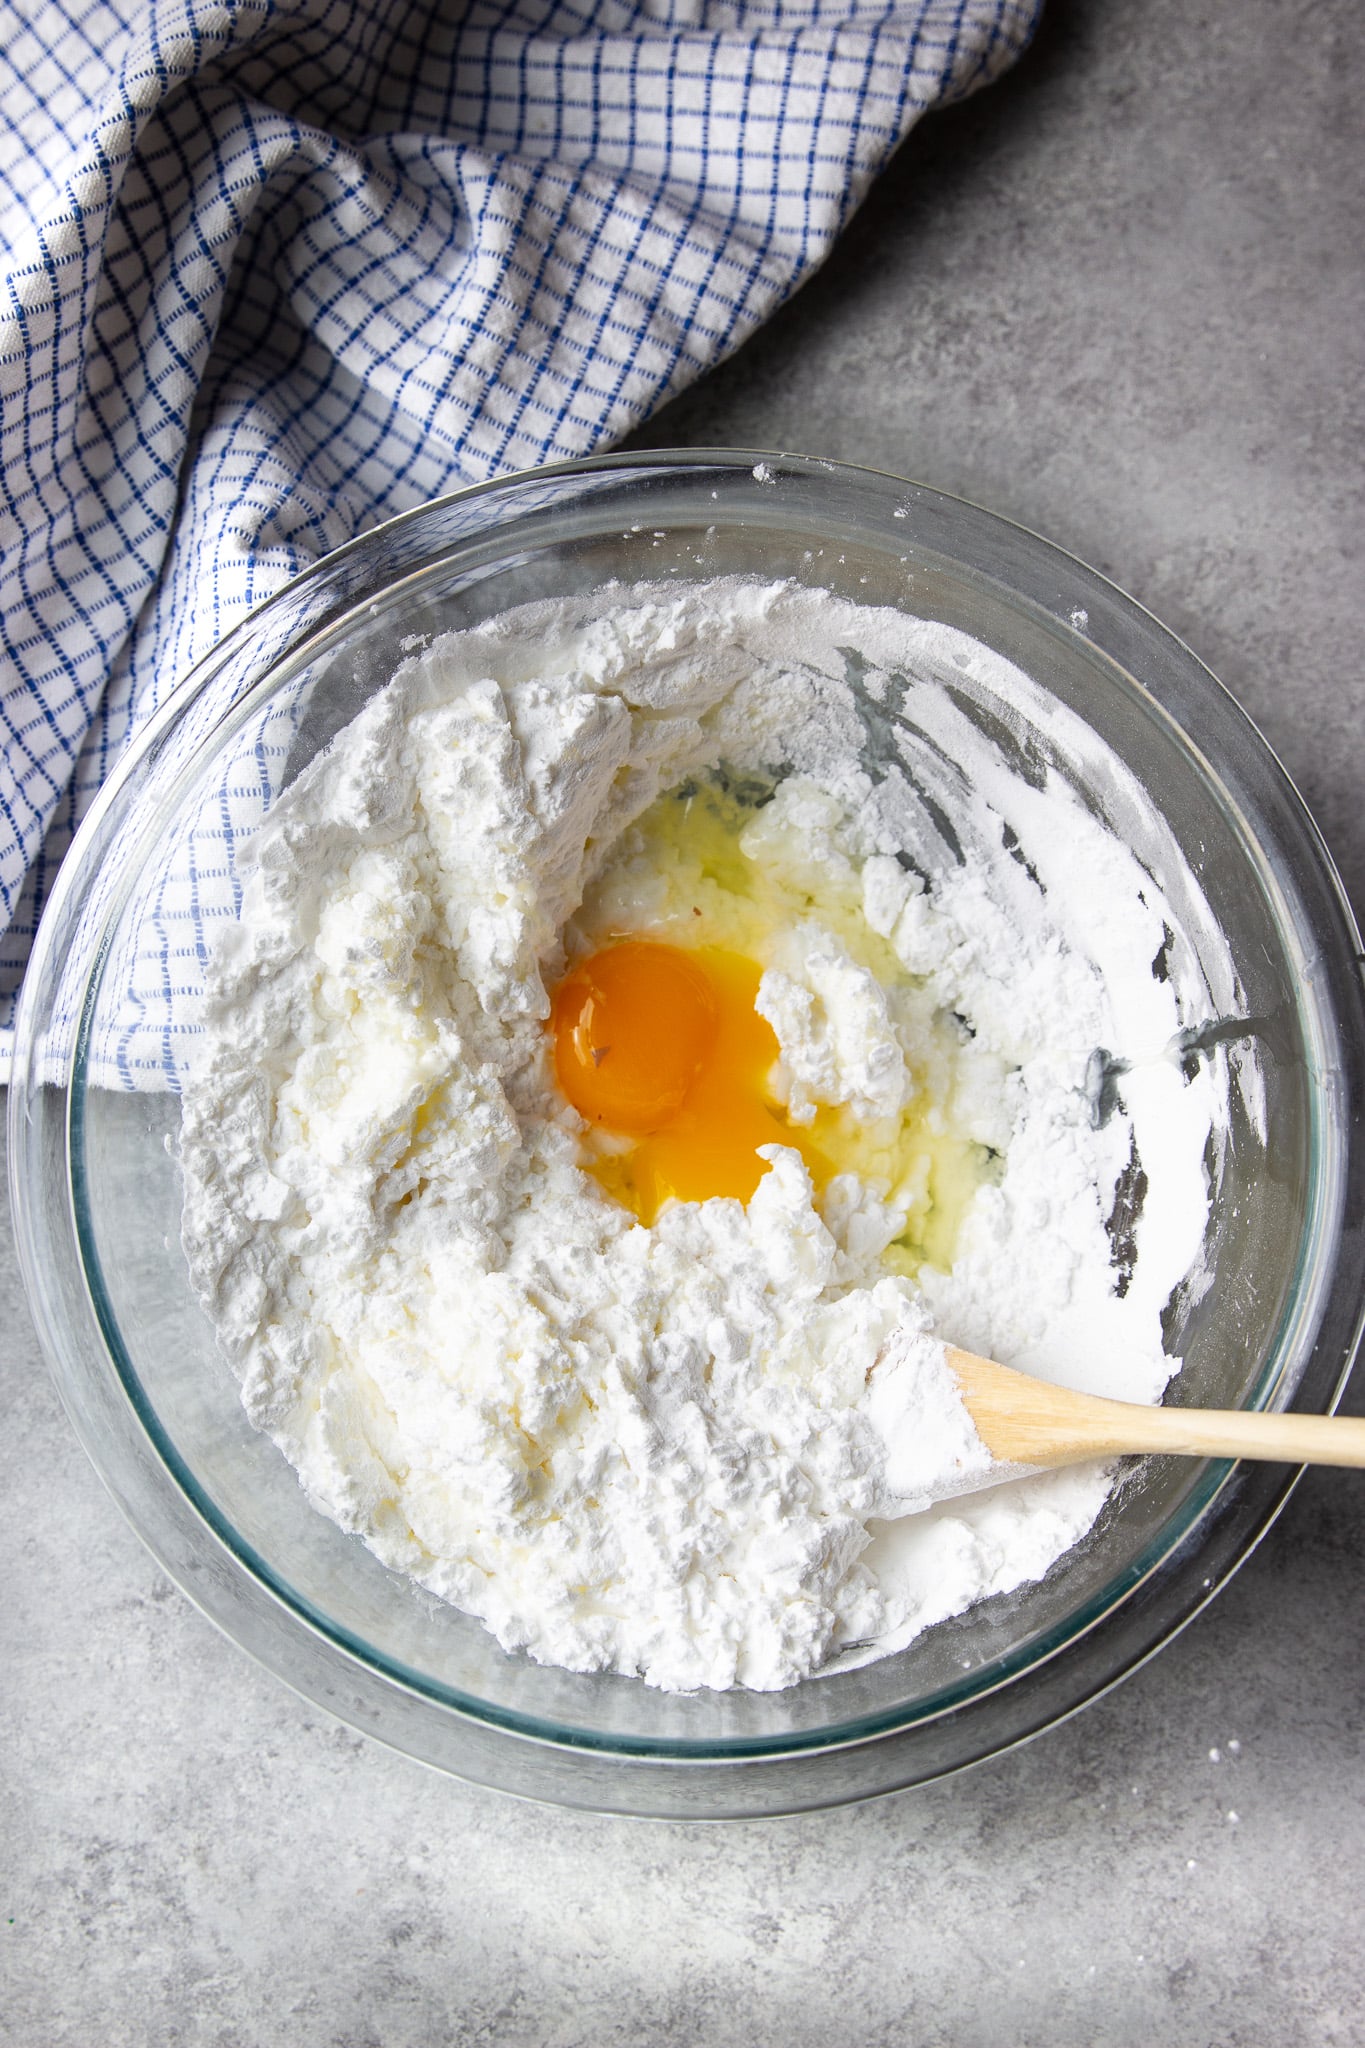
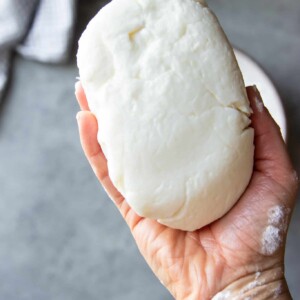
Step 4 – Now stir in the egg. Once the dough is starting to form into a sticky ball, add the cheese. Work and knead the dough with your hands until the cheese is fully incorporated.
💡 Note: The dough should be soft and slightly sticky. This texture is key to achieving the light, chewy interior once baked
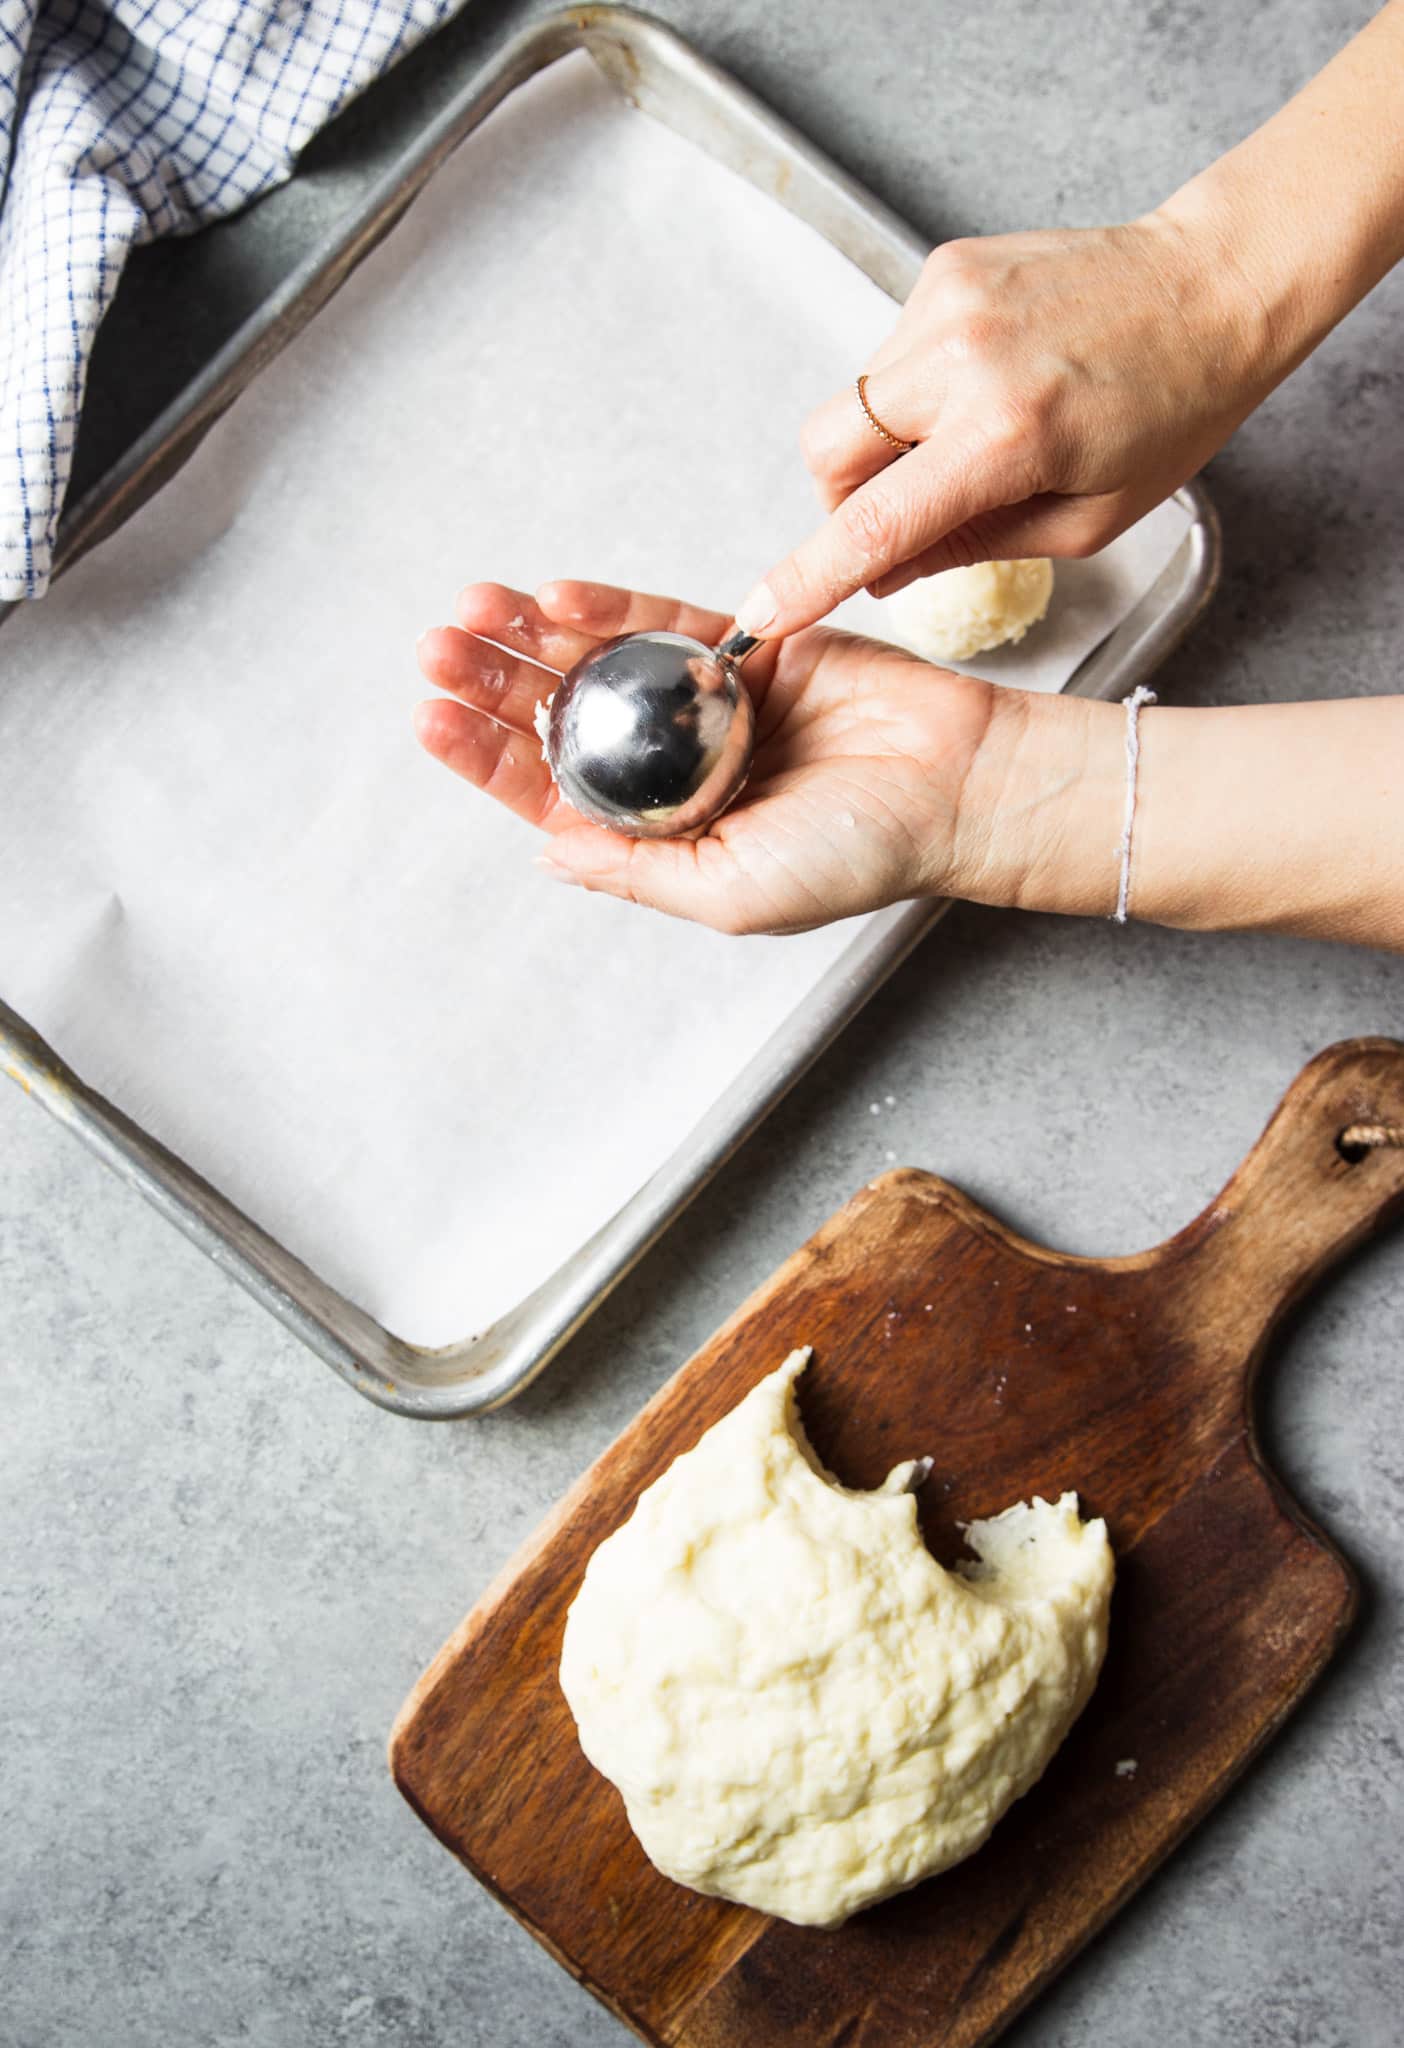
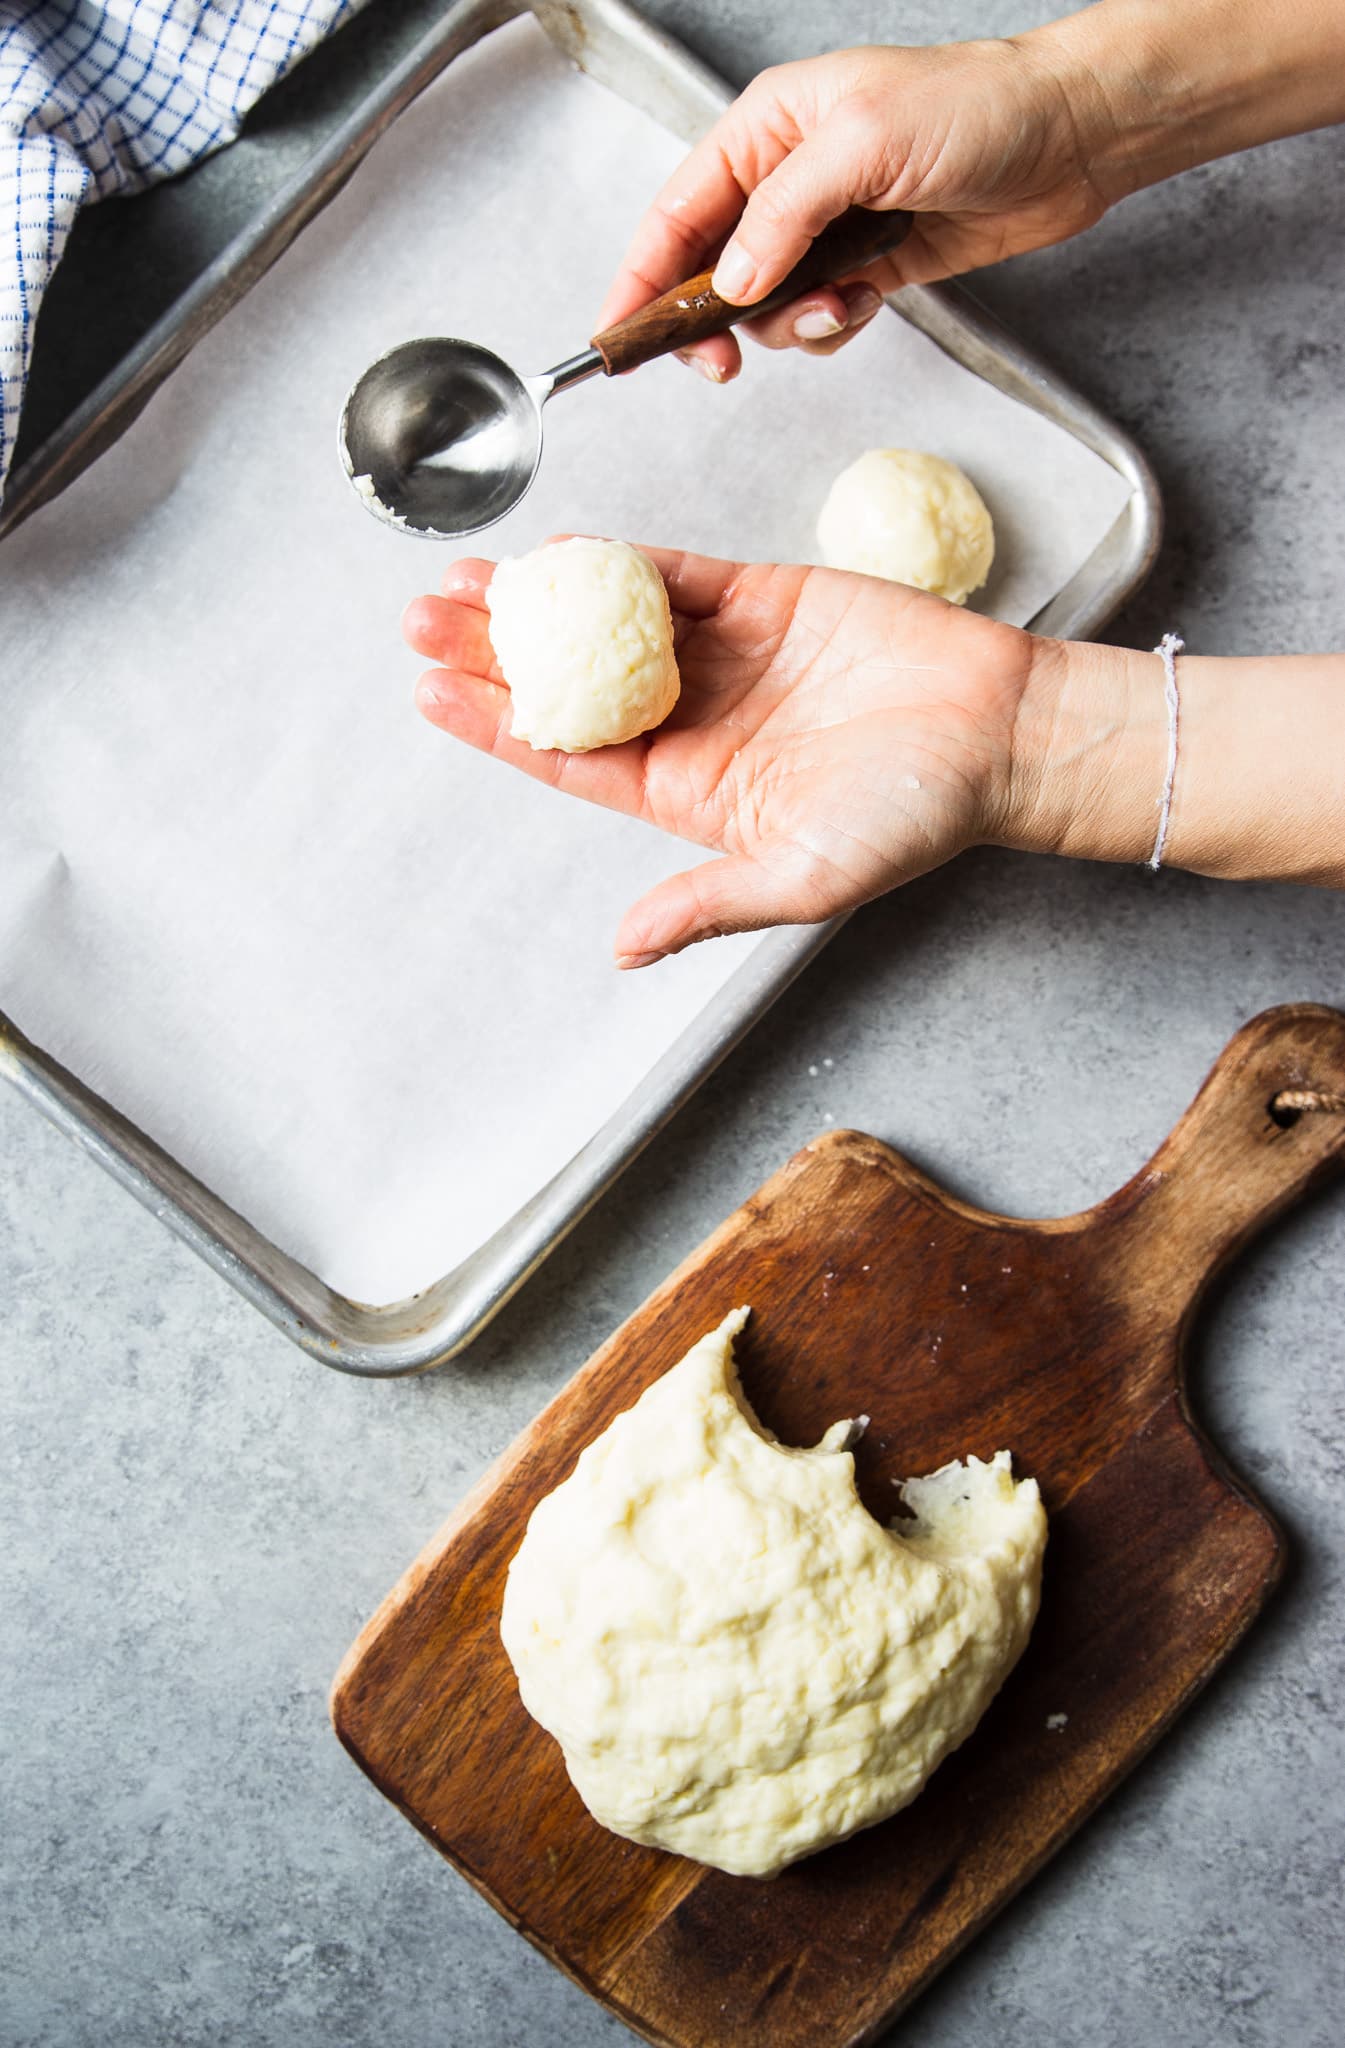
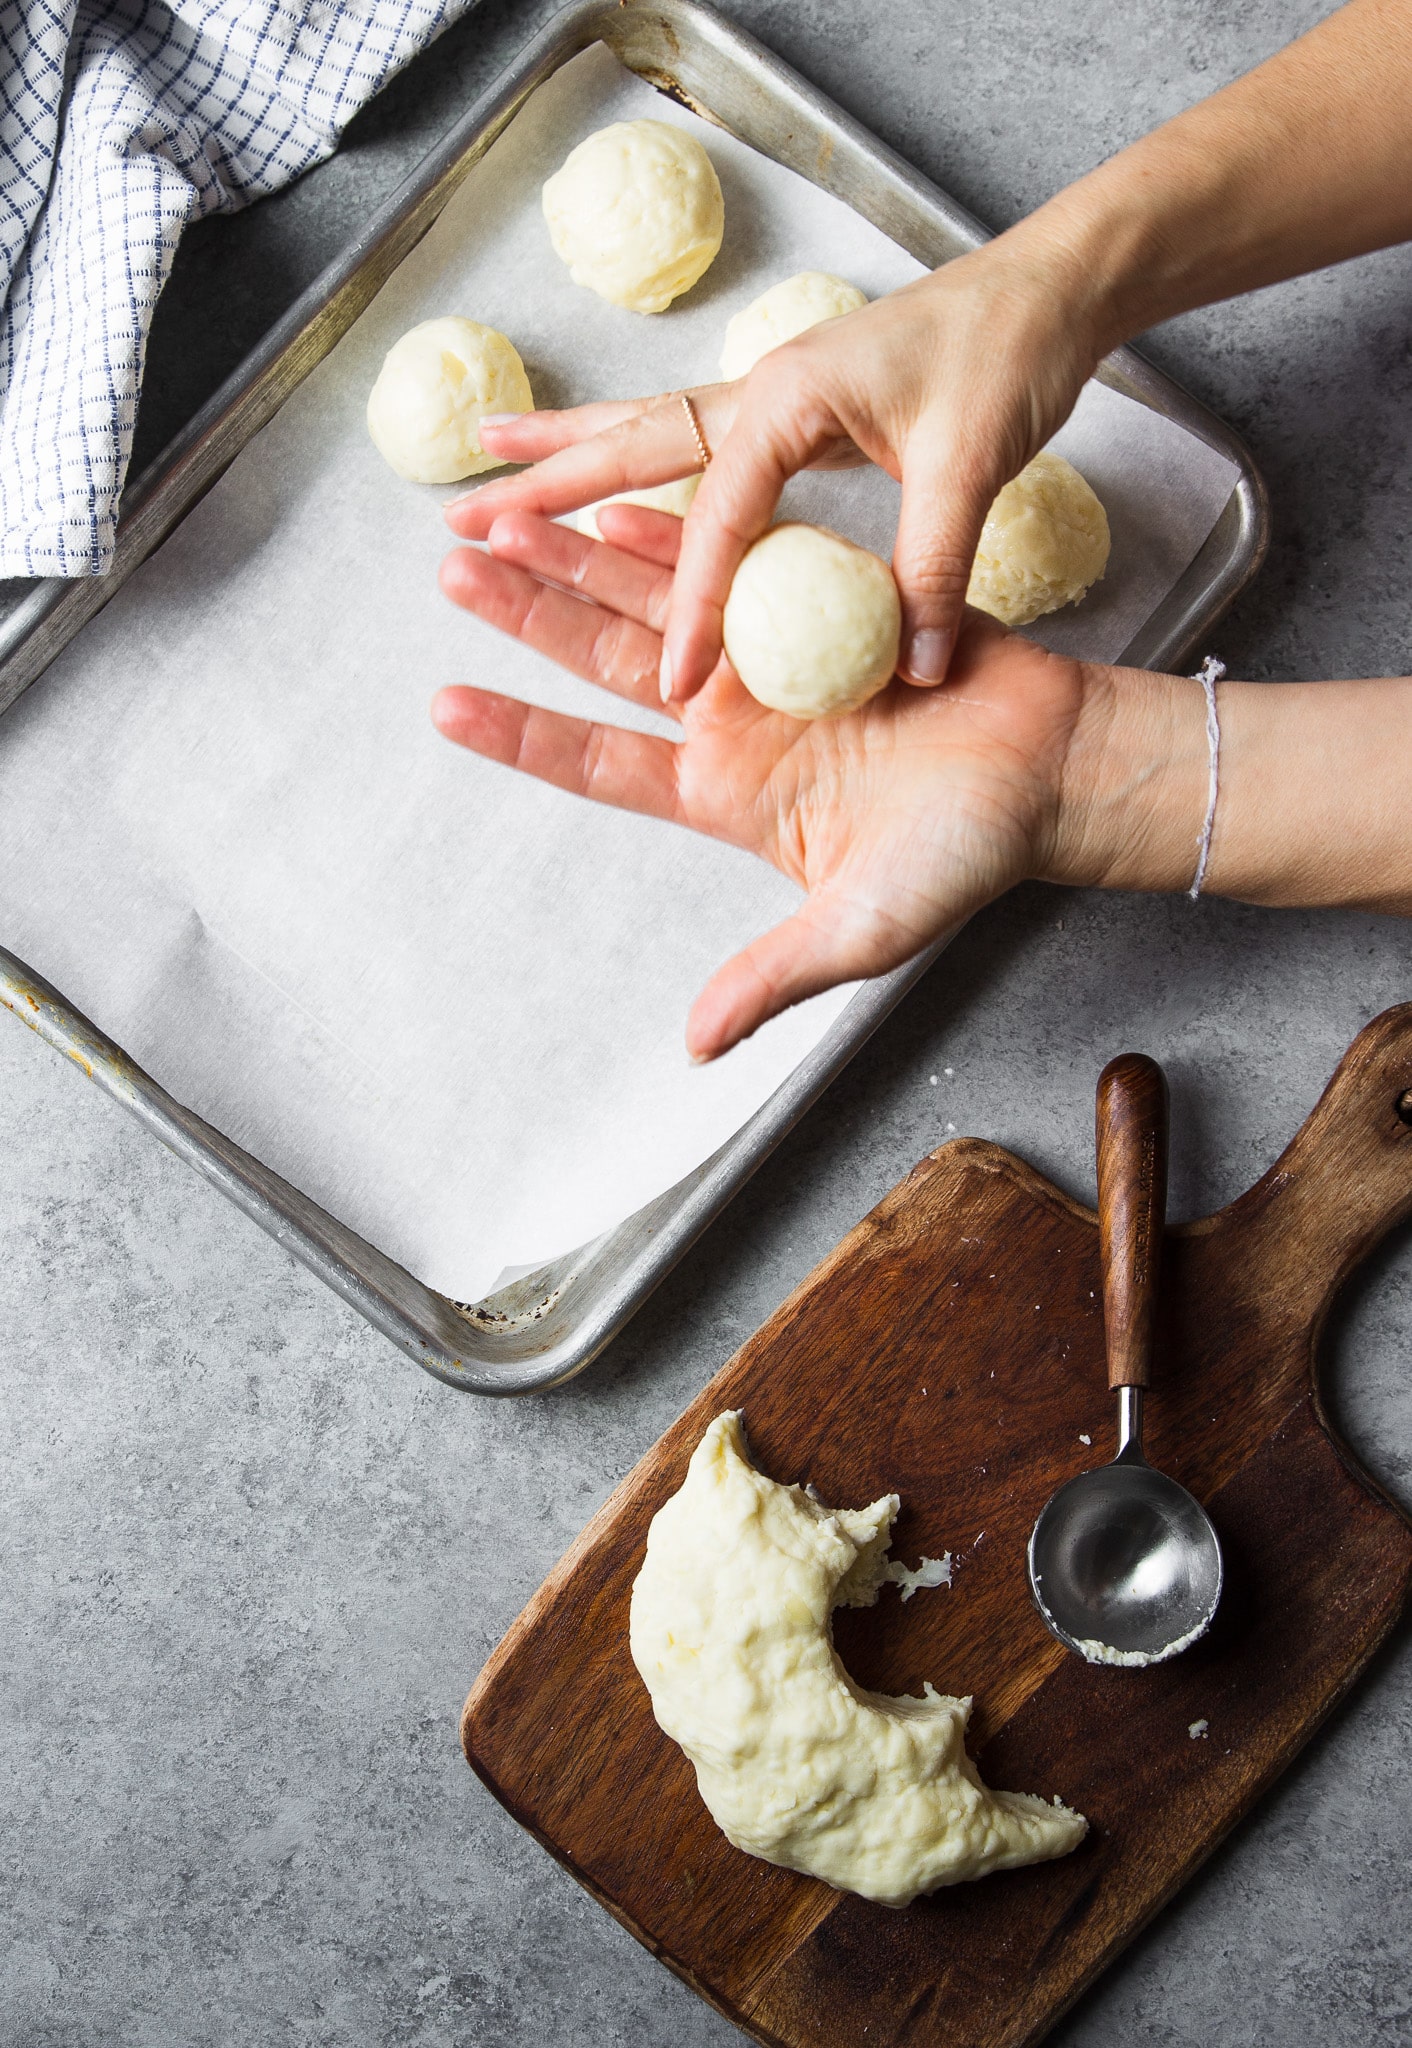
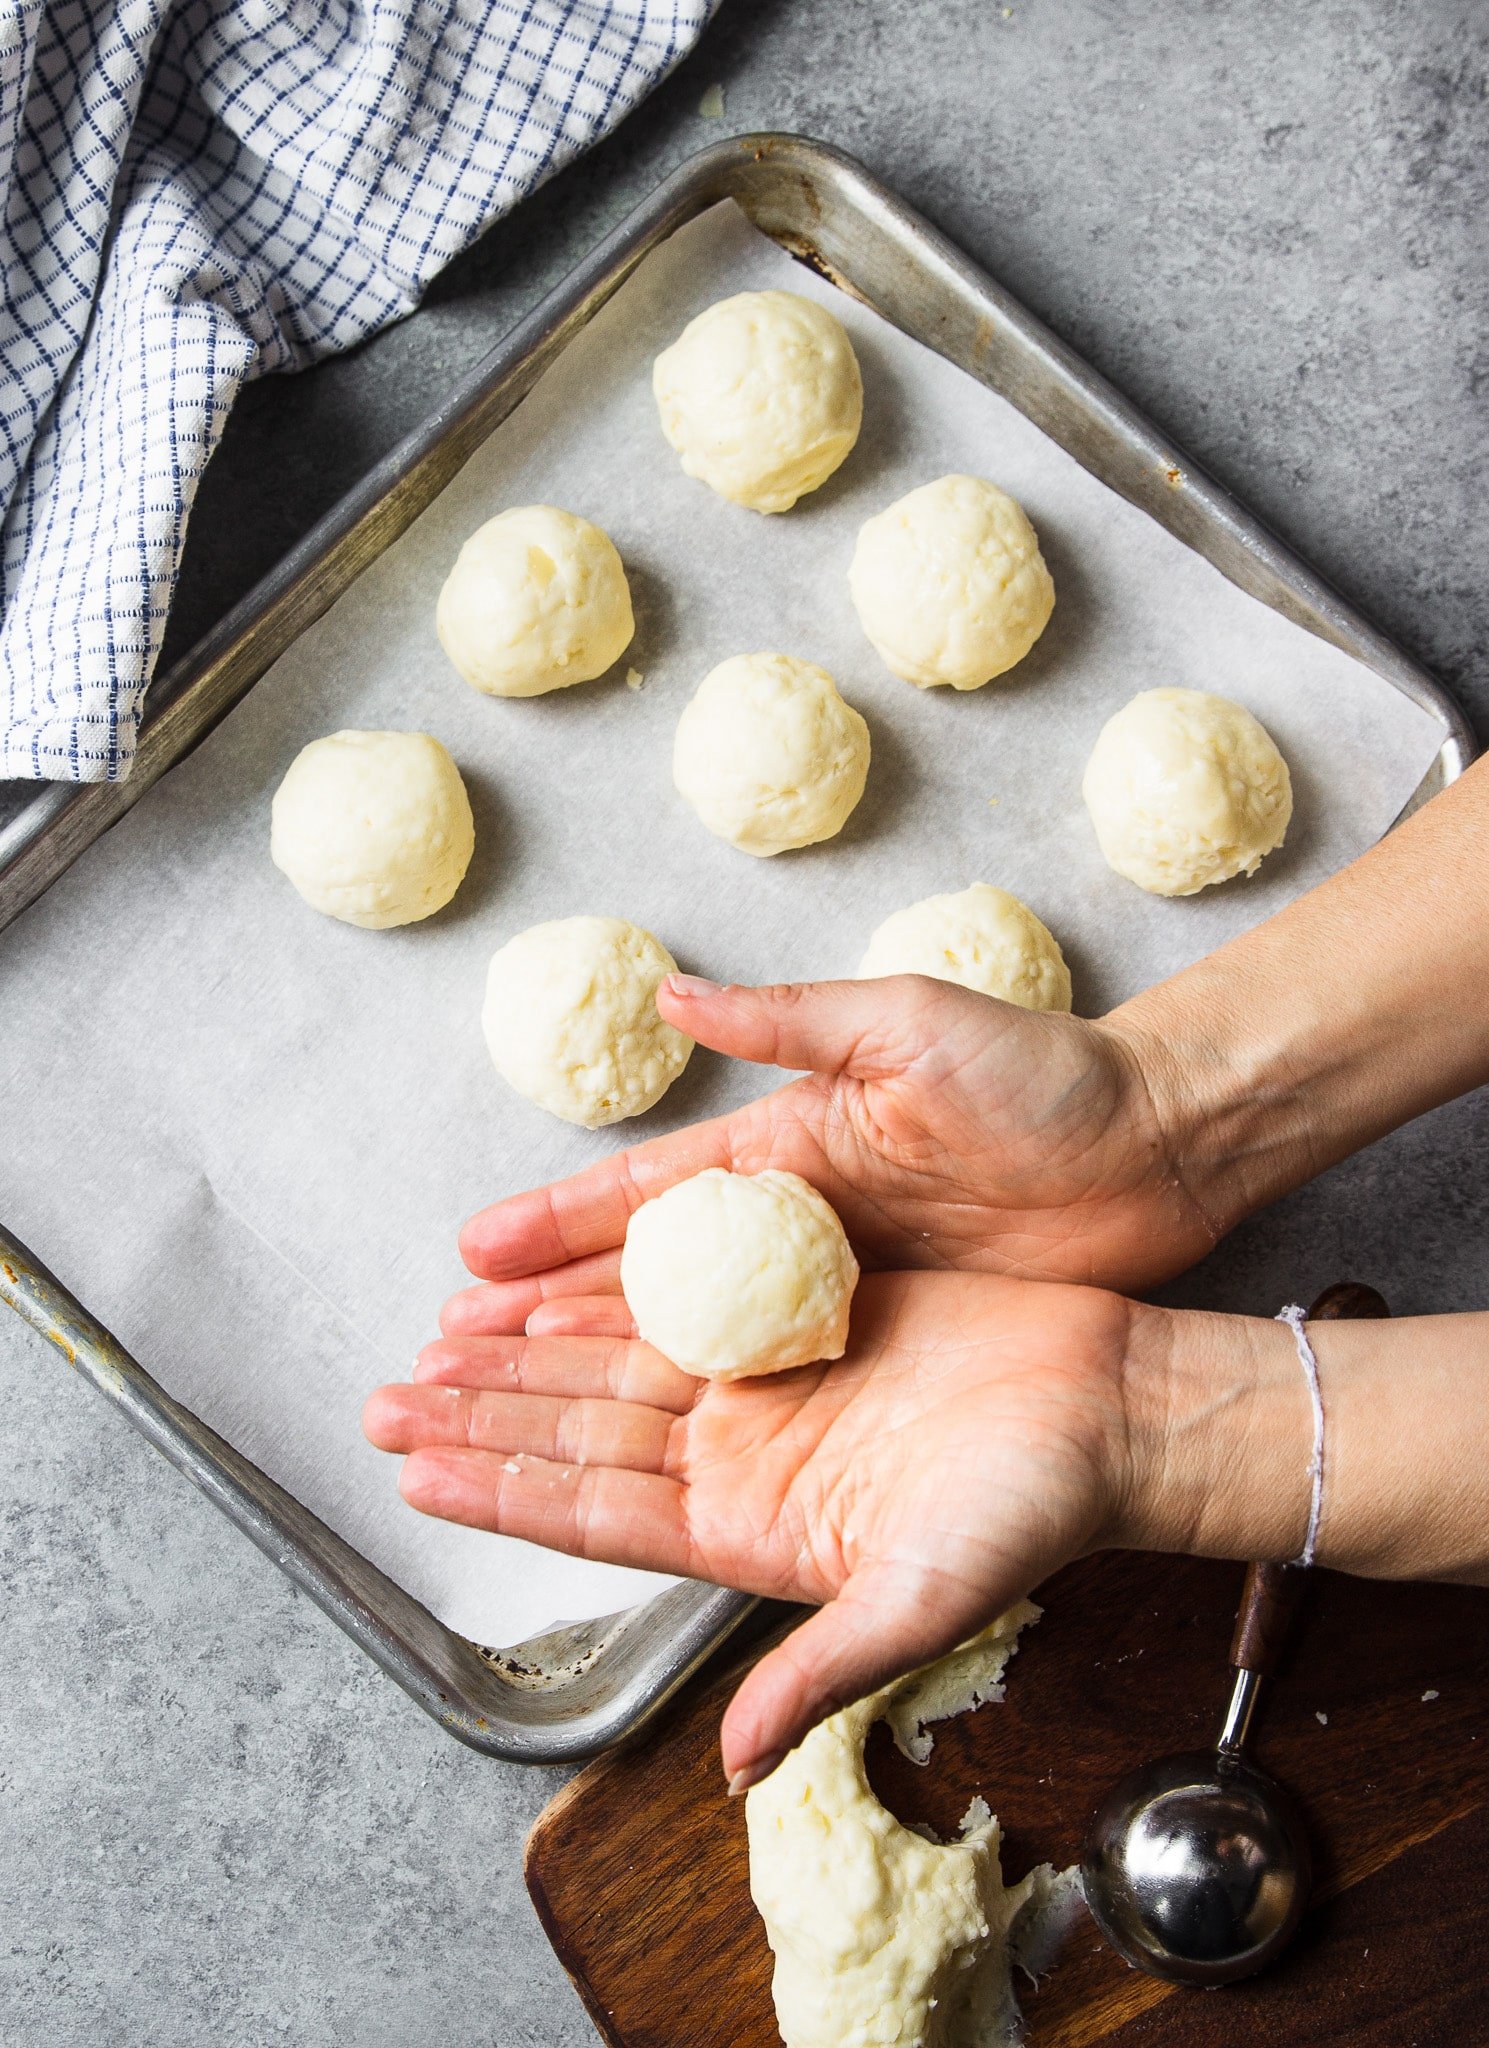
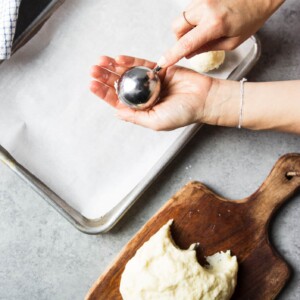
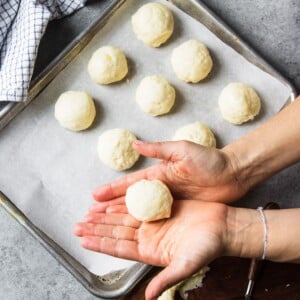
Step 5 – Lightly oil your hands. Use an oiled spoon to scoop up pieces of dough, then roll them into small balls with your hands. Place the dough balls on a lined baking sheet.
- Tip: Baking the cheese bread in lightly oiled muffin tins will give each one the same consistent shape, but this is optional.
Step 6 – Bake until the cheese bread is golden. Let them cool for a few minutes, then serve.
silvia’s special tips
👉🏻 Place the milk and egg on the kitchen counter for 30 minutes ahead of making this recipe so they can come down to room temperature.
👉🏻 Don’t take your eyes off the milk and oil mixture when it’s on the stove. Boiled milk will rise and spill over very easily!
👉🏻 Try to avoid taking the milk and oil mixture off of the heat as it’s boiling because this will cause the two to separate.
👉🏻 The dough should be sticky and gluey as it’s coming together. However, if it’s too sticky to work with, try stirring in 1 extra tablespoon of tapioca flour.
👉🏻 Please trust the process! 🧡
Try these cassava, yuca and tapioca recipes next!


What to serve with pão de queijo
Most Brazilians enjoy cheese bread alongside a strong cup of coffee or what we call “cafézinho” which is smilier to an espresso shot. Pão de queijo is best enjoyed warm and simple with coffee, soup and stews such as this Brazilian Beef Stew, Black Bean Soup or Lentil Soup or as a snack straight from the oven.
Frequently asked questions
I don’t recommend making this recipe with any substitutions, and that includes the tapioca flour which gives pão de queijo that signature chewy consistency.
Don’t panic if the bread is gooey or gummy in the middle! This is what makes Brazilian cheese bread so authentic and delicious!
More traditional Brazilian to try


Brazilian Cheese Bread (Pão de Queijo)
Ingredients
- 2 cups tapioca flour + 1 tbsp
- 1/4 tsp salt
- 2/3 cup milk
- 1/4 cup vegetable or canola oil
- 1 egg
- 1/3 cup parmesan cheese
- 2/3 cup mozzarella cheese
Instructions
- In a medium bowl stir in tapioca flour and salt. Set aside

- Boil milk and oil until mixture starts to rise. Keep an eye on this, once boiling milk will rise quickly. When removed from heat the milk and oil will separate again.
- Pour hot milk mixture on to flour bowl. Using a wooden spoon start to stir slowly, allowing mixture to cool down for a bit but don't over work the mixture at this point.
- Add in the egg. Notice the dough and milk aren't fully combined. Now you can start to work the dough until it forms into a ball. When the dough is just about formed add in cheeses and work it into the dough.
- You can do this by hand, I find it much easier (photo instructions are in the post). If dough appears too sticky, use additional tablespoon of tapioca flour however the nature of the dough is sticky and gluey. The additional flour is so that it is easy to roll into balls.
- Oil the palm of your hands as well as a scoop. Scoop up the dough and then form into balls.
- Place cheese bread balls onto a lined baking sheet leaving about an inch or two of space in between each cheese ball.
- Bake at 350F degrees for 25 minutes or until cheese bread is golden. Use the top shelf in your oven so the cheese bread won't burn on the bottom.

Notes
Making ahead and storing
To make ahead: Form the dough into a ball and wrap it in a layer of plastic. It can be stored in the fridge like this for up to 1 week. To store: The baked bread can be stored in an airtight container at room temperature for 2 to 3 days. To keep them for even longer, store them in the fridge.Nutrition
Nutrition information is automatically calculated, so should only be used as an approximation.


This recipe couldn’t be simpler or more delicious. I tried another recipe for Brazilian cheese bread that was not nearly as easy or tasty. This will be the only recipe I use from now on.
That’s so great Laura, happy to hear that you enjoyed it! xoxo
This is one of the best Brazilian food to the breakfast and this recipe is incredible. I love it!