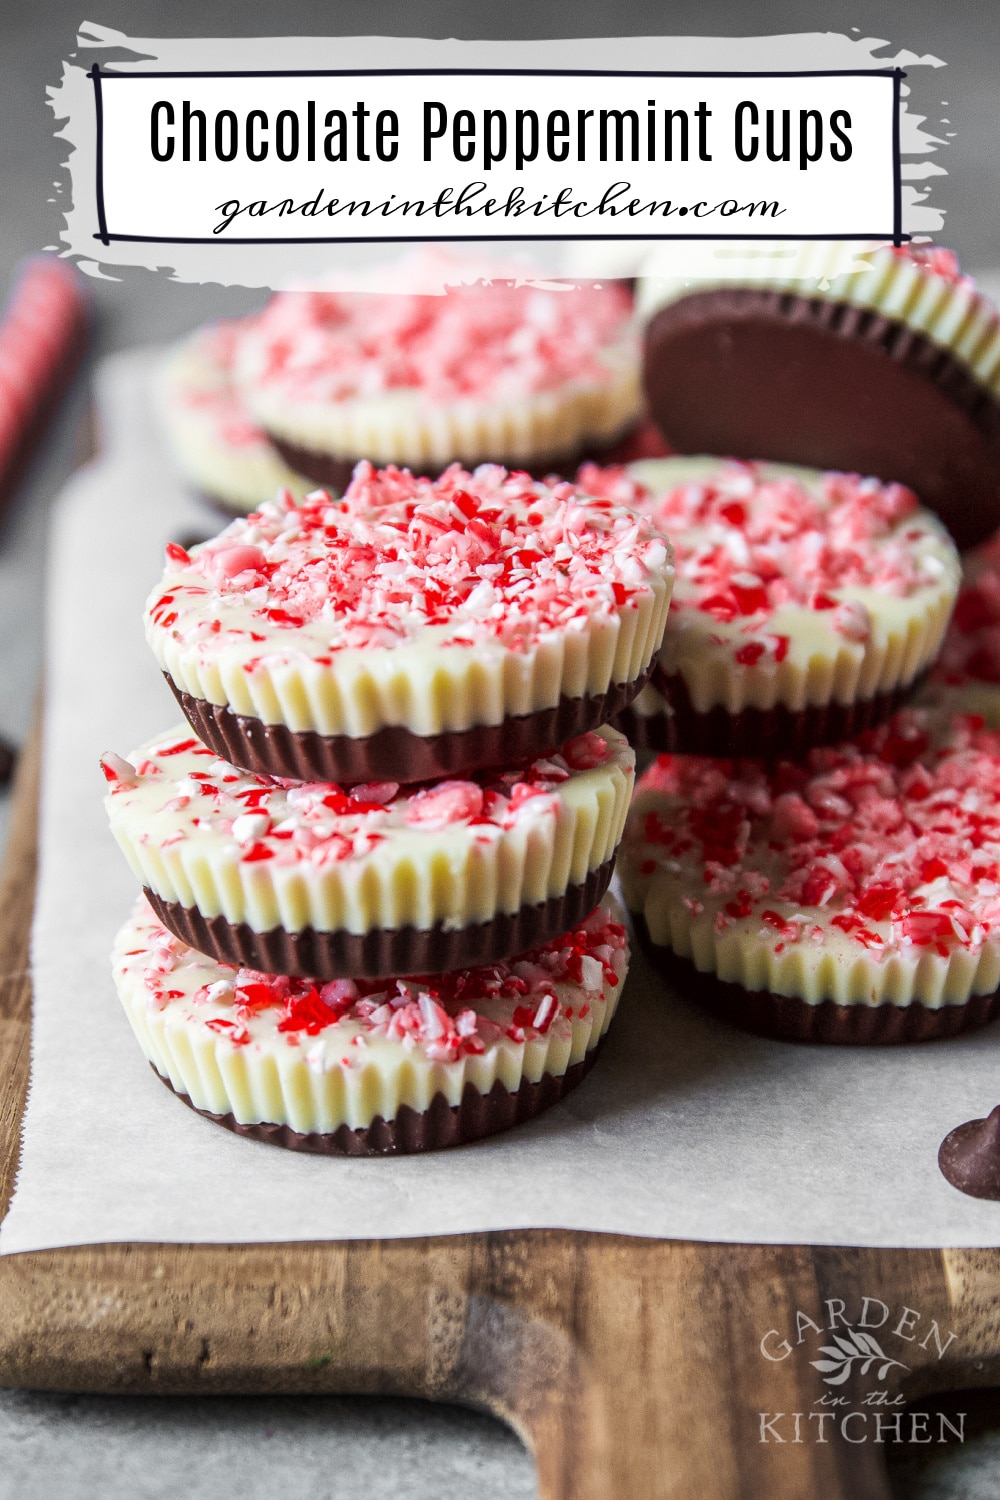
Make the holidays extra jolly with these no-bake Chocolate Peppermint Cups. Layers of melted milk and white chocolate are topped with crushed candy canes before being chilled and enjoyed. Give them away as edible Christmas gifts or serve as an after-dinner treat!
If you need a fun edible gift for the holidays, then you’ll love these Chocolate Peppermint Cups! They’re just like Chocolate Peanut Butter Cups but layered with two kinds of chocolate and crushed candy canes. Each bite is sweet, chocolatey, and delightfully minty.
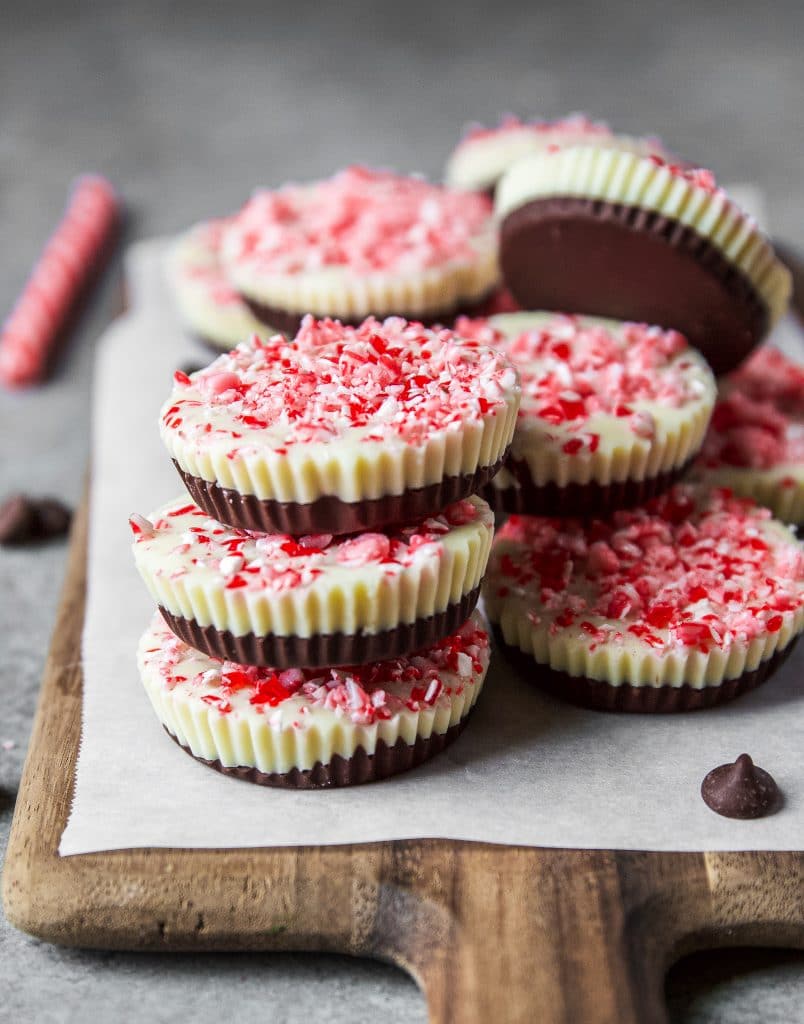
Table of Contents
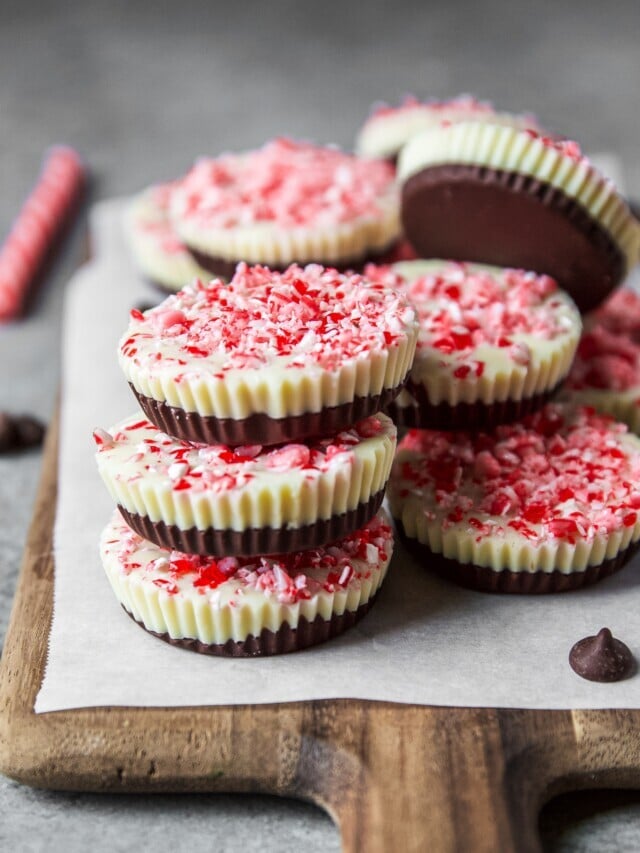
You’ll find three layers in these peppermint desserts:
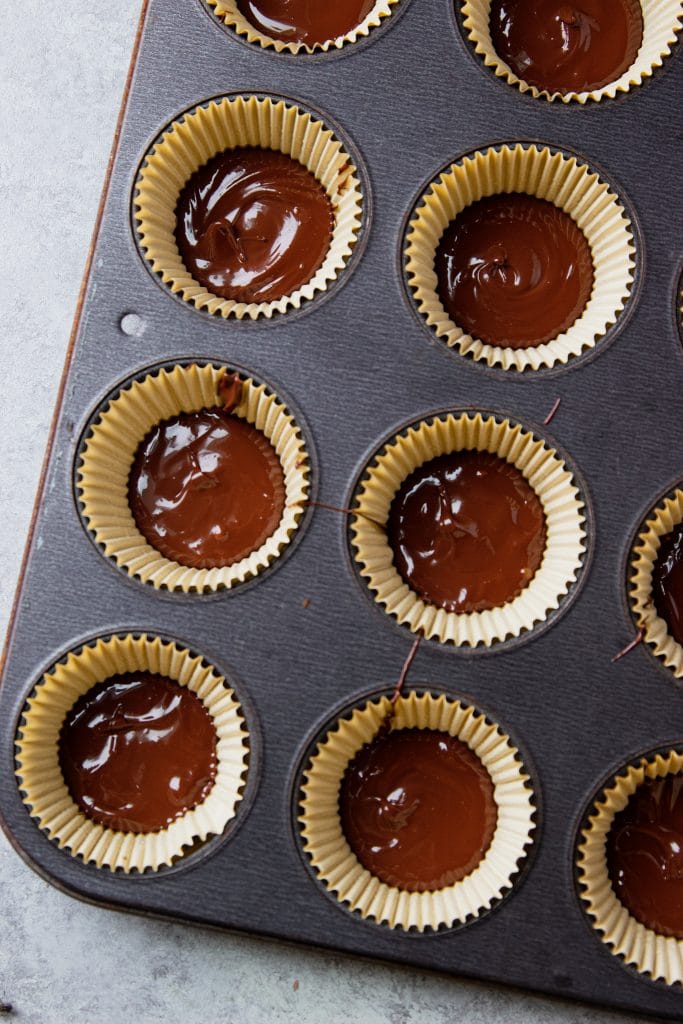
- Melted milk chocolate
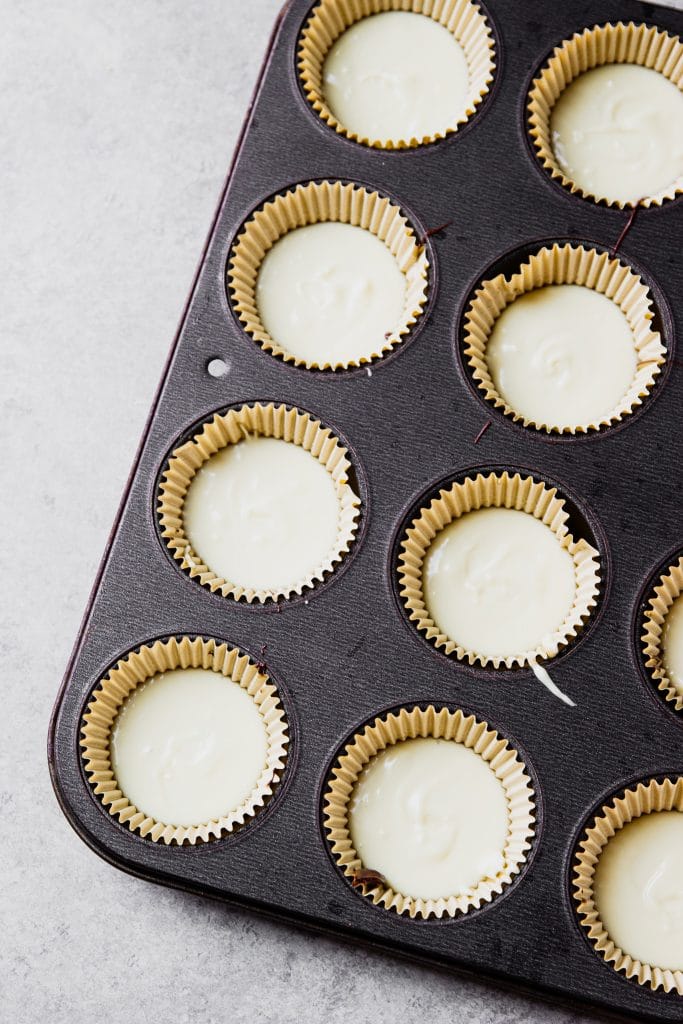
- Melted white chocolate
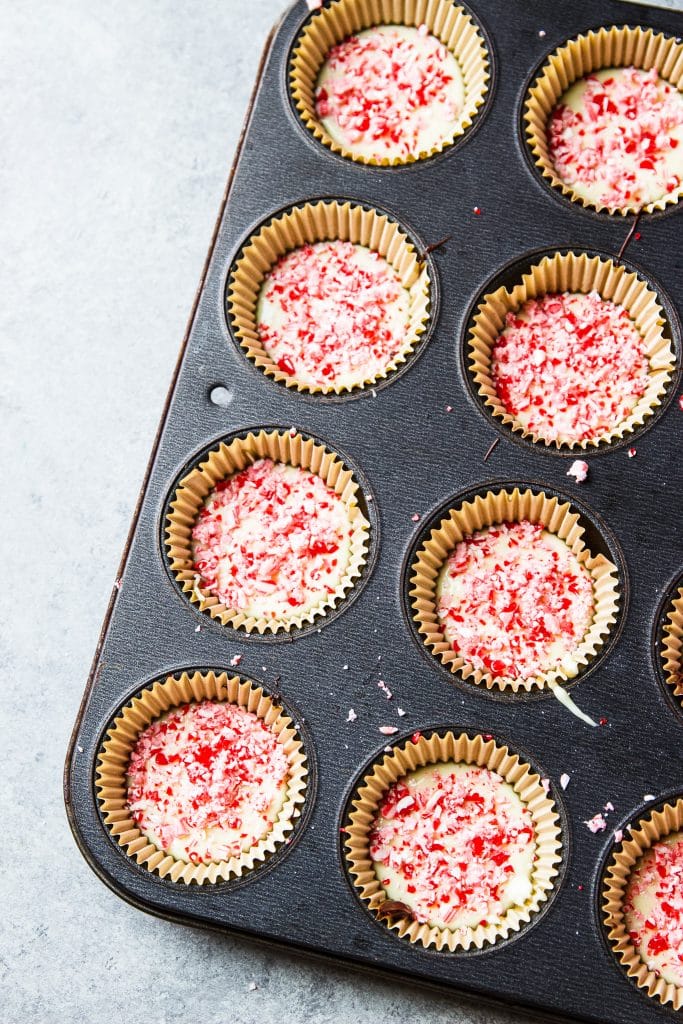
- Crushed candy canes on top
These mint chocolate cups are just as fun to eat as they are to give away as gifts. Place a few in a gift bag and give them to all of your friends, family, coworkers, and neighbors this holiday season.
And if you’re craving more chocolate and peppermint desserts, be sure to try my Double Chocolate Peppermint Cookies and Chocolate Peppermint Marshmallow Cups as well!
Why are these chocolate peppermint cups the best?
- Not one, but two kinds of chocolate: Melted milk chocolate and white chocolate are layered on top of each other. To avoid the dreaded grainy melted white chocolate, I added ½ tablespoon of coconut oil to smooth it out. All you get are luxurious bites of silky smooth chocolate.
- An easy no-bake treat: You don’t need to turn the oven on to make these peppermint desserts. Simply melt the chocolate on the stove or microwave, place them in the fridge to harden, and enjoy! How easy is that?
- Topped with crushed candy canes: What really makes these chocolate cups the ultimate holiday treat is the crushed candy canes on top. They bring a festive flair to every bite. Plus, chocolate and peppermint are the perfect pairing!
Ingredients needed
You only need 4 ingredients to make these holiday treats:
- Chocolate – I used milk chocolate chips but a chopped chocolate bar or dark chocolate will also work.
- White chocolate – Again, you can use chips or a chopped white chocolate bar.
- Candy canes – Crush them up! The crushed candy canes are sprinkled on top of the white chocolate layer to give each bite a refreshing peppermint burst. If you don’t have candy canes, use peppermint sprinkles instead.
- Coconut oil – Melted coconut oil prevents the white chocolate from drying out and hardening immediately. Olive oil may work just as a substitute, but I haven’t tested it.
Equipment needed
- Silicone baking cups or paper muffin liners – You need at least 12 regular-sized molds. Mini-muffin molds work too!
- Saucepan – Water is brought up to a gentle simmer on the stove before a bowl filled with chocolate is placed on top. The steam from the hot water slowly melts the chocolate in the bowl.
- Heat-proof bowl – To melt the chocolate over the simmering water.
How to make chocolate peppermint cups
You need to move quickly in some parts of this recipe. Make sure your molds are ready and the candy canes are crushed before getting started.
Step 1: Fill a medium saucepan ⅓ full of water and bring it to a gentle simmer on the stove. Place the milk chocolate in a heat-proof bowl and put the bowl overtop of the saucepan (without touching the water) to create a double boiler. Keep stirring until the chocolate is melted.
Step 2: Scoop 1 tablespoon of melted milk chocolate into each silicone muffin mold. Place them in the fridge while you melt the white chocolate.
Step 3: Repeat step 1 with the white chocolate, but this time, stir in the coconut oil. Keep stirring until the chocolate is smooth and melted.
Step 4: Scoop 1 tablespoon of melted white chocolate over the hardened milk chocolate in the molds. Immediately sprinkle the crushed candy canes on top.
Step 5: Place them back in the fridge or freezer to set. They should firm up and be ready to enjoy after about 30 minutes!
Tips and tricks
- You can melt the chocolate in the microwave but the results can be inconsistent. The double boiler method is much more effective.
- Melting white chocolate can be tricky; sometimes it turns out clumpy or grainy, it separates, or it dries or hardens quickly. Stirring coconut oil in with the melted chocolate solves all of these issues, so try not to skip it!
- I love making these in silicone molds but paper cupcake liners work just as well. The paper doesn’t stick to the melted chocolate, even without being sprayed with cooking spray.
- Feel free to add three layers of chocolate instead of two. Simply double the amount of milk chocolate and pour it over the white chocolate layer once hardened.
Variations
- Instead of candy canes, sprinkle chocolate sprinkles, rainbow sprinkles, coconut flakes, or edible silver balls on top.
- Craving extra peppermint? Stir ¼ teaspoon of peppermint extract in with the melted milk chocolate.
- Vegan chocolate cups – Use dark chocolate instead of milk chocolate and replace the white chocolate with vegan white chocolate chips.
Storing and gifting chocolate cups
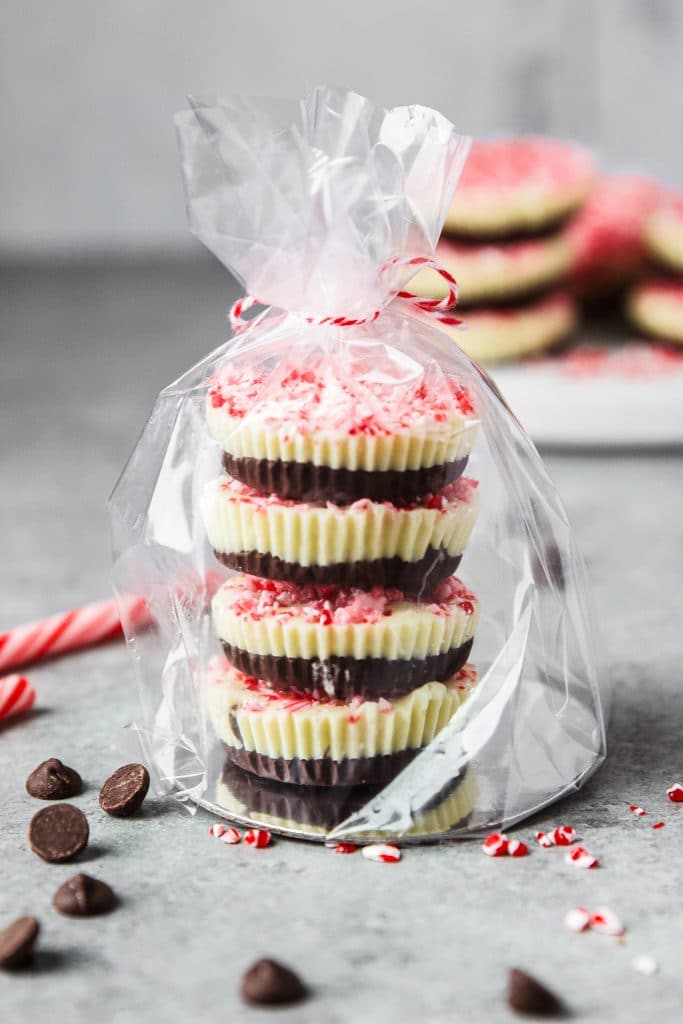
Gifting these chocolates to family and friends this Christmas? Place 4 or 5 in small gift bags or wrap them in cellophane and tie the top with a decorative bow.
To store: Keep the peppermint cups in an airtight container in the fridge for about 2 weeks or in the freezer for up to 3 months.
You can easily make these weeks in advance before giving them away as gifts. If frozen, transfer them to the fridge 1 day ahead so they’re easier to bite into.
Looking for more edible gift ideas?
- Cranberry Orange Cookies
- Homemade Herb Salt
- Garlic Parmesan Bread Wreath
- Salted Caramel Pecan Popcorn

Chocolate Peppermint Cups
Equipment
- Muffin Tin
Ingredients
- 9 oz milk chocolate chips
- 9 oz white chocolate chips
- 4 large candy cane, crushed*
- 1/2 tbsp coconut oil
Instructions
- Melt milk chocolate in microwave or a double boiler until creamy and smooth. If microwaving be sure to pause and stir every 15 seconds until completely melted. If using double boiler method, stir often until completely melted
- Scoop about a tbsp of melted milk chocolate into a pepper or silicone muffin mold. You will need 12 muffin molds. Refrigerate for at least 30 minutes or freeze for 15 minutes.
- Repeat step one to melt the white chocolate, but this time add coconut oil. White chocolate tend to dry out fast so the coconut oil will prevent it from hardening too soon.
- Repeat step two and scoop up a tbsp of white chocolate on top of milk chocolate. Imediatelly add crushed peppermint or sprinkles. Refrigerate for at least 30 minutes or freeze for 15 minutes.
Notes
Nutrition
Nutrition information is automatically calculated, so should only be used as an approximation.





What if any other oil could be used in place of coconut? I do not use it and not wanting to buy for this small amount. Thank you
That will likely work just as well
Hello!! I plan to make these scrumptious-looking candies for a dear friend who adores peppermint and milk chocolate combination candy; she is retiring next week from a high-stress job as a nurse (31 years; she deserves a nice treat!!)….My few questions are: (1) can the white chocolate be dyed light pink with food coloring (light pink is her favorite color!!); (2) can I put the crushed peppermint in the milk chocolate layer, and if the white chocolate can be dyed pink with red food coloring, can I then use crushed Oreos on the top for color-contrast?? And lastly (3) what brand of Coconut Oil do you use to keep the white chocolate from clumping?? I looked on Amazon, and was confused by all of the choices–some even emphasized using the Coconut Oil for hair, massage, etc., which confused me even more!! Sorry for the long message, and thanks for any help you can provide–my friend’s retirement gathering (which I am hosting!!) is in a few weeks…. 🙂
Hi Anne, responding to your questions; you can use any coconut oil for cooking (not massage or hair oil). Brands I like are Nativa, Spectrum and 365 Whole Foods brand. YES you CAN add a few drops of food coloring to make the white chocolate pink and YES you can add the crushed peppermint to the milk chocolate and add any other topping you like, Oreo sounds perfect! Enjoy making them and hope your friend will enjoy them too!
Turned these into keto friendly ones & they turned out great I just substituted the chips for Lily’s sugar free ones & then crushed up some peppermint sugar free ice chips on top!!!! They were so good that I decided to not give them out & just keep them for myself lol
HAHA, Love it!! let me tell you, we LOVE Lily’s chocolate. Anyway, so glad you liked it Kenna and thanks for taking the time to share you feedback!