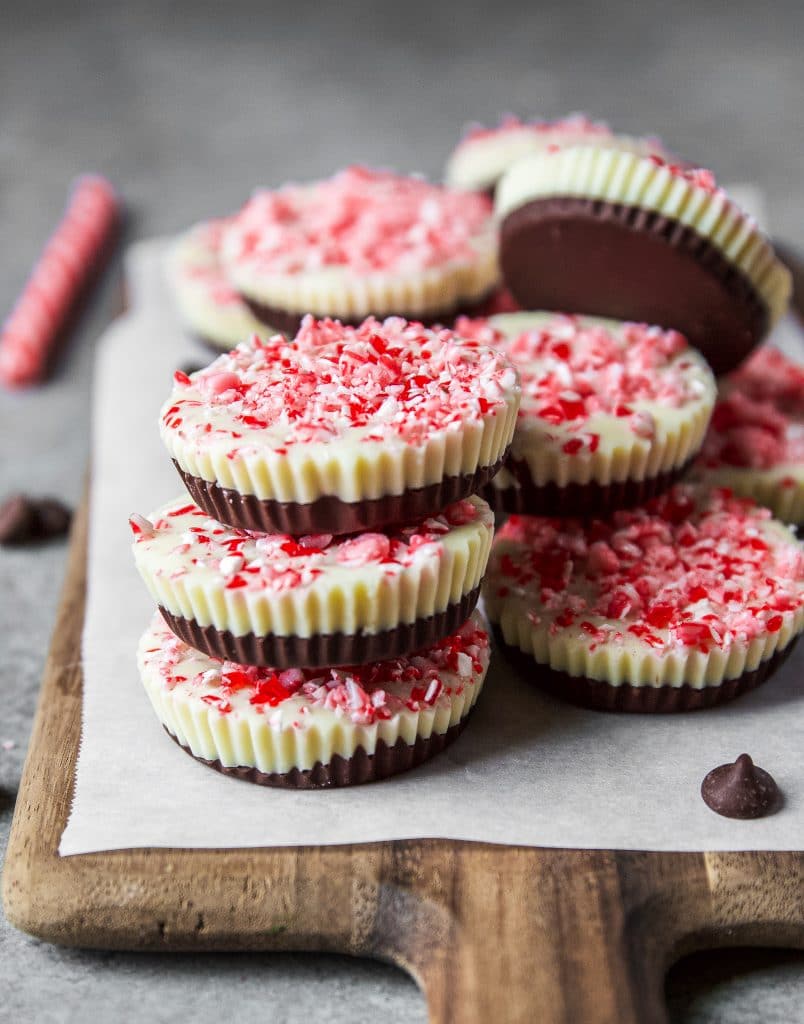
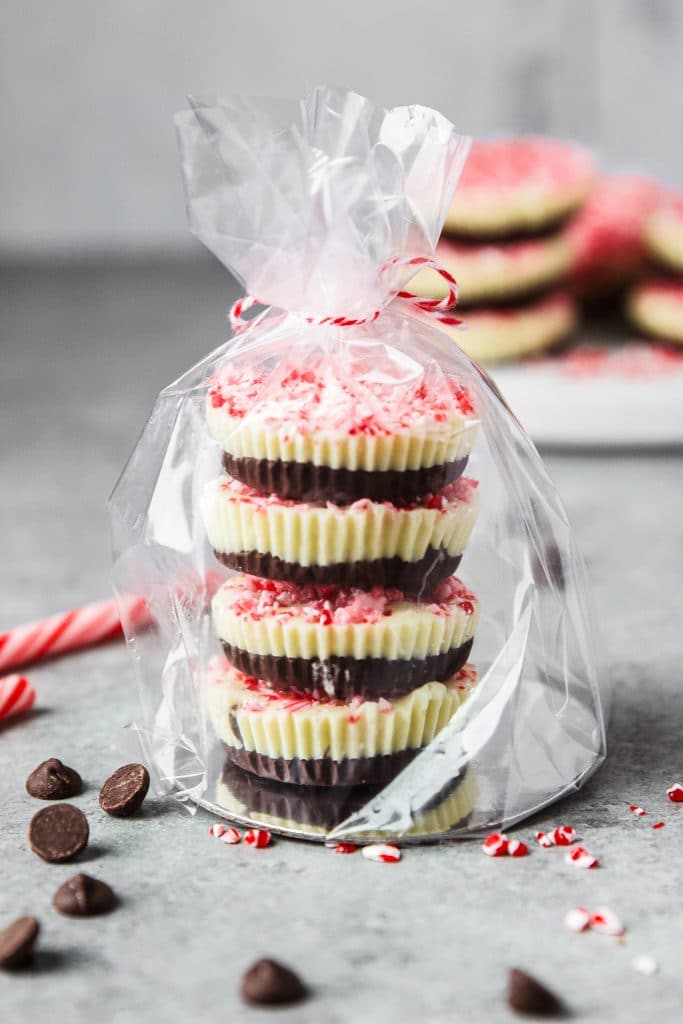
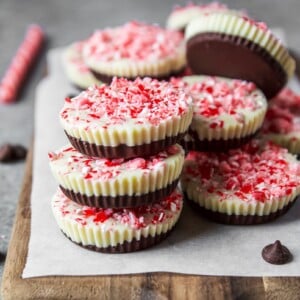
Make the holidays extra jolly with these no-bake Chocolate Peppermint Cups. Layers of melted milk and white chocolate are topped with crushed candy canes before being chilled and enjoyed. Give them away as edible Christmas gifts or serve as an after-dinner treat!
If you need a fun edible gift for the holidays, then you’ll love these Chocolate Peppermint Cups! They’re just like Chocolate Peanut Butter Cups but layered with two kinds of chocolate and crushed candy canes. Each bite is sweet, chocolatey, and delightfully minty.
What you’ll find in these layered peppermint bark holiday treat
- Melted milk chocolate – you can absolutely substitute for dark chocolate
- Melted white chocolate – so creamy and buttery
- Crushed candy canes on top – or candy cane sprinkles
These mint chocolate cups are just as fun to eat as they are to give away as gifts. Place a few in a gift bag and give them to all of your friends, family, coworkers, and neighbors this holiday season.
👉🏻 If you’re craving more chocolate and peppermint desserts, be sure to try my Holiday Brazilian Brigadeiros and Chocolate Peppermint Marshmallow Cups as well!
Why are these chocolate peppermint cups the best?
- Not one, but two kinds of chocolate: Melted milk chocolate and white chocolate are layered on top of each other. To avoid the dreaded grainy melted white chocolate, I added ½ tablespoon of coconut oil to smooth it out. All you get are luxurious bites of silky smooth chocolate.
- An easy no-bake treat: You don’t need to turn the oven on to make these peppermint desserts. Simply melt the chocolate on the stove or microwave, place them in the fridge to harden, and enjoy! How easy is that?
- Topped with crushed candy canes: What really makes these chocolate cups the ultimate holiday treat is the crushed candy canes on top. They bring a festive flair to every bite. Plus, chocolate and peppermint are the perfect pairing!
Ingredients needed
You only need 4 ingredients to make these holiday treats:
- Chocolate – I used milk chocolate chips but a chopped chocolate bar or dark chocolate will also work.
- White chocolate – Again, you can use chips or a chopped white chocolate bar.
- Candy canes – Crush them up! The crushed candy canes are sprinkled on top of the white chocolate layer to give each bite a refreshing peppermint burst. If you don’t have candy canes, use peppermint sprinkles instead.
- Coconut oil – Melted coconut oil prevents the white chocolate from drying out and hardening immediately. Olive oil may work just as a substitute, but I haven’t tested it.
kitchen tools and accessories you’ll need
Silicone Muffin Cups or Standard Natural Paper Liners, either will work just fine.
Nonstick Muffin Baking Pan will help keep their shape.
Any chocolate will work but I like to use Enjoy Life Semi-sweet Chocolate Mini Chip for both milk chocolate and white chocolate
Use this Candy Cane Peppermint Crunch for a shortcut or crush up your own batch of candy cane.
For an edible gift use these Flat Bottom Gusset Treat Bags, they come in 50 pcs clear cellophane with twist ties.
How to make chocolate peppermint cups
You need to move quickly in some parts of this recipe. Make sure your molds are ready and the candy canes are crushed before getting started.
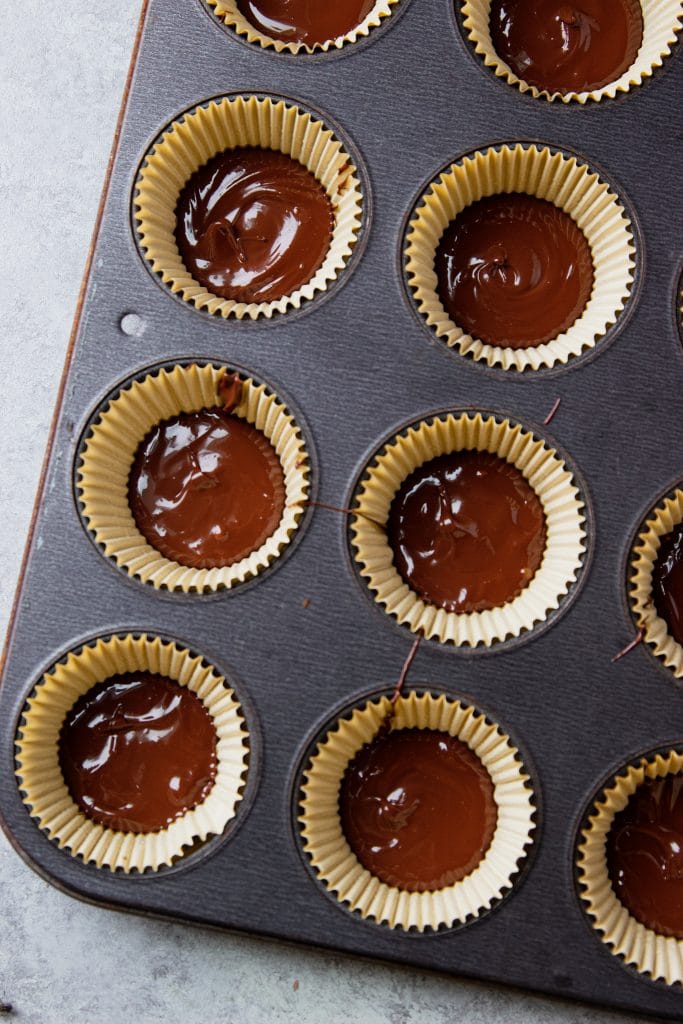
Step 1: Fill a medium saucepan ⅓ full of water and bring it to a gentle simmer on the stove. Place the milk chocolate in a heat-proof bowl and put the bowl overtop of the saucepan (without touching the water) to create a double boiler. Keep stirring until the chocolate is melted.
Step 2: Scoop 1 tablespoon of melted milk chocolate into each silicone muffin mold. Place them in the fridge while you melt the white chocolate.
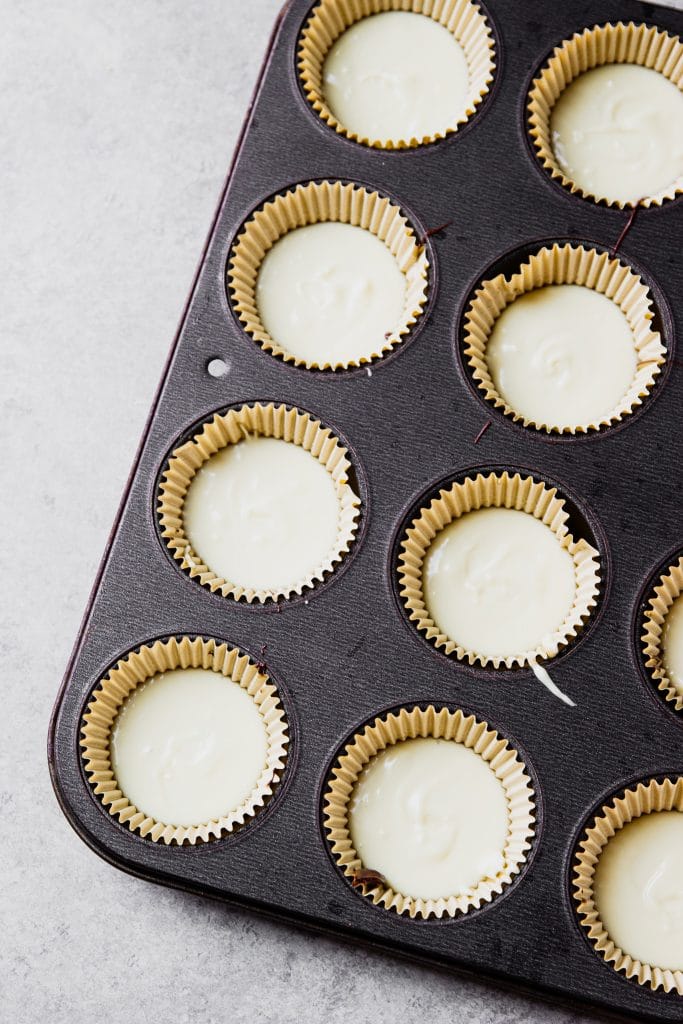
Step 3: Repeat step 1 with the white chocolate, but this time, stir in the coconut oil. Keep stirring until the chocolate is smooth and melted.
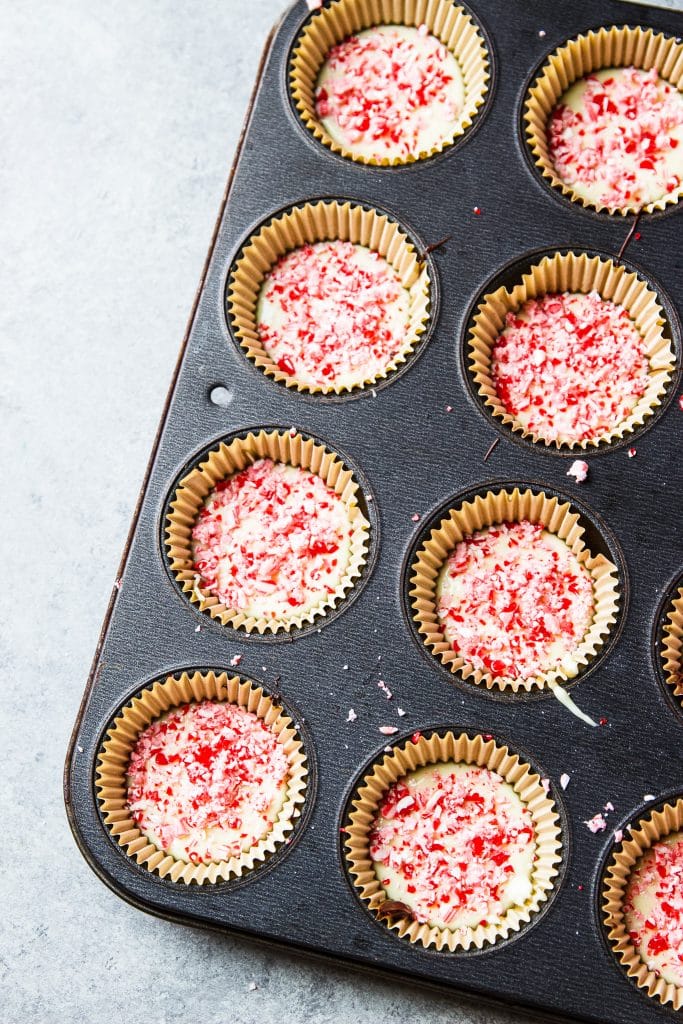
Step 4: Scoop 1 tablespoon of melted white chocolate over the hardened milk chocolate in the molds. Immediately sprinkle the crushed candy canes on top.
Step 5: Place them back in the fridge or freezer to set. They should firm up and be ready to enjoy after about 30 minutes!
Fun Holiday-Themed Variations
Make these Chocolate Peppermint Cups your own with one of the festive variations below. Whether you love dark chocolate, want something creamier, or need a vegan version, these customizable ideas make your holiday treat tray even more special.
⒈ Dark Chocolate Peppermint Cups – If you love deeper, more intense chocolate flavor, swap the milk chocolate layer for 70% dark chocolate. The bitterness of dark chocolate balances the peppermint beautifully and creates a more “adult” holiday treat. You can still finish with white chocolate and crushed candy canes for the classic festive look.
⒉ Peppermint Bark Style – This version looks very Christmas cookie tray friendly. How to make it:
- Stir 2 tablespoons finely crushed candy cane into the melted white chocolate before pouring.
- Top with more crushed candy cane for a crackly “bark” finish.
⒊ Nutty Crunchy Peppermint Cups – This variation adds nuts for big holiday crunch, making these cups extra fun for gifting. This is a great way to break up the sweetness and add texture. How to make it:
- Sprinkle 1 teaspoon of finely chopped nuts of choice onto the milk chocolate layer before adding the white chocolate.
- Finish with a mix of almonds + crushed peppermint on top.
⒋ Hot Cocoa Peppermint Cups – Inspired by cozy mugs of peppermint hot cocoa! This version includes a thin layer of chocolate mixed with mini marshmallow bits. How to make it:
- Stir 1–2 tablespoons of mini marshmallows (the kind used in cocoa mix) into the milk chocolate layer.
- Continue with white chocolate + peppermint topping.
How to package chocolate peppermint cookies for edible gifts
These chocolate peppermint cups make such a sweet homemade gift for teachers, neighbors, coworkers, or friends. Here are a few simple ideas for packaging:
- Mini cupcake liners: Nest each cup in a festive mini liner, then arrange them in a shallow bakery box or tin.
- Cookie tins or gift boxes: Line the bottom with parchment paper, add the cups in a single layer (or stack with parchment between layers), then close with a pretty ribbon.
- Cellophane bags: Place 3–5 cups in a small clear bag, twist the top, and tie with ribbon, twine, or a little piece of greenery for a holiday touch.
- Mixed treat boxes: Combine the peppermint cups with cookies, fudge, or other candies in one box for a holiday treat assortment.
💡 You can even add a little handwritten tag with the name of the recipe and a note like “Store in a cool place” or “Best enjoyed within 1–2 weeks.”
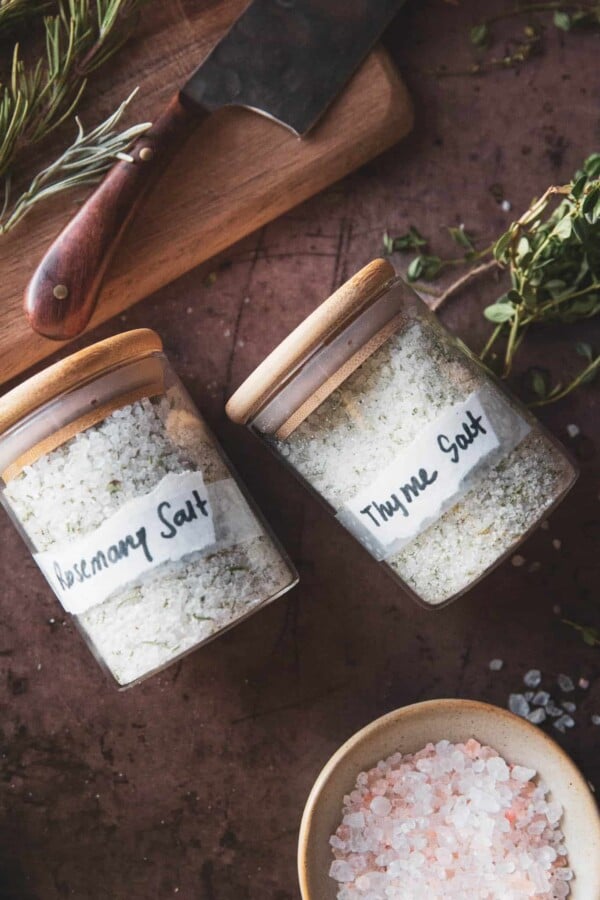
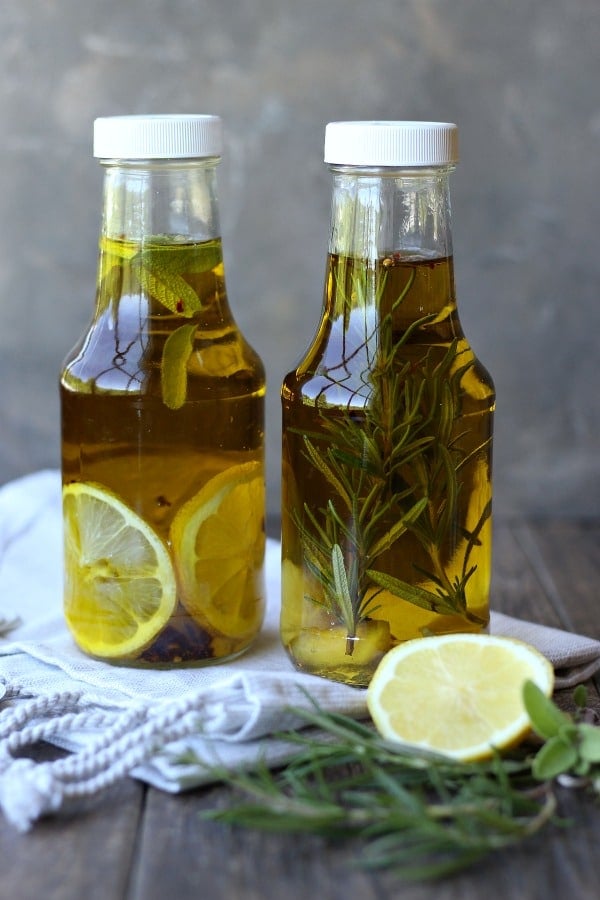
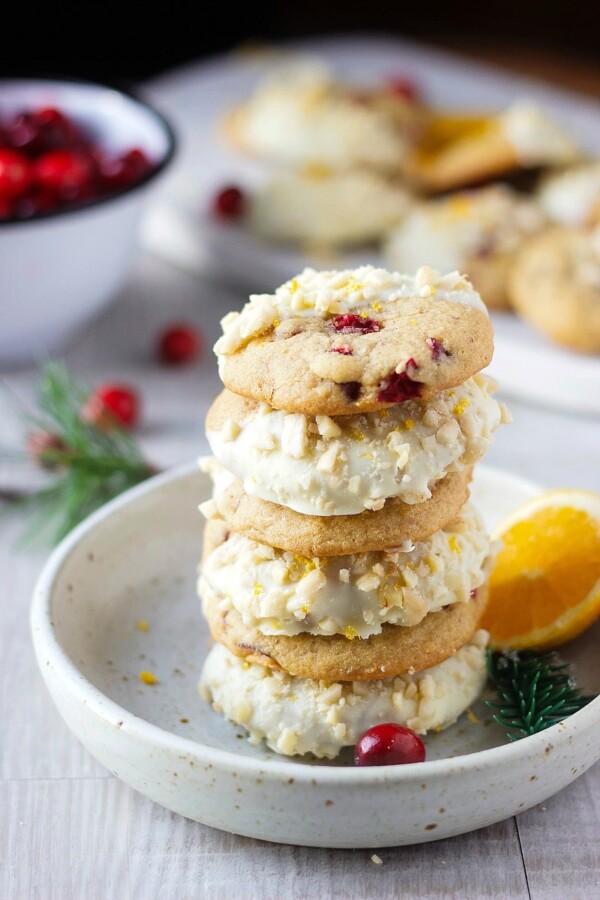
Looking for more edible gift ideas?
Chocolate Peppermint Cups
Equipment
- Muffin Tin
Ingredients
- 9 oz milk chocolate chips
- 9 oz white chocolate chips
- 4 large candy cane, crushed*
- 1/2 tbsp coconut oil
Instructions
- Melt milk chocolate in microwave or a double boiler until creamy and smooth. If microwaving be sure to pause and stir every 15 seconds until completely melted. If using double boiler method, stir often until completely melted
- Scoop about a tbsp of melted milk chocolate into a pepper or silicone muffin mold. You will need 12 muffin molds. Refrigerate for at least 30 minutes or freeze for 15 minutes.
- Repeat step one to melt the white chocolate, but this time add coconut oil. White chocolate tend to dry out fast so the coconut oil will prevent it from hardening too soon.
- Repeat step two and scoop up a tbsp of white chocolate on top of milk chocolate. Imediatelly add crushed peppermint or sprinkles. Refrigerate for at least 30 minutes or freeze for 15 minutes.
Notes
Storing Instructions
To store: Keep the peppermint cups in an airtight container in the fridge for about 2 weeks or in the freezer for up to 3 months. You can easily make these weeks in advance before giving them away as gifts. If frozen, transfer them to the fridge 1 day ahead so they’re easier to bite into.Nutrition
Nutrition information is automatically calculated, so should only be used as an approximation.


Lovely. Need to try this 🙂
Yes definitely! let me know if you like them 🙂
Beyond beautiful!!
Great holiday gifts!
I want to try the peanut butter ones too! 😀
Let me know if you do! thanks so much 🙂
Looks like work of art 🙂
Thank you so much!!
these are so beautiful. I find melting white choco to be tough but yours came out perfect!
The white chocolate definitely has a bit of a different consistency but it turned out just fine 🙂 Thanks so much Natalie!!
These look so gorgeous 🙂 I definitely need to give them a go as little stocking-filler Christmas presents!
That’s a great idea Zoe! I plan on making a ton of these and putting in gift bags (kind like the ones in the picture) to give to family and friends when they stop by… you know there is plenty of those during the Holidays hahah. Thanks so much darling for stopping by 🙂
Make a very similar recipe for Christmas gifts in a brittle ..this seems easier.. with mine I sometimes have trouble with the two chocolate layers separating..ever had this problem.?
Hi Kathy! This method is super easy and quick. Give it a try and let me know. Thanks so much 🙂
Silvia can you tell me what kind of silicon cups you used.
Hi Susan! I have the New York Baking Co. silicone cups. It’s in the body of the post under “product recommendation” but if you cannot find it, here is the link on Amazon http://amzn.to/2gq9zbF
Can you fix with paper cupcake cups. If you don’t have silicone cups.
Yes. If the paper doesn’t detach easily, simple ripe it off. I’ve done it
Should you use some non stick spray if using paper cups?
These look awesome.
you really don’t need to. I never used it and never ran into a problem. Thanks so much!
I just made these this morning as gifts. I bought the LAST 2 packages of silicone baking cups in a store after a bit of a search yesterday. PHEW!! ( no time for an Amazon order) I think using the silicone cups are KEY. The recipe was super easy and fun. I was worried they wouldn’t come out as nice as yours! They did!!!!
I’m glad I bought 2- 12 cup packages of the silicone cups and had 2 cupcake tins. If you’re gonna make these, might as well make a double batch. Hardest part: not licking the spatula of melted chocolate during the process. 😛
My creations below via dropbox
https://www.dropbox.com/sh/sbu0peecpylgi3v/AADFuW2WCERyCA7zPGj3W828a?dl=0
Wow Elaine, yours came out amazing !! Thanks for sharing your beautiful creation and I am so happy you’ve enjoyed it. It just made my day 🙂 Happy Holidays!!
Any tips on the chololate melting? I’m worried about clumping if I don’t work super fast? I’ve had that experience making buckeyes….
Hi Eva! I always melt my chocolate on a double boiler and add a half tbsp of coconut oil to it. I use a rubber spatula to stir until smooth. It never gets clumpy for me this way. Microwave is unpredictable and dries out the chocolate so I don’t like this option.
Hello! If I want to make a larger amount of these and freeze them for an event happening in a few weeks, is that okay? Or is it possible to keep them in the freezer too long (sealed tight, of course!)
Hi Darby! you can definitely freeze them for weeks at a time. I wouldn’t recommend freezing for more than 3 months, but if your event is in a few weeks you should be good. Take it out of the freezer the day before and transfer to the fridge. When I make mine I keep in the fridge for days sometimes over a week. Have fun!