
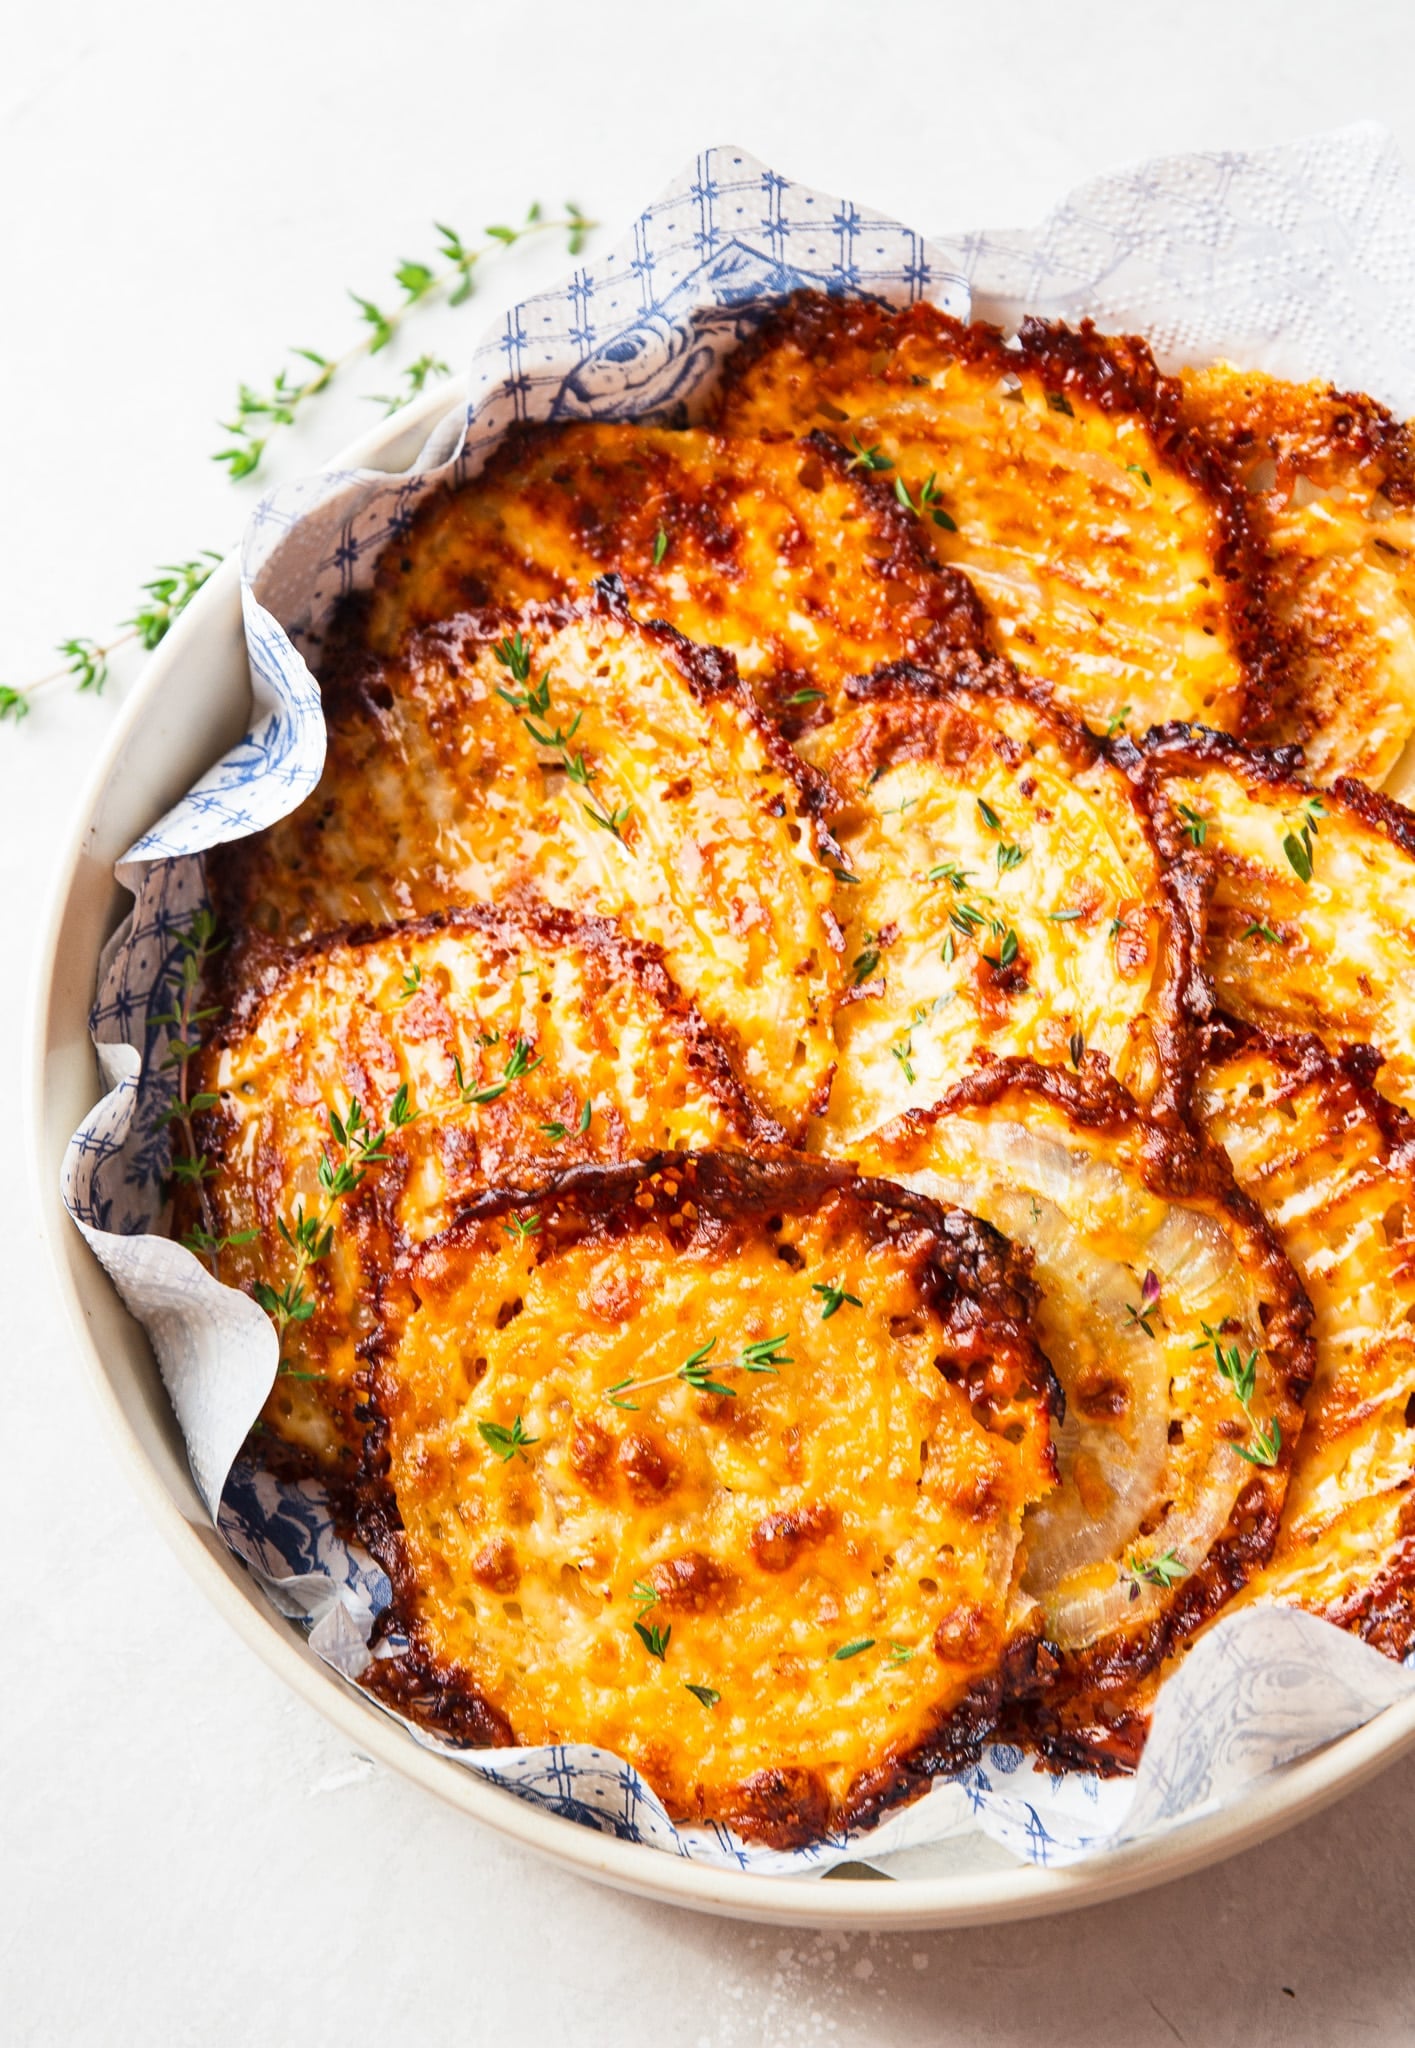
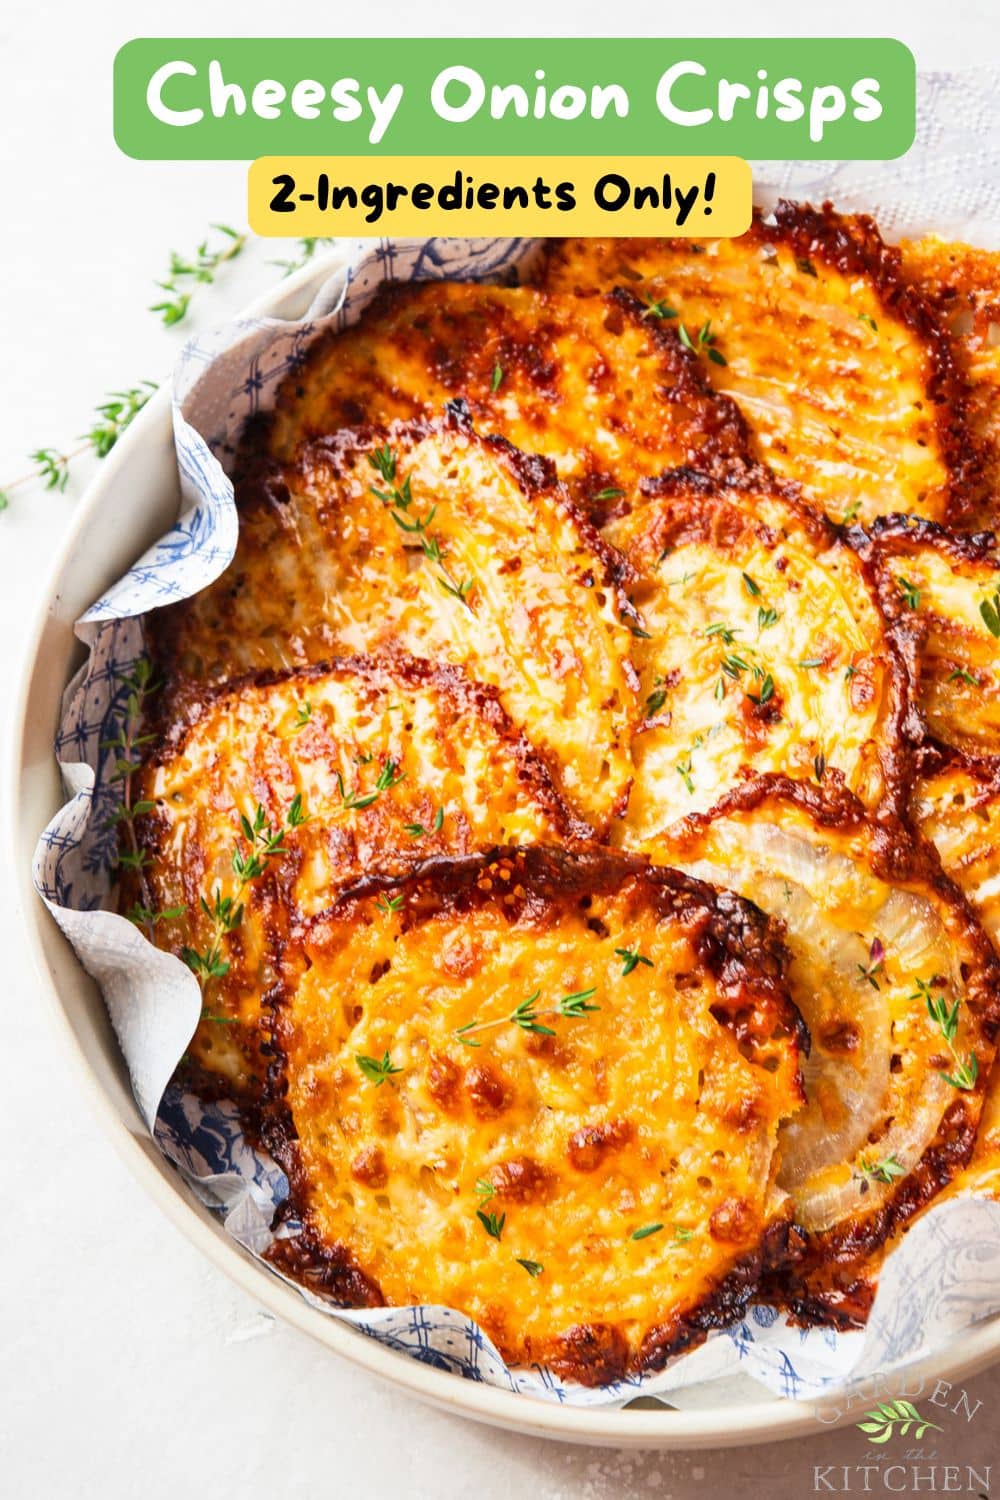
These cheesy onion crisps transform two everyday ingredients into irresistibly golden, savory bites. As the onion rounds bake, they become tender and slightly sweet while the shredded cheese melts around them, creating crisp, lacy edges that are easily the best part.
Much like my Crispy Garlic Parmesan Smashed Potatoes, this is the kind of simple recipe people gather around the pan to eat before it ever reaches the table.

Author’s Note
Cooking seasonally has always been one of the biggest influences behind the recipes I create. Whenever I find myself with an abundance of something from the garden or farmers’ market, it pushes me to move beyond the usual preparations and try something new. That curiosity is how many recipes on this blog begin, not only as a recipe developer, but as a mom in the kitchen having fun and cooking for my family.
These two-ingredient onion crisps are playful, unexpected, and nearly impossible to stop eating. Serve them as an appetizer, add them to a snack board, top your burger, serve with steaks. You make them once and watch them quietly become the dish everyone expects you to bring to the next gathering.
This recipe may look almost too simple, but a few small details make all the difference.
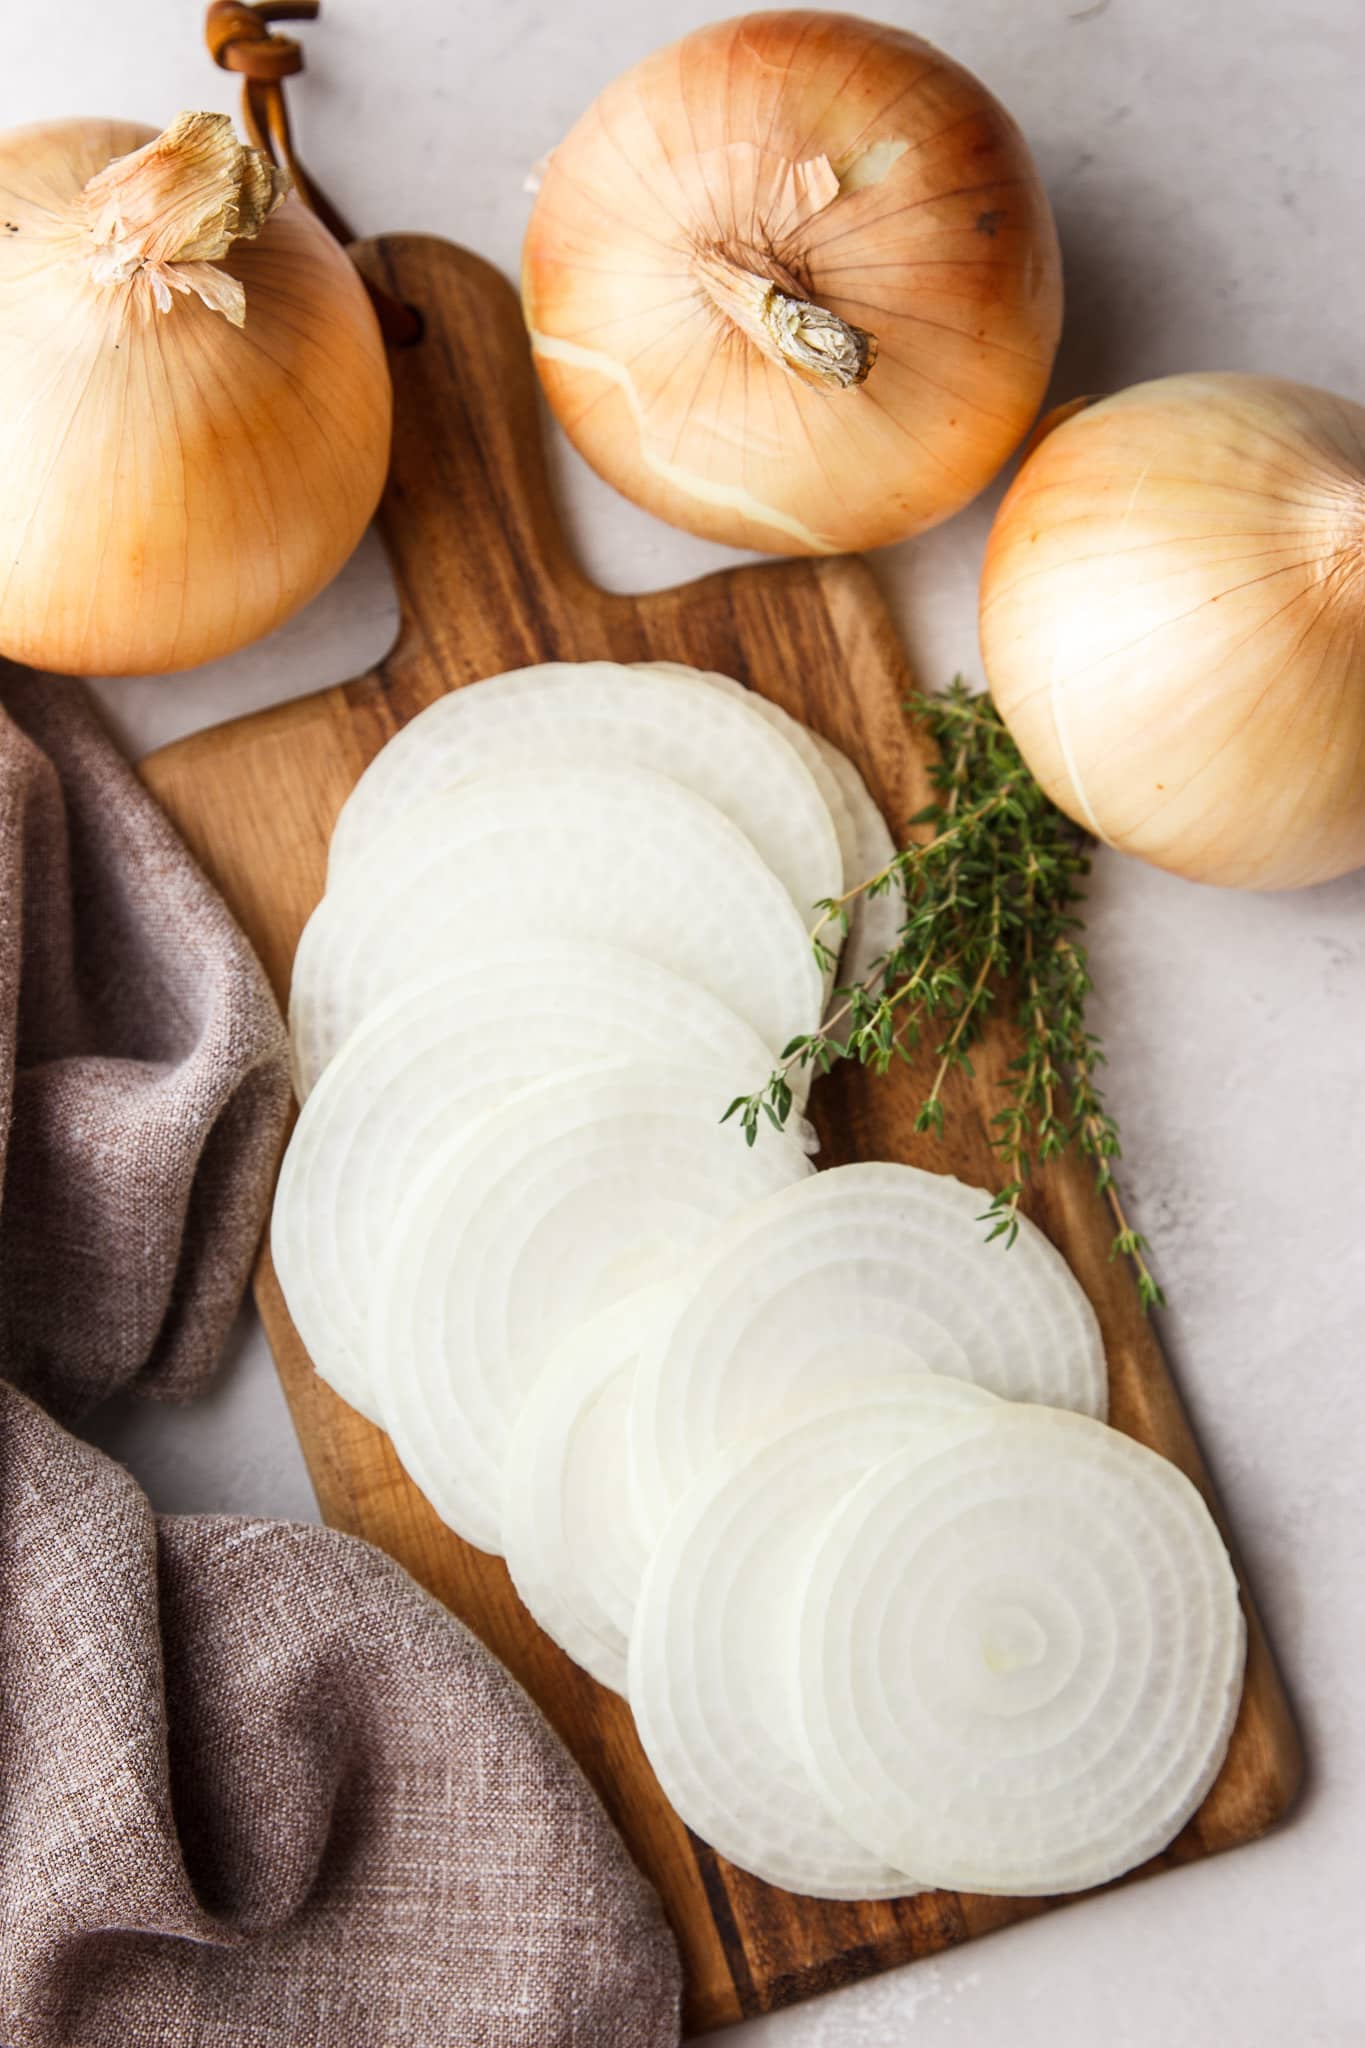
➜ The first time I tested these onion crisps, I realized that not every onion slice bakes the same. Keeping the rounds about ¼-inch thick gives the onions enough time to become tender while the cheese develops those crispy, golden edges without burning.
➜ After several rounds of testing, I also found that pre-shredded cheese actually works better here than freshly shredded cheese. In particular, blended cheeses like cheddar and muenster, mozzarella blends, or Mexican-style shredded cheese tend to melt more evenly and create a more consistent crispy layer. The mix of cheeses also adds better flavor and structure than using a single cheese like Parmesan.
➜ Finally, don’t rush them off the pan. Let the onion crisps cool for a few minutes after baking. As the cheese cools, it firms up into that irresistible crispy shell that makes this recipe so addictive.
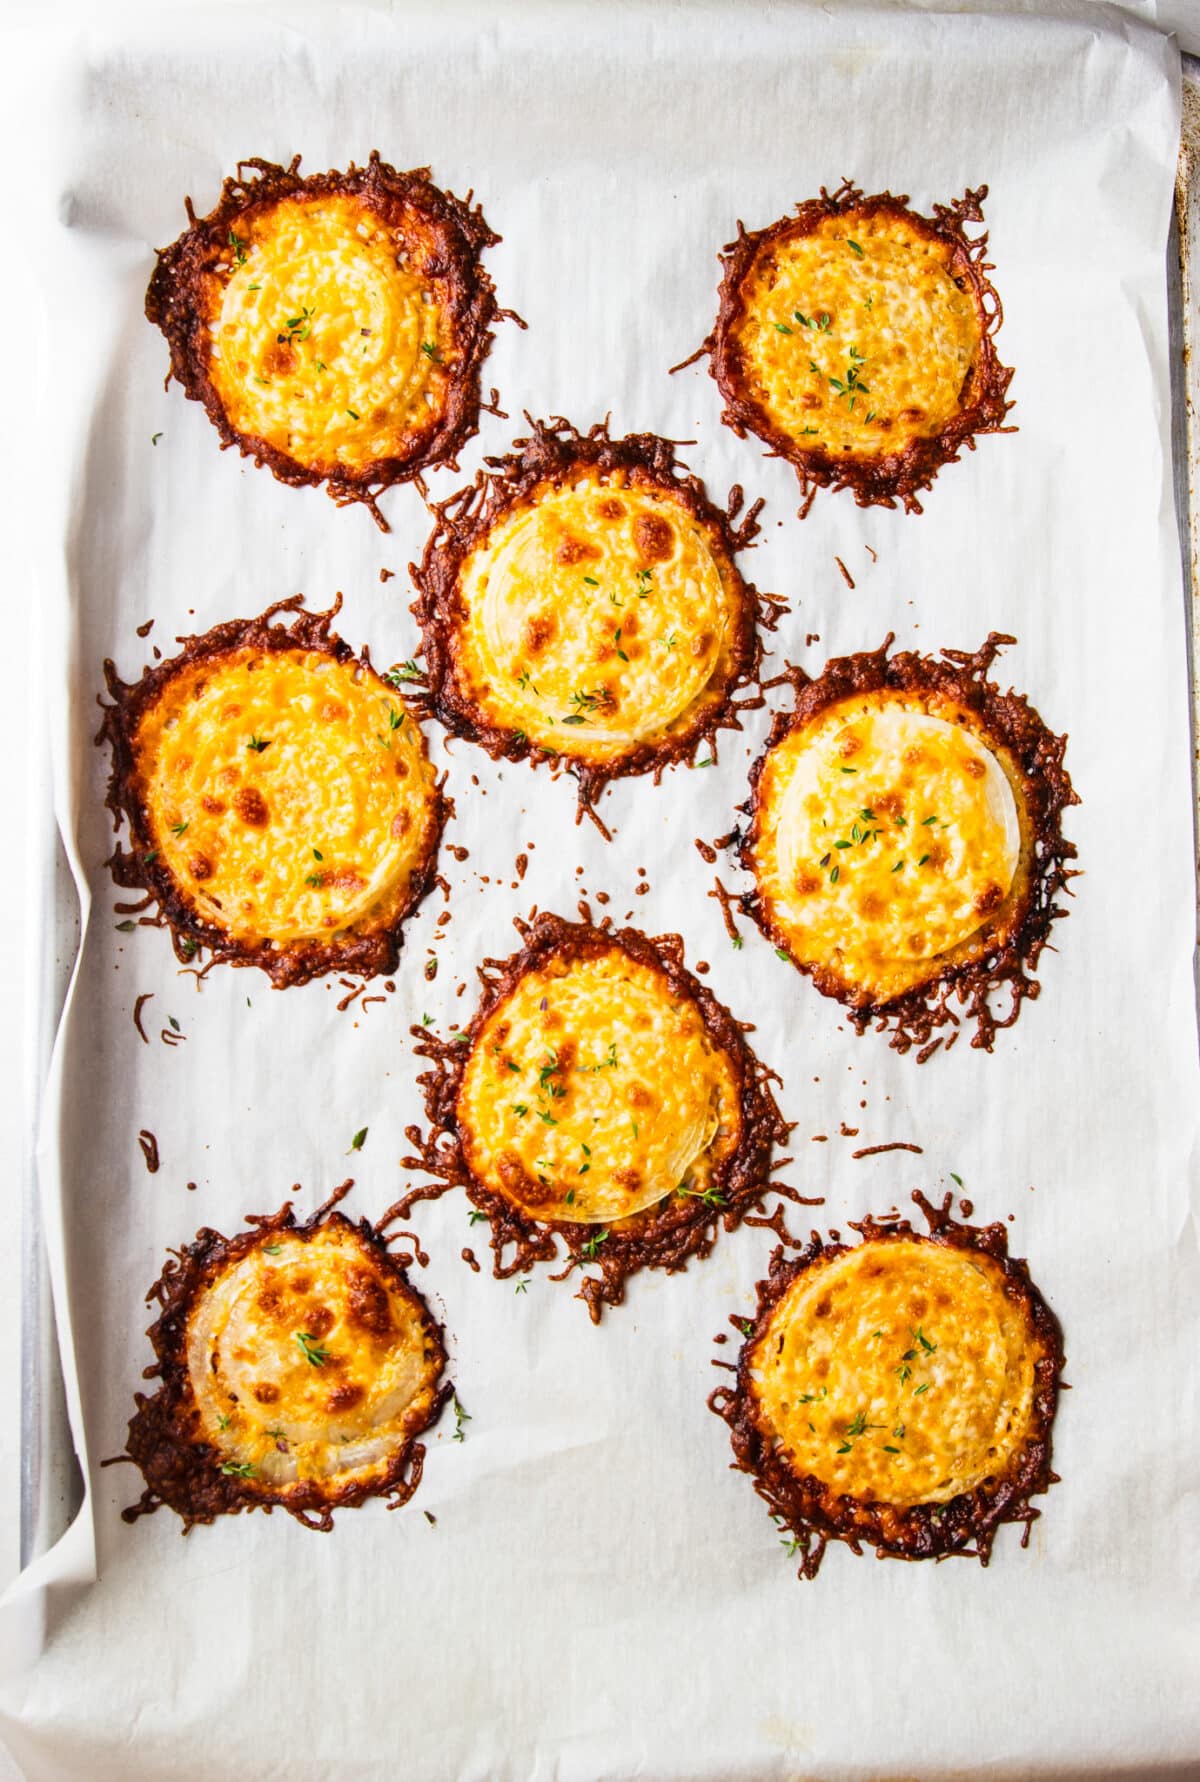
How To Make The Best Onion Crisps
There isn’t much to this recipe, which is exactly what makes it so much fun. The onions soften just enough in the oven while the cheese melts into a golden, crispy layer that holds everything together. It’s one of those recipes that looks impressive but couldn’t be easier to make.
I’ve tested these with several different cheeses and found that pre-shredded blends actually work best. Each one brings a slightly different flavor, so don’t be afraid to use whatever you already have in the refrigerator.
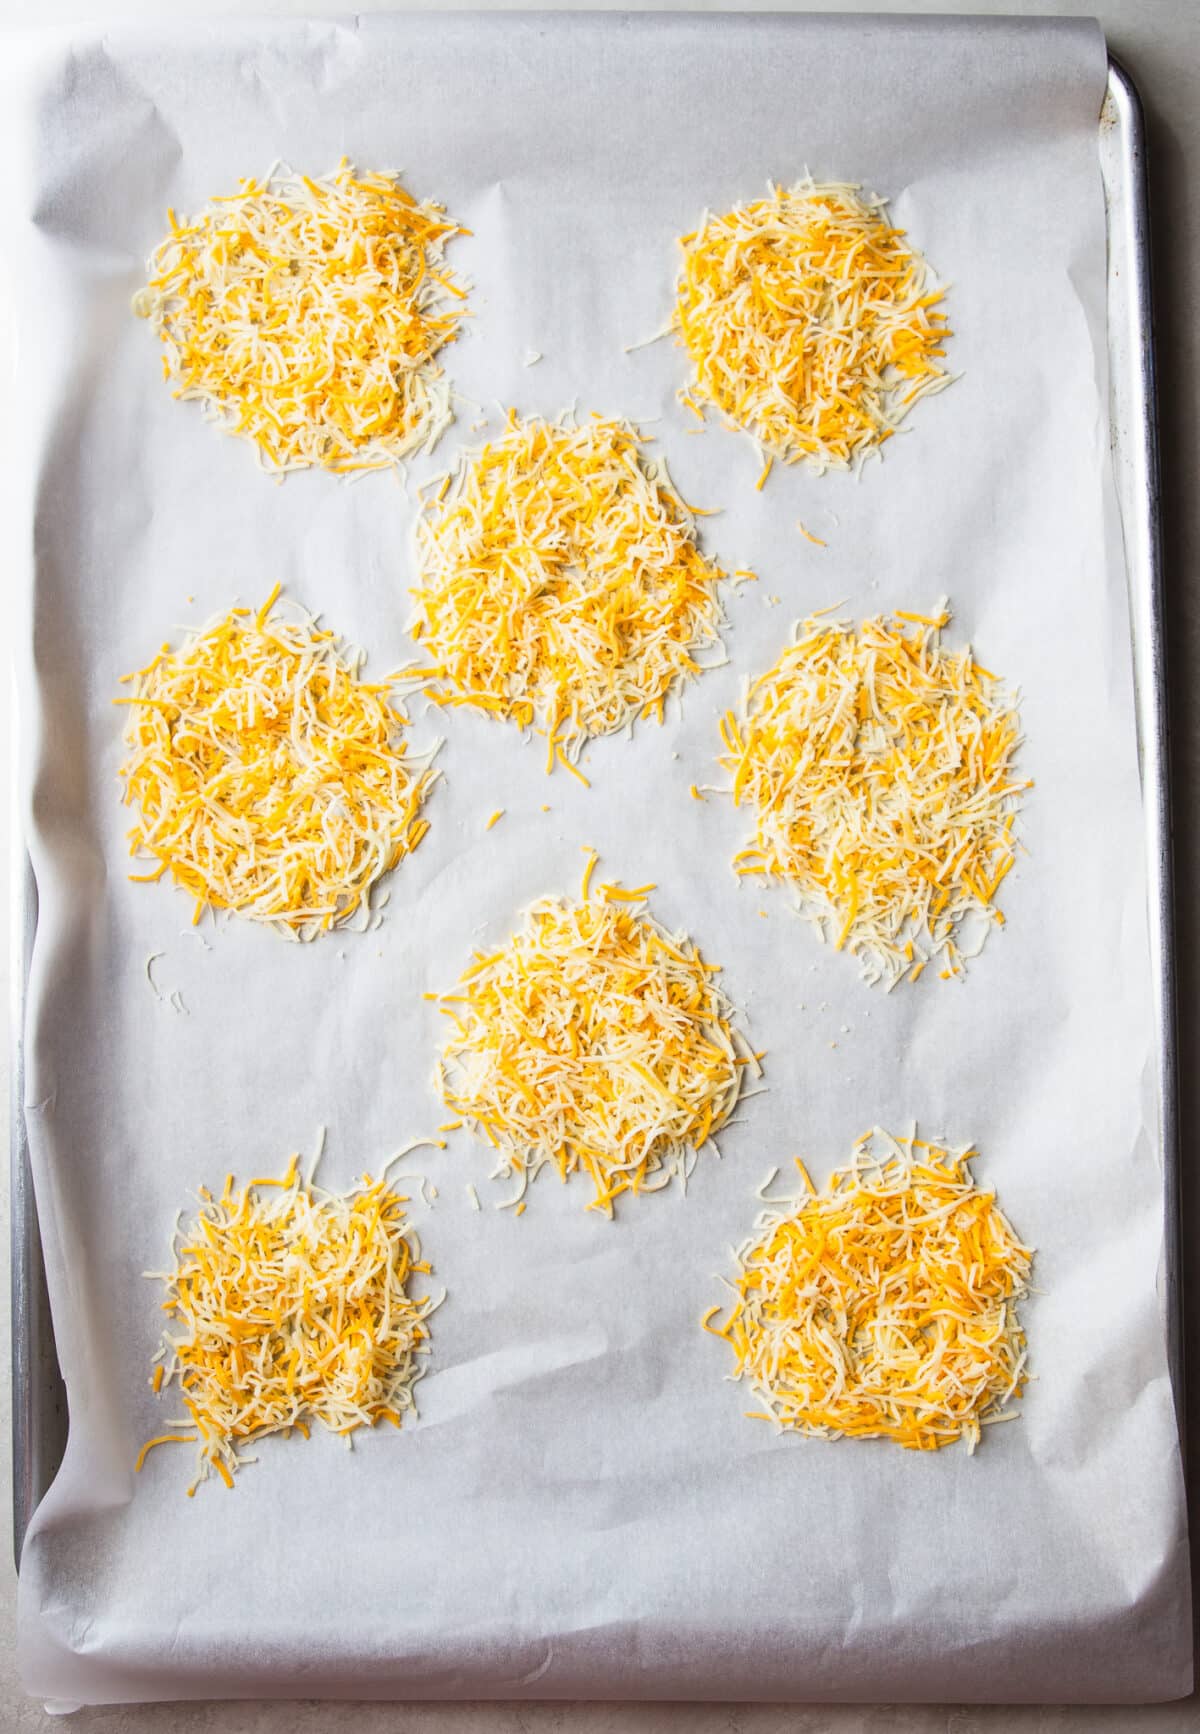
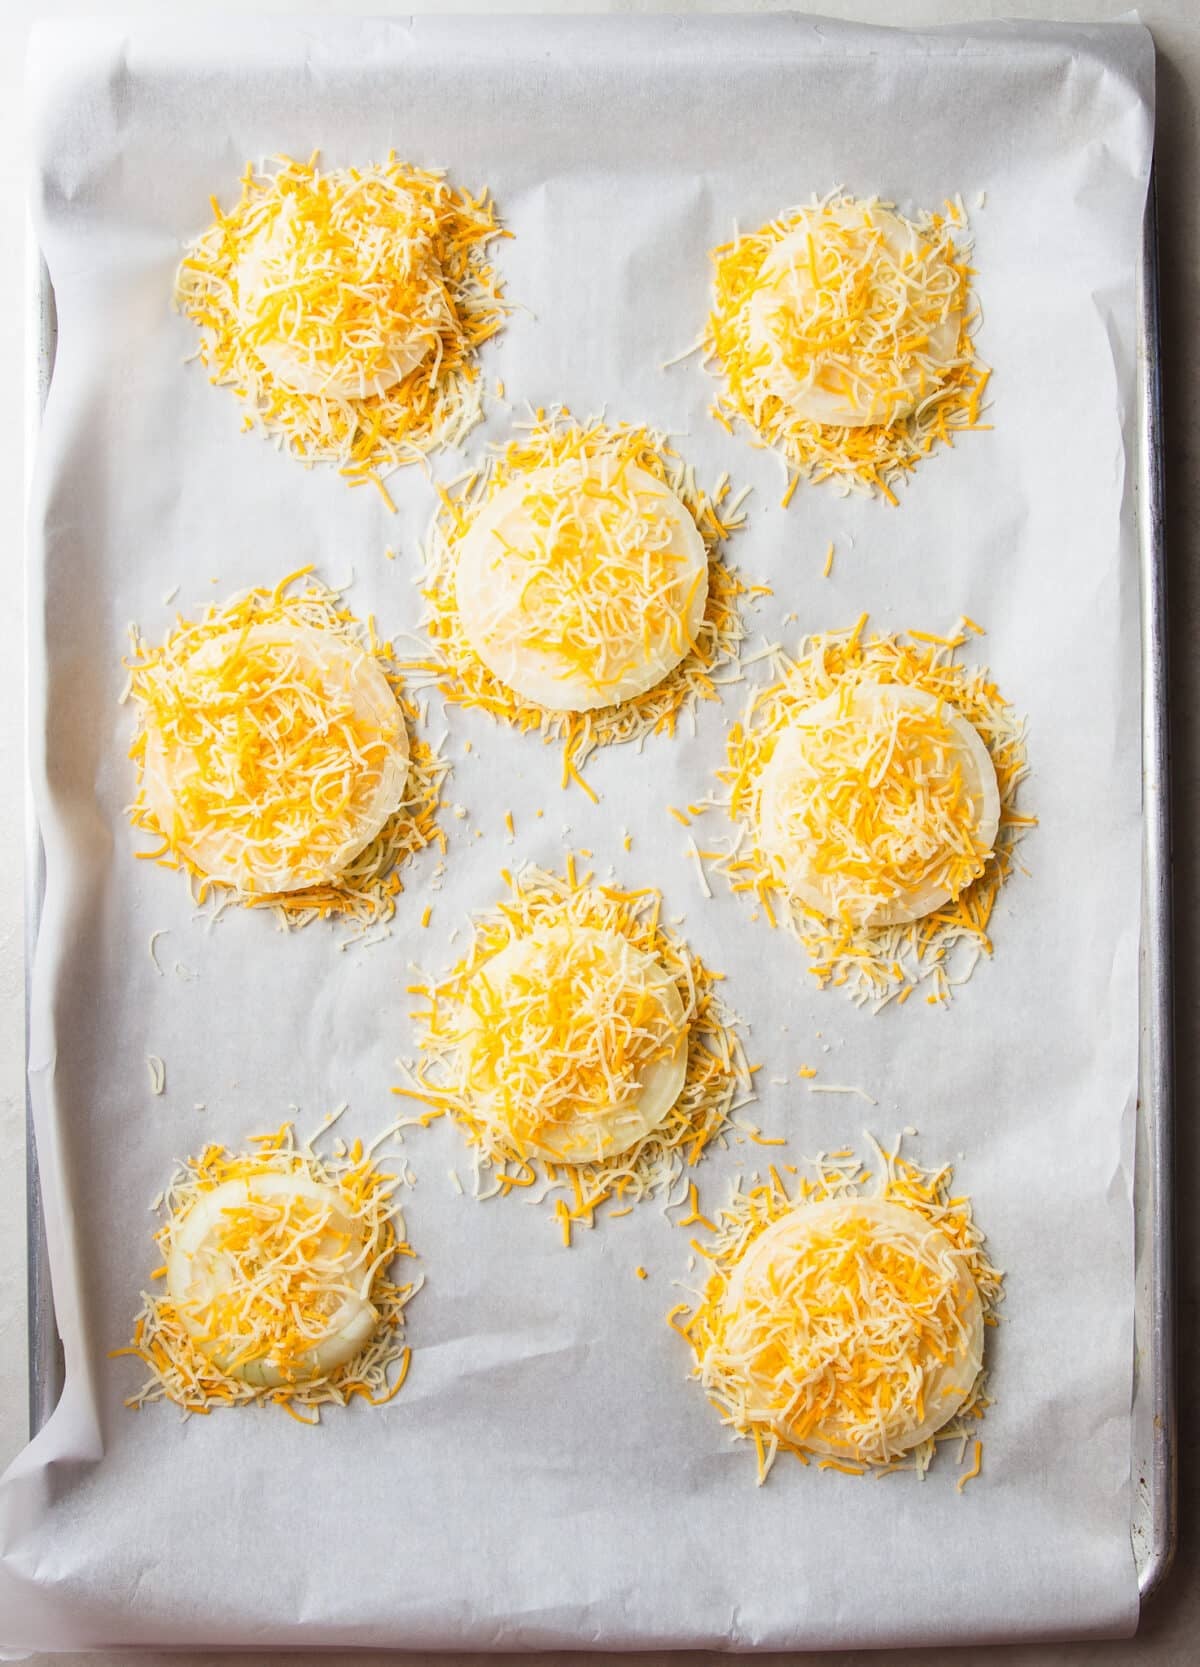
The other trick is giving the onion slices a little room on the baking sheet. As the cheese spreads, it creates those irresistible lacy edges that make everyone reach for seconds. You don’t want them overlapping.
Lastly, you can trim the shaggy excess cheese from the edge using kitchen scissors to create the perfect rounds.
Someone yelled at me on social media for calling these onion crisps a 2-ingredient onion recipe since “they see something green on it”… garnishing is optional, I used fresh thyme from my garden but I can imagine it tasting amazing with cilantro, parsley, rosemary, scallions or whatever you have in hand. Or skip it!
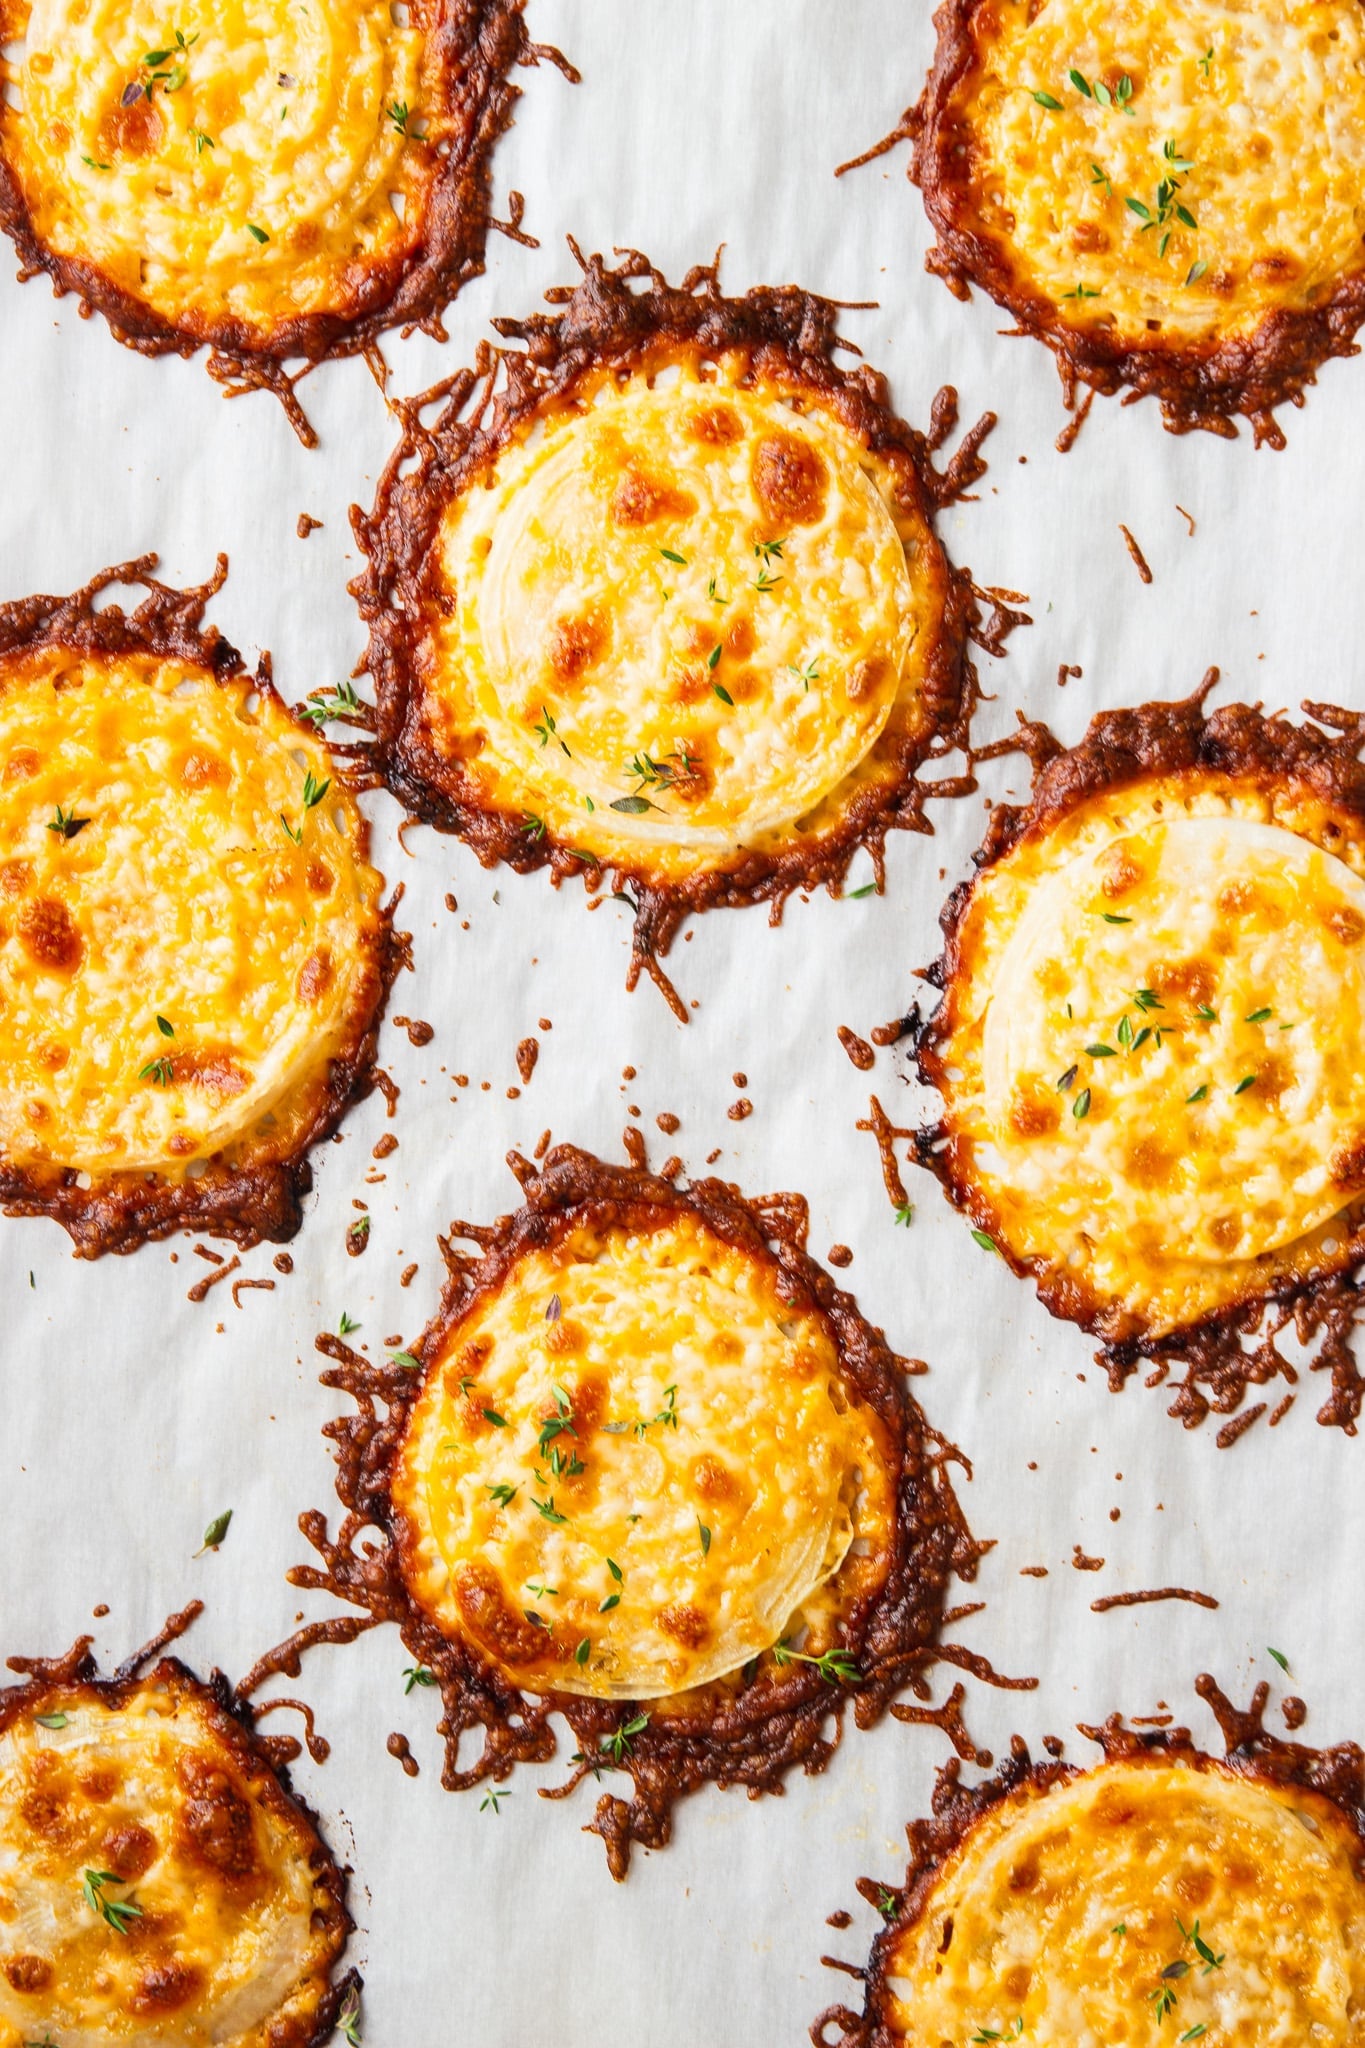
Ways To Serve Them
These onion crisps are just as welcome on a casual weeknight table as they are on a holiday appetizer spread. Serve them warm with this buffalo dip, taco dip or salmon dip. Tuck them alongside this chicken burger or jalapeño sliders instead of traditional onion rings, or add them to a charcuterie board for something unexpected.
They’re also delicious served with grilled ribeye steak, or roasted chicken. If you’re entertaining, I like to set them out straight from the oven because they tend to disappear long before the main meal is served.
Pair them with this French onion chicken for the ultimate French onion meal.
But my favorite way to eat these cheesy crispy onions are tucked in our homemade protein bagels with fried eggs for breakfast or lunch!
And if you happen to sneak one while they’re cooling on the baking sheet, you’re in good company. That’s usually where the first batch disappears in my kitchen.
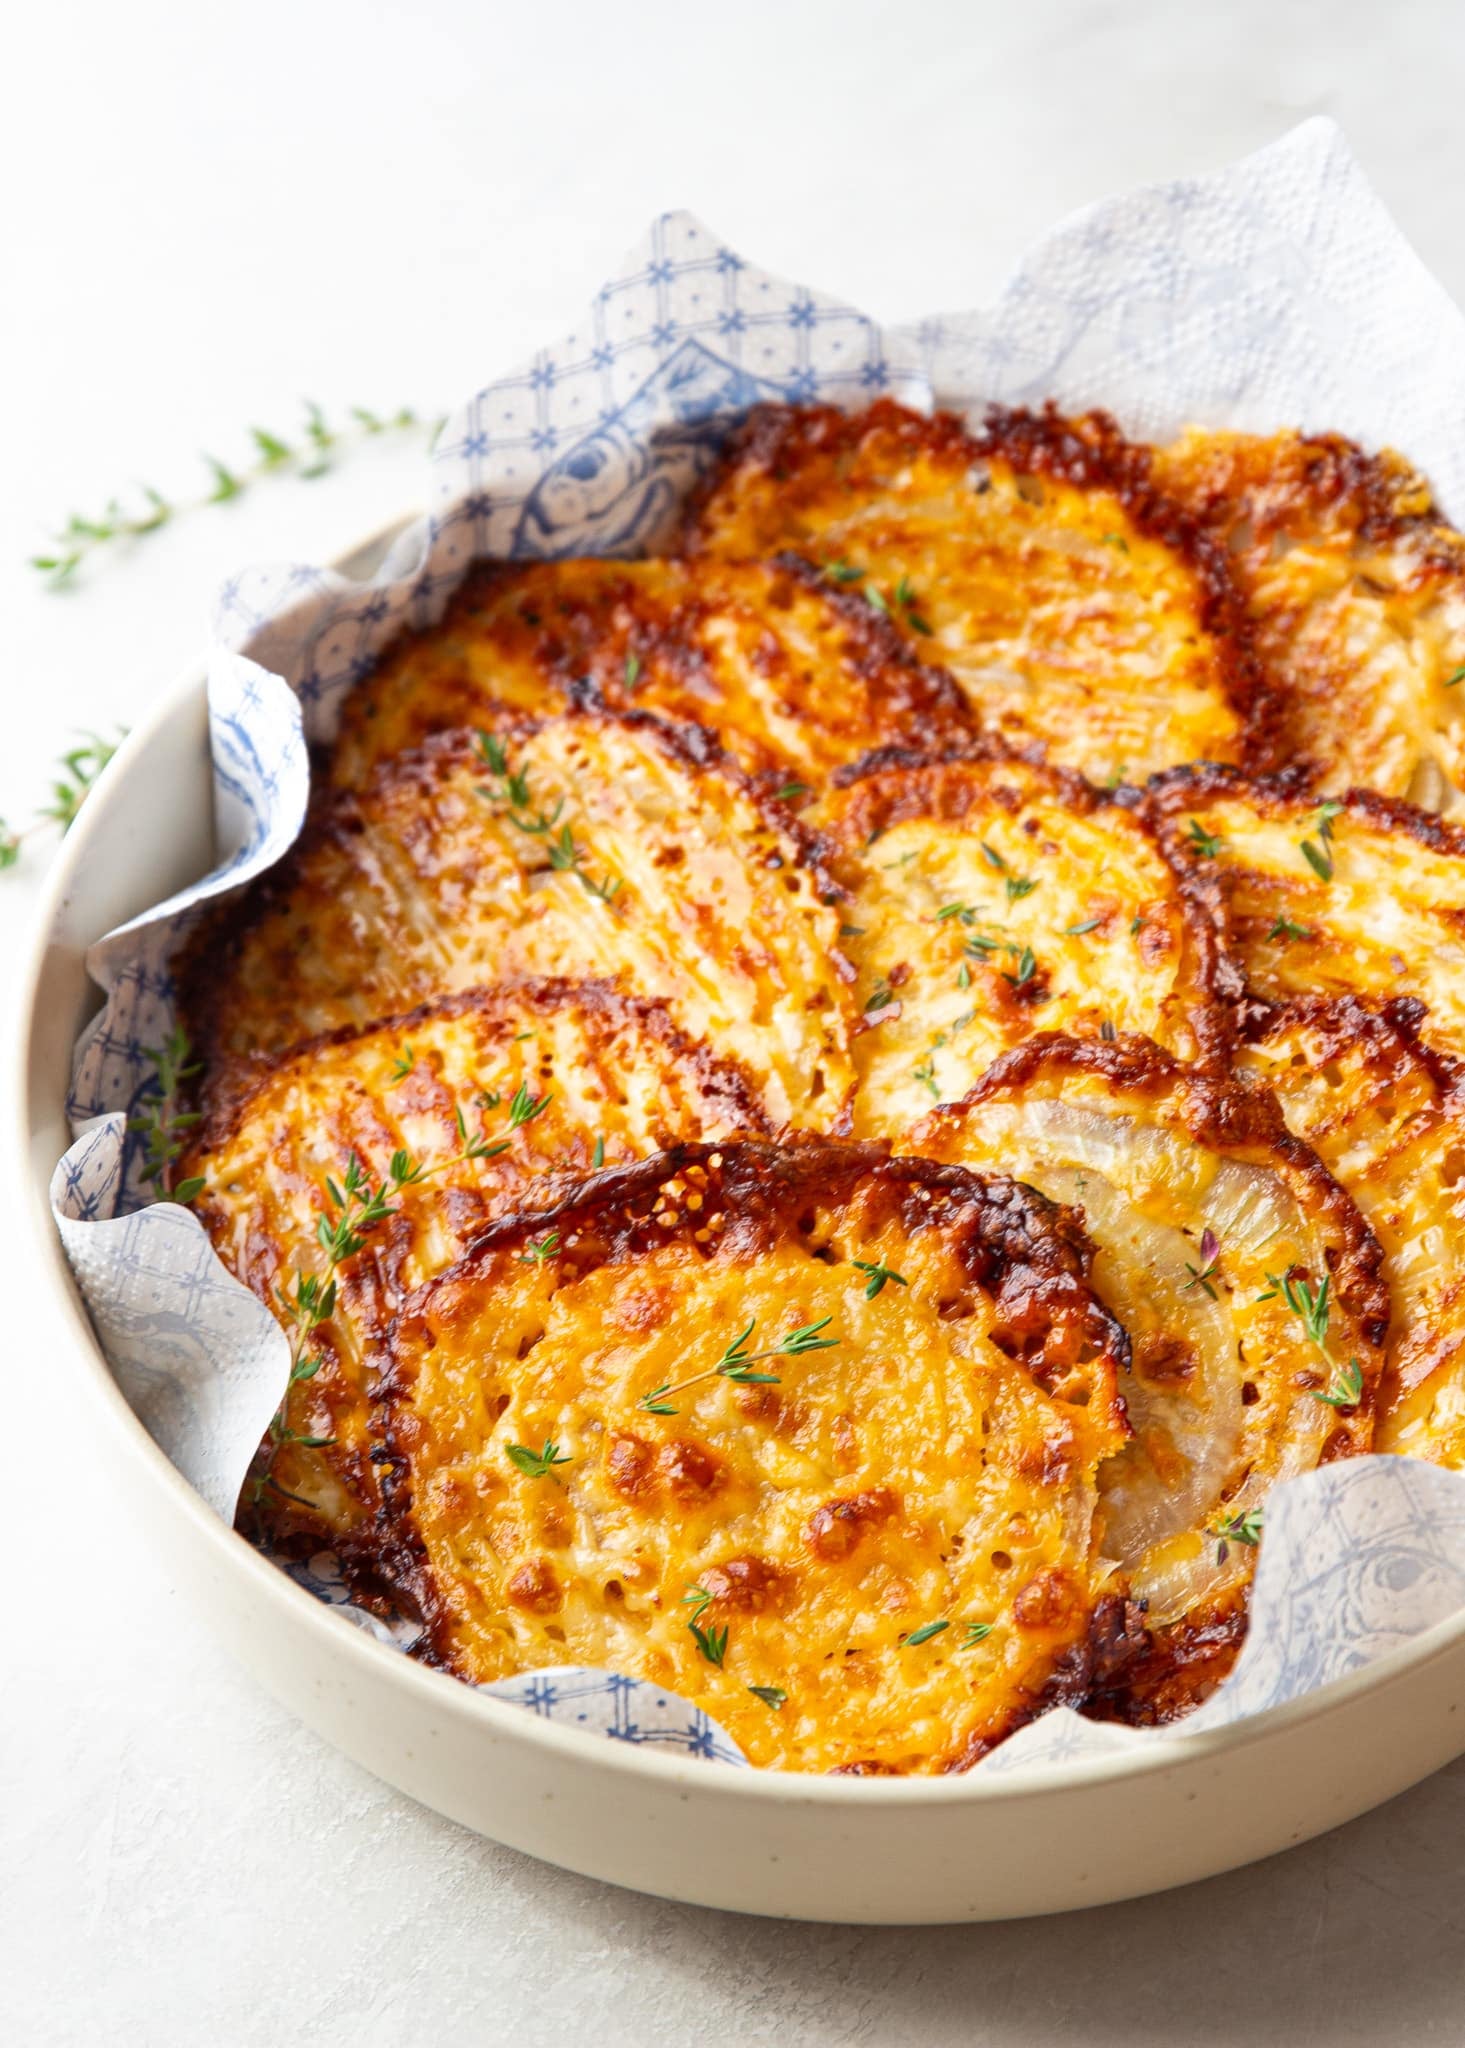
Crispy Appetizers and Sides For Your Next Meal
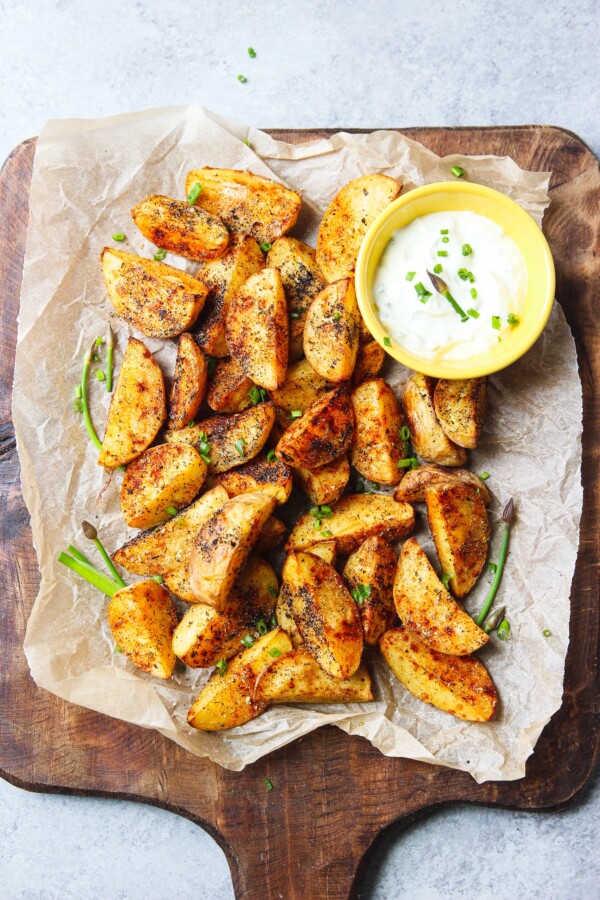

Cheesy Onion Crisps
Ingredients
- 1 large Vidalia sweet onion
- 8 oz shredded cheese
- fresh thyme optional
Instructions
- Preheat the oven to 400°F and line a large baking sheet with parchment paper.
- Slice the onion into even rounds, about ¼-inch thick.
- Place small, evenly spaced mounds of shredded cheese on the prepared baking sheet.
- Set one onion round on top of each mound, then sprinkle a little more cheese over the onions, allowing some to fall around the edges.
- Bake for about 15 minutes, or until the cheese is bubbling and deeply golden around the edges and the onions are tender.
- Remove the baking sheet from the oven and allow the onion crisps to cool for 5 to 8 minutes. The cheese will firm up and become crisp as it cools.
- Carefully lift the crisps from the parchment with a thin spatula and serve warm.
Notes
Silvia’s Tips
- Use onions that are similar in size so they finish cooking at the same time.
- Leave a little cheese extending past the onion. Those crispy, lacy edges are the best part.
- Don’t underbake them. The cheese should be deeply golden, not just melted.
- Let them cool for 5–8 minutes before lifting them from the parchment so they crisp up and release cleanly.
Storage
Store leftover cheesy onion crisps in an airtight container in the refrigerator for up to 3 days. The cheese will soften slightly as they chill, but they’ll crisp back up when reheated.Reheating
For the best texture, reheat the onion crisps in a 375°F oven or air fryer for 3 to 5 minutes, or until warmed through and crispy again. Avoid reheating them in the microwave, as the cheese will become soft and chewy rather than crisp.Freezing
I don’t recommend freezing this recipe. The onions release moisture as they thaw, which prevents the cheese from crisping properly after reheating.Nutrition
Nutrition information is automatically calculated, so should only be used as an approximation.











I don’t think it’s even possible to have just one of these golden onion beauties. At least not for me. The flavors are off the charts amazing! I still can’t believe these only use 3 ingredients. Even better, I love how crazy easy you’ve made the process. Just pop them in the oven and they’re done. These really are the perfect, no hassle appetizer or game day treat!
These truly are a game changer! Thanks Heidi!